Woodworking / metalworking
-
Woodworking / metalworking
- Saws
- Chisels
- Carving tools
- Axes and hatchets
- Hammers, nails & pry bars
- Planes
- Woodturning tools & lathes
- Rasps & files
- Measuring and inspection tools
- Scribing & cutting tools
- Routing & drilling tools
- Clamps
- Screwdriving tools
- Pliers
- Workshop equipment & tool sets
- Blacksmithing / blade finishing
- Engraving tools
- Leatherworking, papercraft & upholstery tools
- Stone working tools
- Tools for kids
Woodworking / metalworking
EXPERTENWISSEN ABZIEHLEDER
What characterises good tools?
To ensure that you get the most out of your tools and enjoy them for many years to come, you should pay attention to the following criteria when selecting them:
Material and workmanship
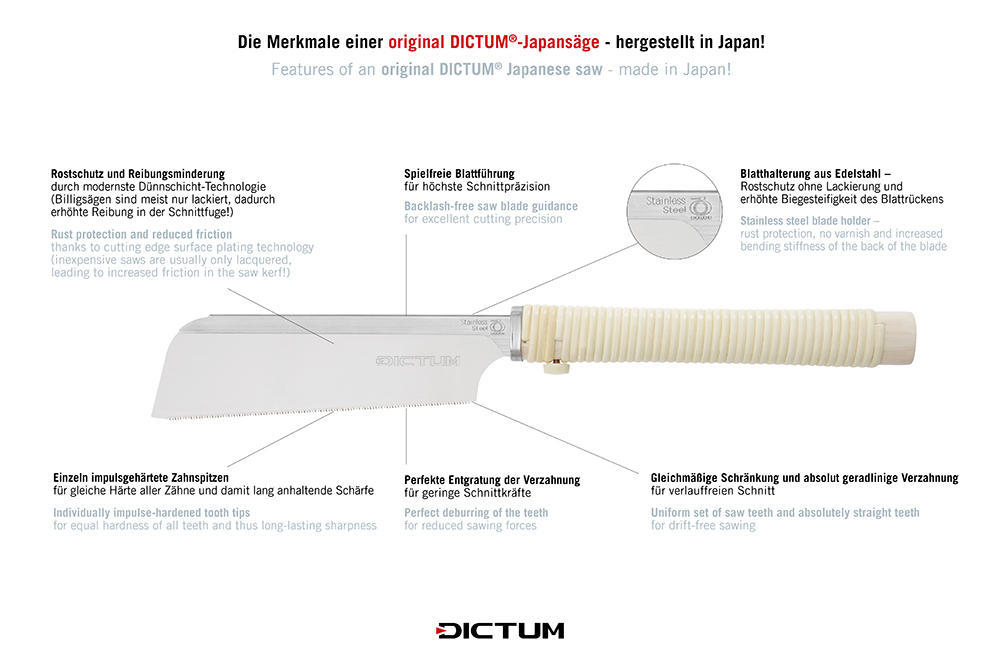
- Steel quality: High-quality metal and woodworking tools are usually made of robust steel. Pay attention to the Hardness and toughness of the material.
- Precise workmanship : The individual parts should fit together precisely, without sharp edges.
- Surface treatment: A good surface treatment protects against corrosion, makes cleaning easier and - in the case of wooden handles - also has an influence on the feel.
Ergonomics and handling
- Grip : The handle should be comfortable to hold and offer a secure grip.
- Balance: A well-balanced tool is easy to hold and thus prevents fatigue when working. In our shops you can touch woodworking tools and try out many of them.
- Additional functions: Some metal and woodworking tools offer practical additional functions, such as a ratchet function or a rotating head.
Brand quality
- Well-known brands: Renowned manufacturers such as Lie-Nielsen, Veritas, Pfeil, Picard and others stand for high-quality versions and quality. Our long-standing cooperation with these manufacturers ensures good customer service.
Compare and test
- Prices and Performance: The most expensive tool is not always the best. Cheaper versions are often sufficient for occasional use in the hobby workshop. Professional craftsmen will have different requirements for long-term use of the tool. At DICTUM you will find both!
- Compare measurement data such as the saw blade length in mm and consider which material cross-sections you would like to process regularly with the tool. Or use our saw advisor, for example.

- Product description: If the product is well described, then the retailer has usually tested the item before listing it and not just simply listed it.
- Test the tool: In our shops, you have the opportunity to hold numerous tools in your hand and test them before buying. This allows you to directly assess whether the tool meets your requirements.
- Advice: As a specialist retailer, we are happy to help you choose the right tool. Our customer service on the phone and our employees in the shops will be happy to advise you.
What tools are essential for woodworking?
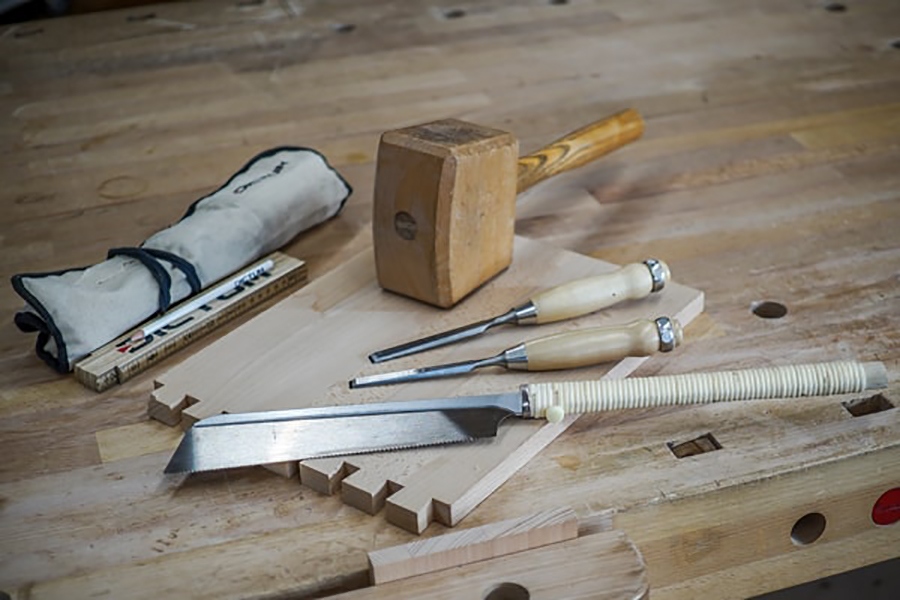
Saws are required for the rough cutting of a board or plank. Ideally, one for the lengthwise cut and one for the cross-section. Saws are also essential for wood joints. Since not every joint can be Saws, you need Chisels and hammers (Klüpfel). Knives; Knives and tools; are the right tools for cutting components to size and for surfaces that do not require sanding.
When it comes to machines, different circular saw blades (cross and longitudinal cut) paired with the right saw can replace manual labour. Drill bits (dowel joints) or Router bits cutters can be used for joints. If you have a router, you can also use it to easily produce numerous profiles on edges. Surface planers and thickness planers replace the hand plane.
Sculptors use Carving tools and sculpting mallets or machines for Power carving.
Hängeriemen

Got to tools are only as good as the person holding them. The most expensive Planes, the finest file, the best hammer are of no use if you don't know how to use these tools correctly. In line with our motto "More than just tools", at DICTUM we not only offer you high-quality tools from quality manufacturers from all over the world, but also comprehensive advice on their use. Most of our customer advisors have a background in craftsmanship or the relevant training. Our blog posts and videos (on YouTube and in our online shop) provide you with extensive information about tools and craft techniques. Courses on numerous topics and craft techniques take place regularly in the DICTUM course workshop and in our workshop centres in Niederalteich and Munich. In addition to workshops for metal and woodworking, we also offer courses for leatherworking, working in nature and various sharpening courses.
Basic tool equipment for the woodworking shop
Anyone who discovers woodworking for themselves will at some point ask themselves the question: "What tools do I need?". A simple answer to this is difficult. It all depends on you and your individual plans. You should rather ask yourself the question: "What do I want to do?".
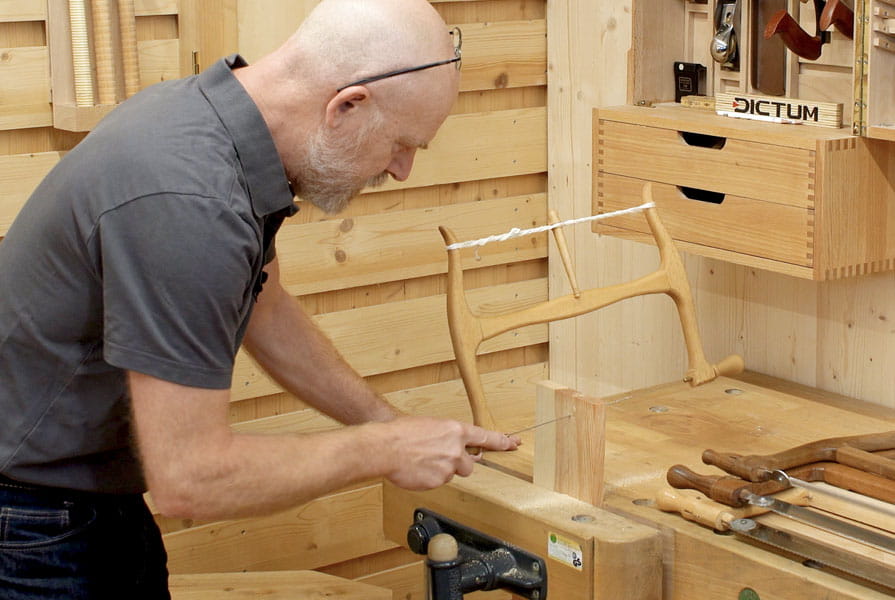
Bow saws - Things to know
Bow saws are part of a carpenter's basic set of hand tools. During training, they are one of the first tools used to learn the trade. We would like to introduce you to the different Bow saws, explain the differences between Western and Japanese saw blades and give you tips for working with Bow saws.


