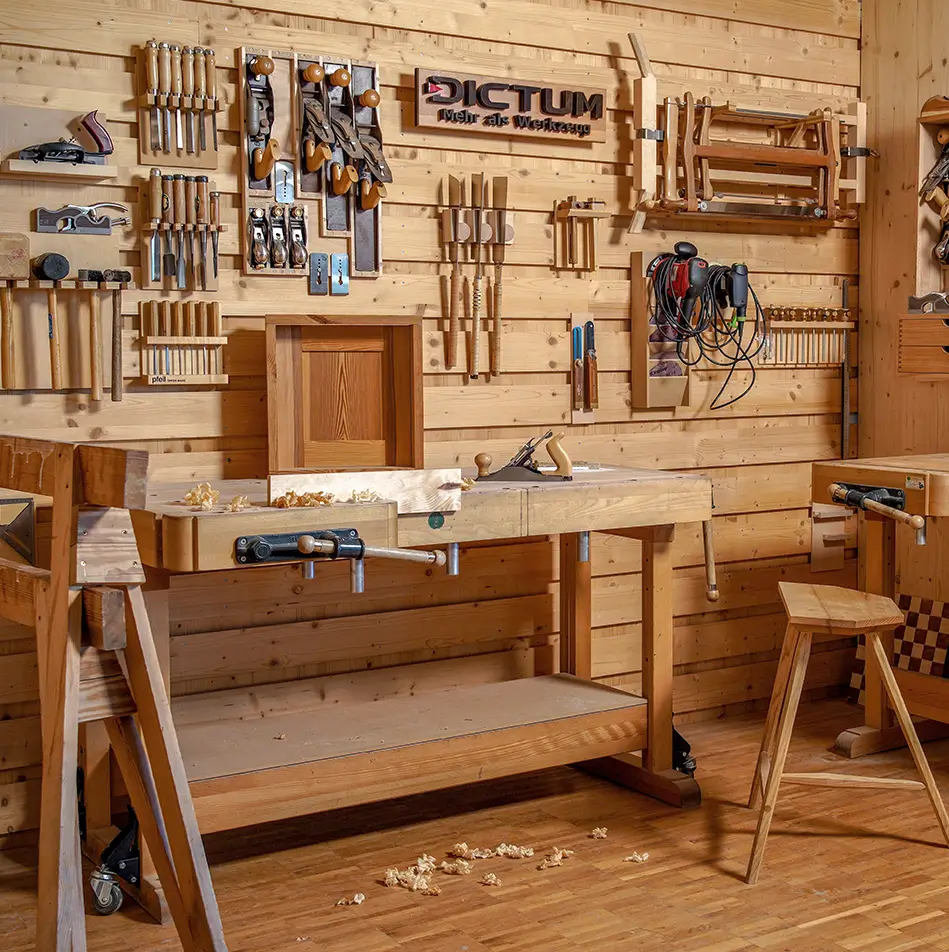
MORE THAN TOOLS - CRAFTSMANSHIP PERFECTED
DISCOVER MORE FROM OUR RANGE


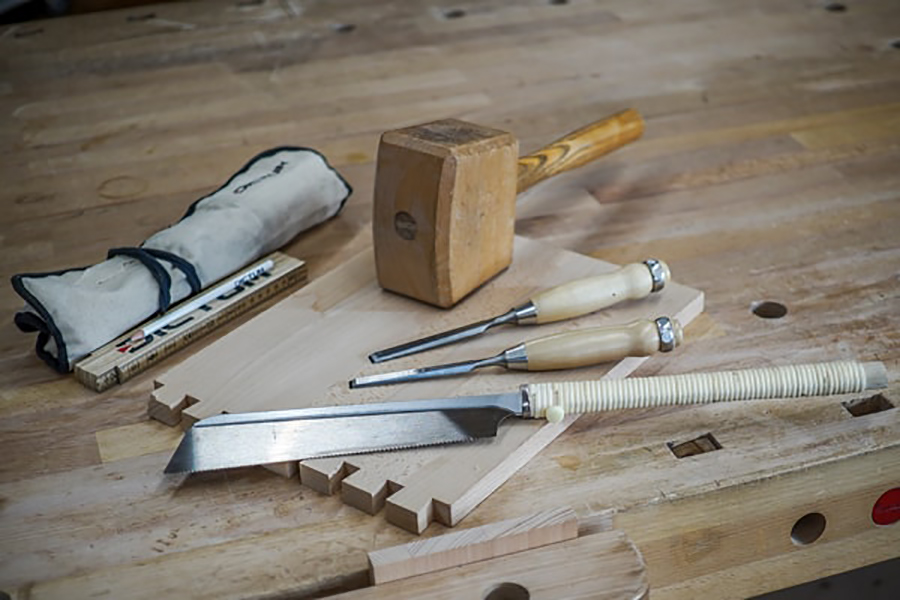
SAWS

PLANES

MEASURING TOOLS

SHINKO

GARDEN

GIFTS

KNIVES

ROUTING & DRILLING

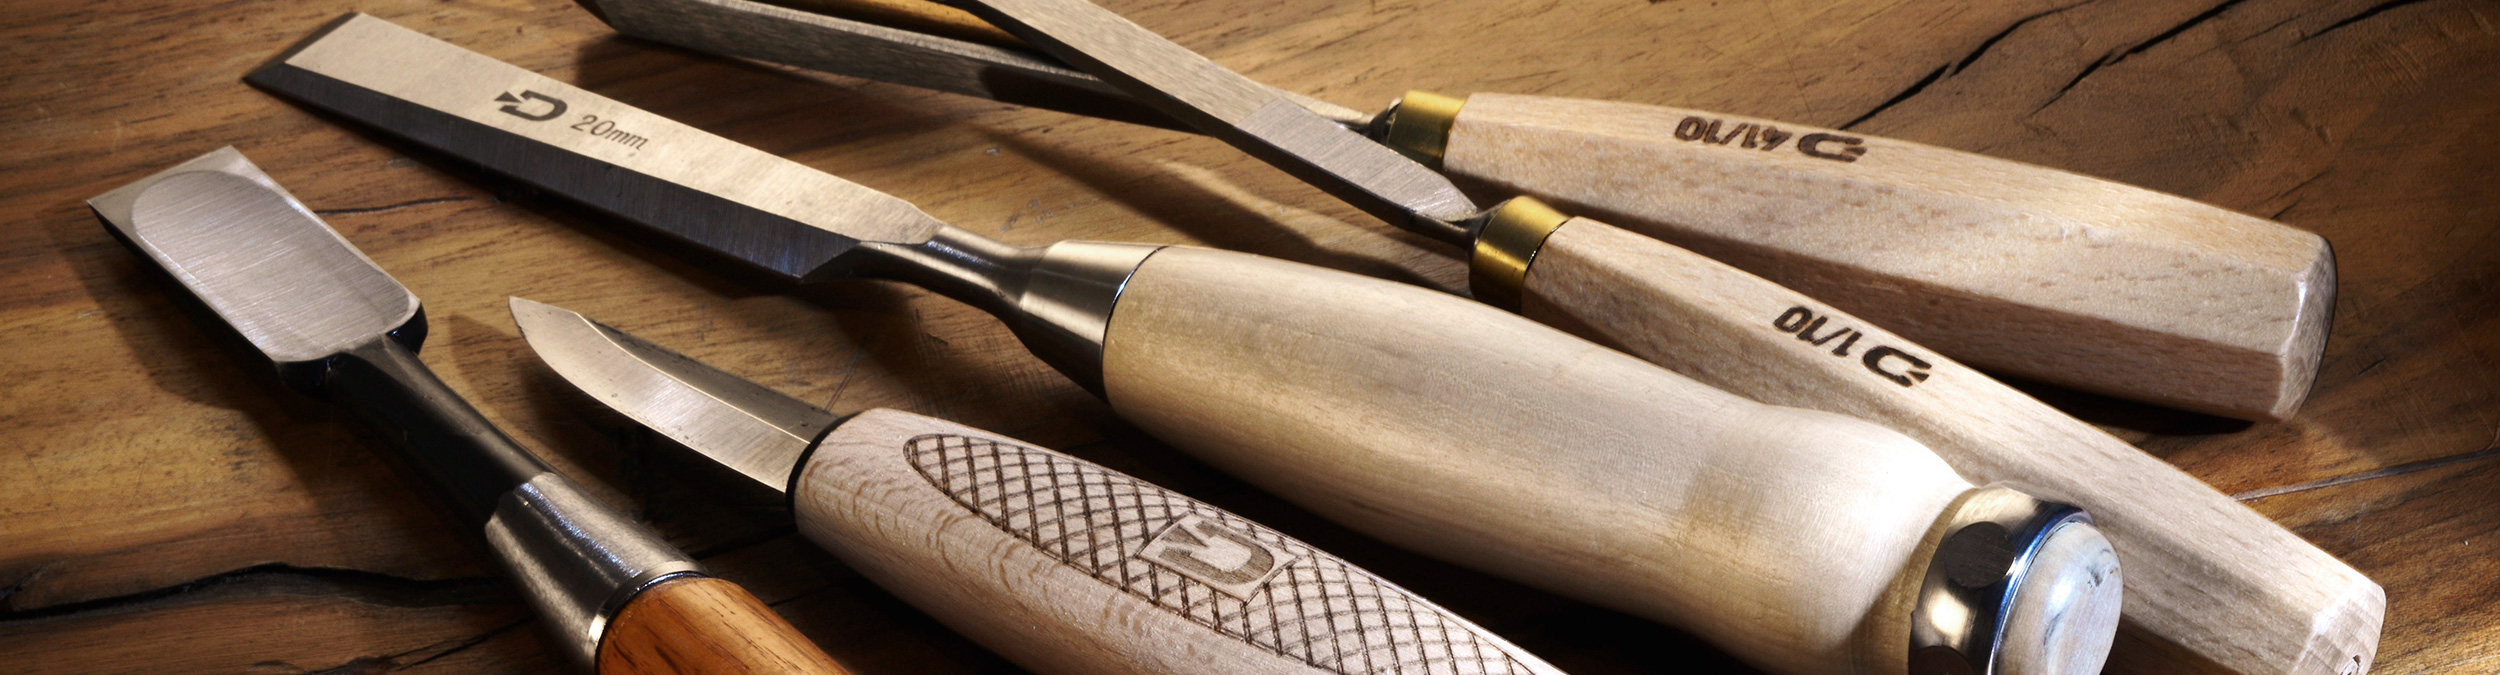
CHISELS

SAWSTOP
NEW PRODUCTS


DISCOVER OUR HIGHLIGHTS
CUSTOMER FAVOURITES


DICTUM WORKSHOPS
Mastering a craft takes more than skill – it requires knowledge, experience and the right tools. That is why we offer more than just courses. In our workshops, internationally renowned instructors share their expertise with beginners and ambitious enthusiasts alike. Our fully equipped workshops provide the ideal environment for focused, hands-on work.
COURSES - ONLINE & IN OUR WORKSHOPS


DICTUM SHARPENING SERVICE
Our professional sharpening service restores your tools to peak performance – precisely, with the correct approach for each material and to uncompromising quality standards. Every tool is carefully assessed and sharpened by experienced specialists. The result: clean, reliable cutting performance and a longer working life for your tools.
Trust in genuine craftsmanship – for consistently outstanding results.

TOOL KNOWLEDGE. TUTORIALS. TIPS & ADVICE.
The essential tool kit
Go to blog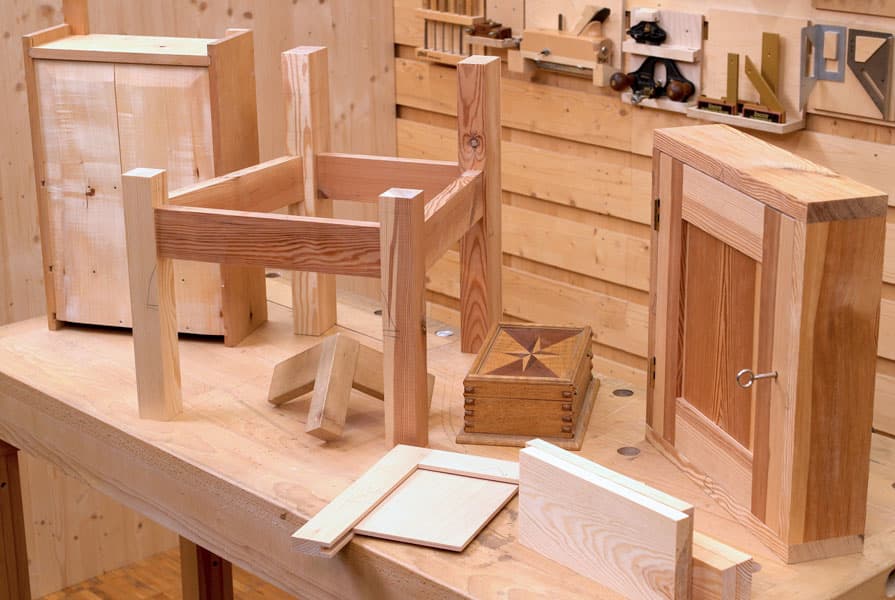
Fundamentals of wood joints
Go to blog
Tools for tree pruning
Go to blog