Surfaces


Surfaces
EXPERT KNOWLEDGE SURFACE TREATMENT AND WOOD PRESERVATION
Wood is exposed to numerous influences, especially outdoors. It is a natural process for dead wood that is no longer nourished by the tree's roots to decompose under the influence of microorganisms and the weather. It is important to counteract these environmental influences on processed wooden components that are in use.
What environmental influences does wood need to be protected from?
- Sunlight: During the so-called greying process, components of the wood are broken down by UV radiation, in particular the lignin. If the wood surface is exposed to the weather, the water-soluble degradation products of the lignin are washed out and silvery-white cellulose remains. Dew and rain lead to colonisation with dark-coloured moulds and dust particles are deposited, so that the surface turns grey to black over time.
- Wood pests: Insects and their larvae are usually only a danger if the wood is not sufficiently protected from moisture due to a lack of constructive wood protection.
- Fungi: A distinction is made between wood-discolouring fungi and wood-destroying fungi. All fungi require a wood moisture content of at least 20 % to survive. In outdoor areas, the moisture content of correctly installed wooden parts is usually 15 to 18%, which is below the level that is attractive to fungi. If constructive wood protection is not guaranteed and the wood moisture content exceeds 20%, the components must be protected by impregnation or painting. If an infestation with wood-destroying fungi is detected, the components often have to be replaced in complex procedures. Wood-discolouring fungi can also reduce the strength of the wood.
Which insects are wood pests?
With the exception of termites, all wood-damaging insects go through different stages of development. A beetle lays eggs in pores and cracks in the wood. These develop into larvae, which immediately begin to bore into the wood. The larvae are the actual wood pests. Depending on the living conditions and the Type of larvae, they live in the wood for between one and ten years before they pupate and then hatch as beetles. The beetles themselves usually only have a life expectancy of 3 to 5 weeks and do not feed during this time.
Most insect pests are so-called fresh wood insects, which lay their eggs in fresh wood. Fresh wood insects include the blue disc borer, the spruce sapling borer, the neck pit borer and the wood wasp. In Germany, there are only 3 native wood pests that also infest wood that has already been installed. The so-called construction wood or dry wood insects include the nail beetle (small woodworm or death watch), the house longhorn beetle (large woodworm) and the sapwood beetle (parquet beetle). If an infestation is detected, it must be inspected immediately by a specialist company (exterminator) and controlled accordingly.
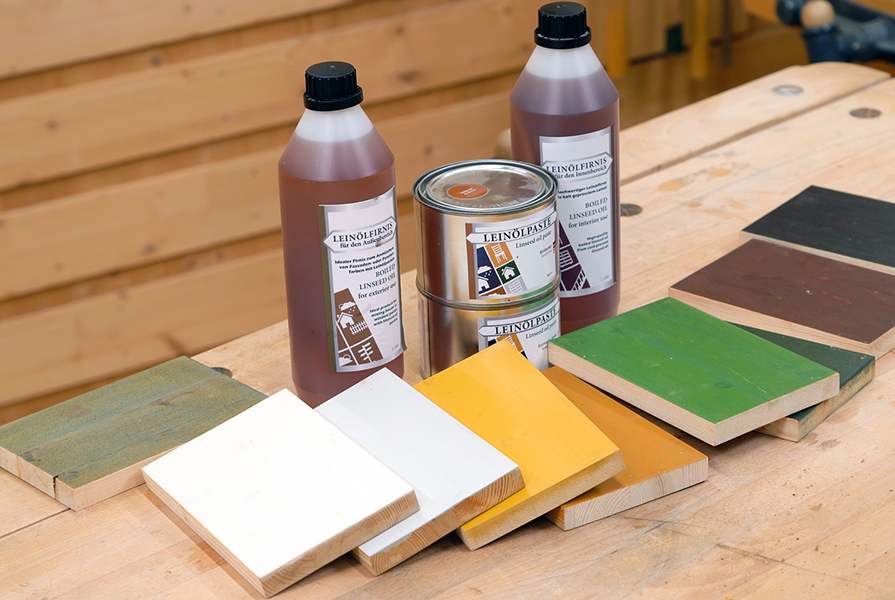
What are wood preservatives made of?
The exact formulation of a wood preservative is largely a secret of the manufacturer. In general, it can be said that wood preservatives consist of the following ingredients:
- Binders: In a colour mixture, they have the task of fixing the colour pigments to the substrate. Natural oils, thick oils, varnishes, natural or synthetic resins and waxes are used for this purpose.
- Solvents: Their task is to reduce the viscosity (viscosity) of the binding agents in order to influence processing and penetration behaviour. The solvents used are balsamic turpentine, citrus peel oil, water, alcohol content, turpentine substitute, isoaliphates and nitrocellulose. With the exception of water, all common solvents are organic hydrocarbons.
- Pigments: In a wood preservative, they not only determine the colour of the paint, but also influence its covering power, durability and drying properties. In general, earth colours, oxide colours, vegetable colours, azo pigments, aniline dyes or alizarin dyes are used as pigments.
- Additives: They optimise the properties of modern wood preservatives for different uses. So-called paint additives such as siccatives, pot preservatives, levelling agents, anti-skin agents, suspending agents, UV absorbers etc. are used for this purpose. With self-mixed wood preservatives, you can largely dispense with these additives. Even the use of siccatives as drying accelerators and fungicides can be avoided with certain formulations.
How do I prepare the substrate for wood preservative?
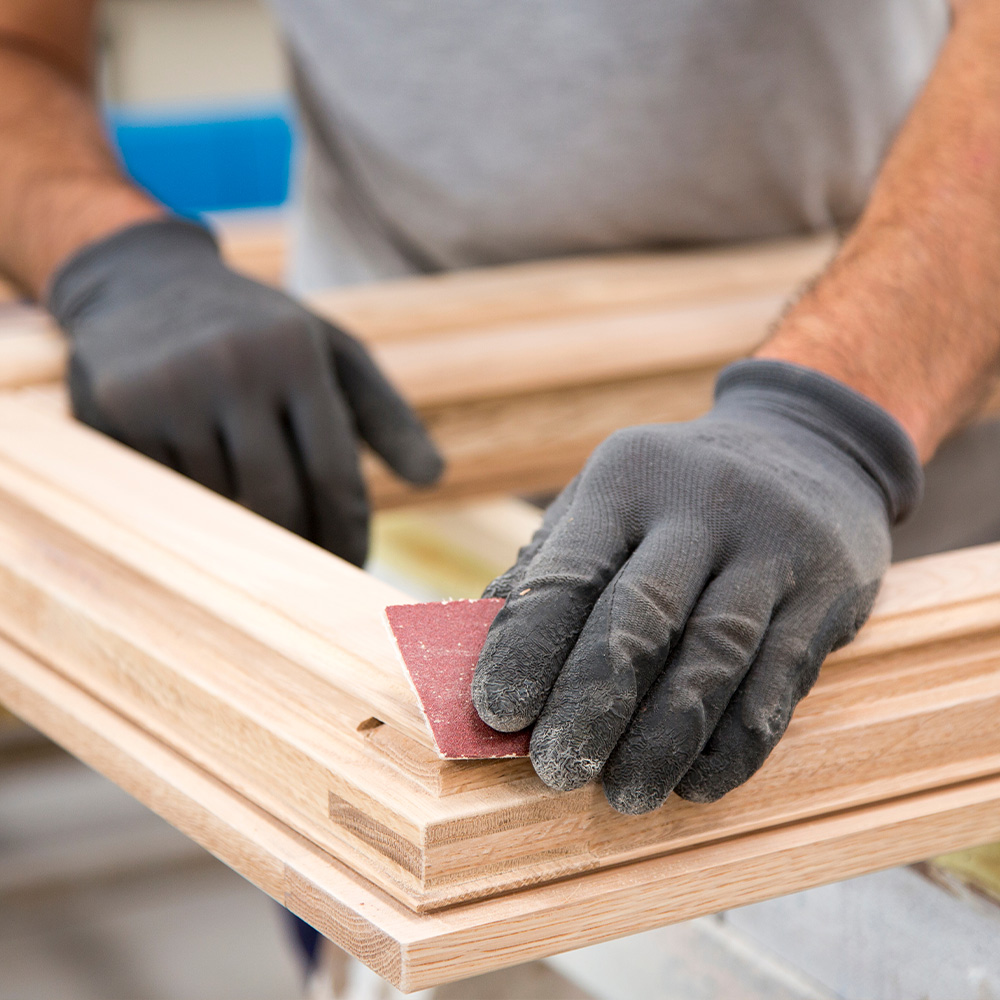
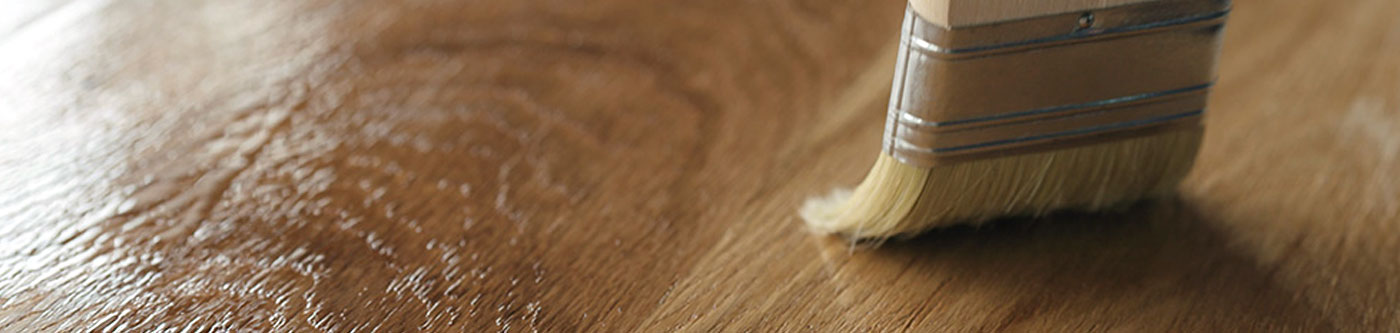
Before applying the wood preservative for the first time, the surface should be clean and dust-free. To remove loose fibres and dirt from the surface, you can clean it with a sanding pad or brush. Avoid using strong cleaning agents, as these can chemically alter the wood preservative. An oil-based wood preservative (e.g. Linseed oil paints) is not recommended on resin-rich types of wood or on freshly planed wood. However, as soon as the wood has weathered a little or has been exposed to the weather for a year, it can then be applied without further ado. Highly absorbent woods can be pre-treated with a primer. This penetrates deeper into the wood and provides additional protection. If the wood preservative is applied directly to an absorbent substrate, this can "pull" the binding agent out of the mixture and thus reduce its effectiveness.
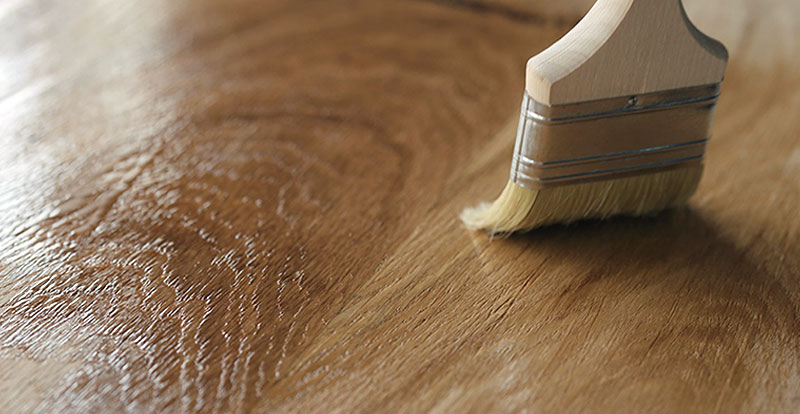
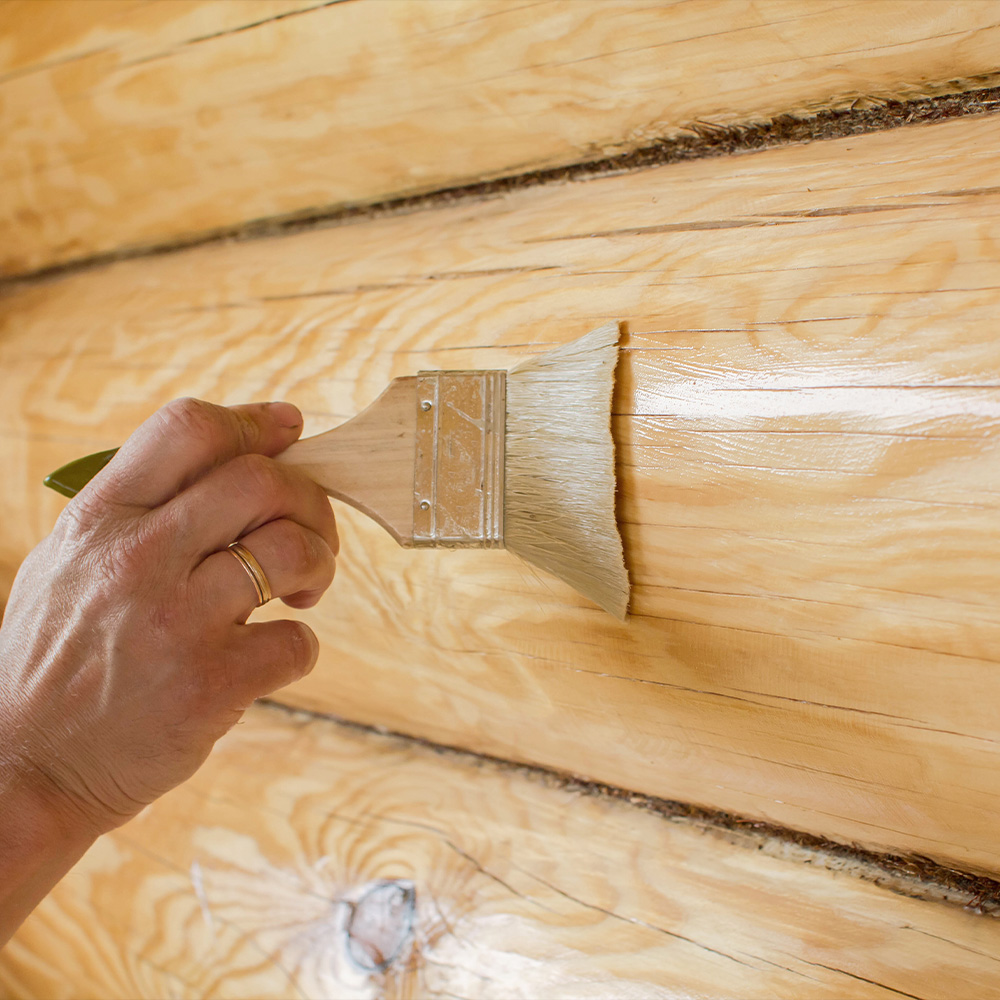
How is wood preservative applied?
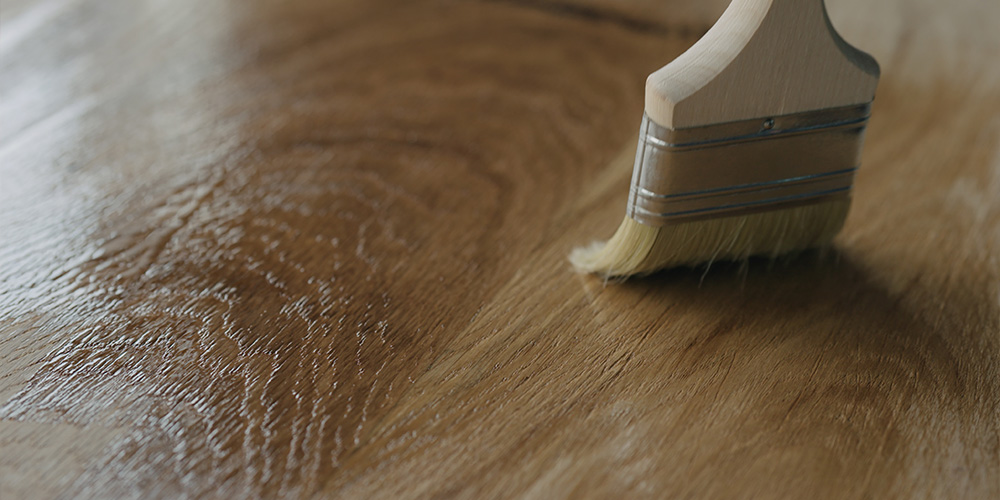
The method or tool used (brush, paint roller, spray gun) depends on the wood preservative used and the size and shape of the surfaces. The coating should always be applied in at least three coats:
- Primer: Usually a low-viscosity oil or oil mixture (colourless) that penetrates deep into the wood to provide deep protection.
- Paint application: A simple paint application with a colour mixture (e.g. Linseed oil paints, oil-wax mixture) is not yet opaque in most cases, which is why a second coat of paint or a top coat is usually required.
- second coat of paint or a top coat must be applied.
Please note the following:
- Apply thinly: Apply oils in particular in several thin coats and avoid leaving residues. Thick coats of paint take longer to dry and there is a risk that individual areas will still be damp before the next coat of paint is applied. This can lead to the colour peeling off.
- Allow sufficient time for the paint to dry. Each coat must be allowed to dry sufficiently before the next coat is applied. Oils and oil paints require approx. 12 to 24 hours between coats.
- Intermediate sanding: After the first coat, wood fibres often appear, which should be removed by sanding with fine Abrasive paper sandpaper or sanding pads to obtain a smooth surface.
- Coating direction: For colourless and glazed coats, always apply the coat with a brush in the direction of the wood fibres. For opaque paint coats, a crosswise coat (across and along the grain) usually produces a more even result.
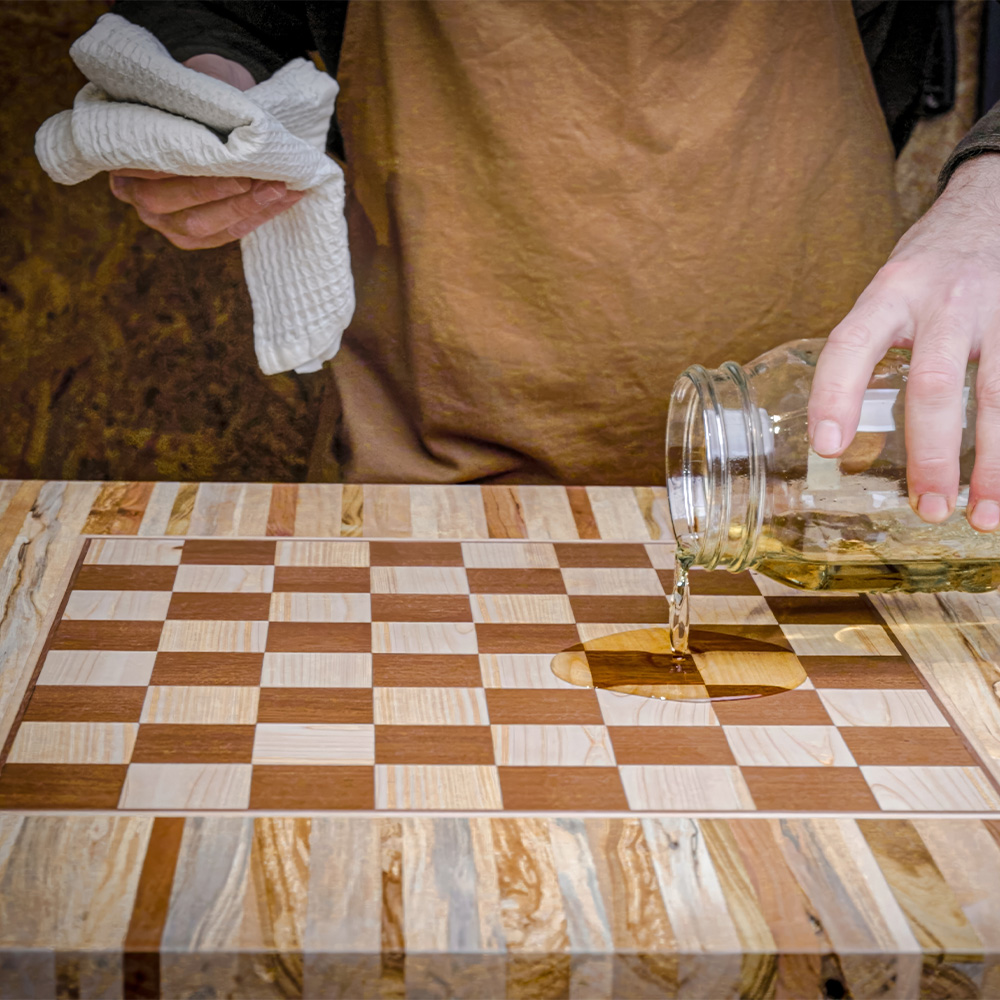
How can I refresh an old coat of paint?
If varnish or glaze has been used as a wood preservative to seal the surface and cracks have already formed, the old layer of paint must be completely removed or sanded off. If, on the other hand, the wood has been treated with oil, wax or an oil mixture, refreshing is easier than with chemical wood preservatives.
In the case of exterior surfaces, the oil as a binding agent in the colour will degrade over time. Usually after about 2 to 3 years, the pigments are dry on the wood and can be rubbed off. Before repainting, the surface is rubbed down with a damp cloth. If the surface is still intact, sanding is not necessary. A simple application of a little oil (e.g. linseed oil or varnish) solidifies the loose pigments again and quickly restores the lustre to dull areas. If the surface is heavily weathered and cracked, you can either just wipe/brush off the surface and preserve the condition with oil or sand the surface and apply a new coat of paint (preferably with at least 2 coats). A test coat of paint is always recommended, regardless of whether the surface is untreated or pre-treated!
Can I do without chemical wood preservatives?

The answer is yes, but you should bear the following in mind:
- Natural wood preservatives and paints also react chemically. Processes such as polymerisation and oxidation are natural and also take place when using linseed oil or walnut oil, for example. However, you can largely dispense with artificial binding agents, pigments or additives produced using chemical processes.
- Construction: Adhere to the principles of constructive wood protection, e.g. avoid contact with the ground, no stagnant areas for water, drip edges, etc. to minimise the effects of weathering.
- Weather resistance: Some types of wood, such as larch or robinia, are naturally very weather-resistant and do not require chemical wood protection if they have been professionally installed.
- Light colours protect better than dark ones. Light colours with a high zinc content are ideal for outdoor use. Light colours reflect sunlight and thus reduce temperature fluctuations and the associated cracking of the wood. With dark colours, the maintenance intervals are shortened due to the larger temperature differences. Colourless or translucent paints turn grey more quickly due to the lack of UV protection and are not recommended. A high zinc content in the pigments provides good natural protection against fungal attack.
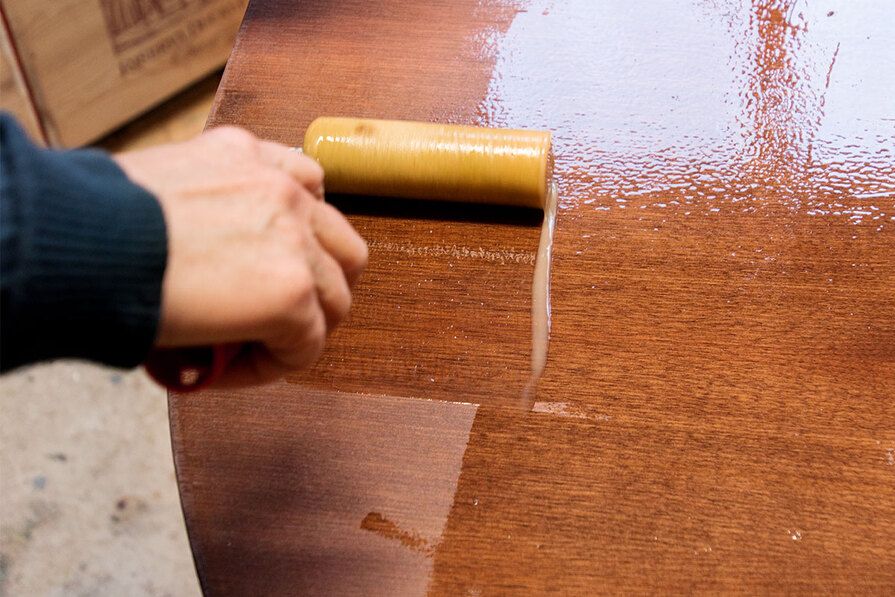
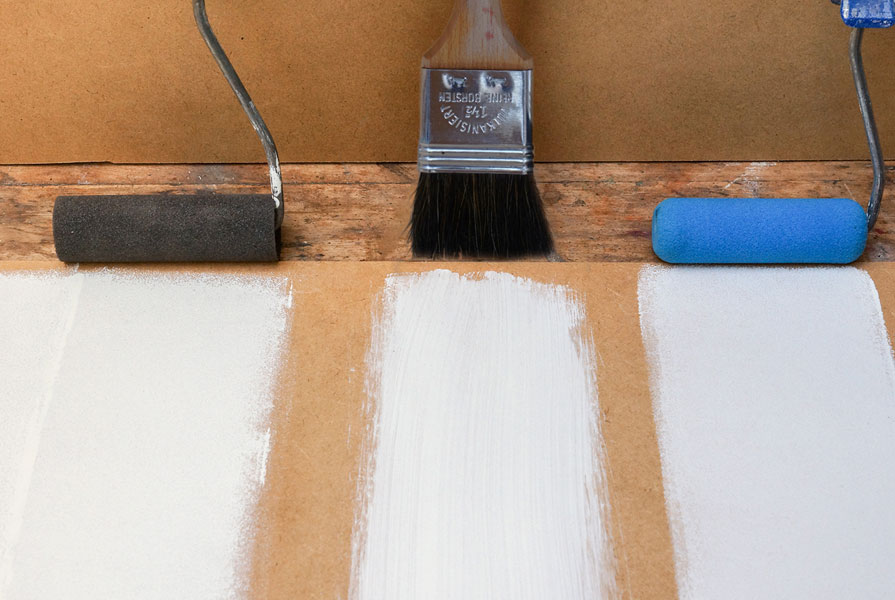
Brush, roller or sponge - which is better?
Different application tools are suitable for different paints, such as oils, varnishes or stains.