
Saw-set pliers and sharpening devices for saws


Saw-set pliers and sharpening devices for saws
EXPERT KNOWLEDGE SETTING PLIERS AND SHARPENING TOOLS FOR SAWS
What does "setting" mean?
The set influences the correctability of the saw cut, the fineness of the cut surface and the amount of force required for Saws.
It describes the alternating bending of the saw teeth to the right and left. However, there is no standardised definition of where this dimension is measured. To make it easier to understand, we specify the thickness of the saw blade at the teeth. This dimension also corresponds to the kerf width. As a rule, all blades are set, with the exception of some Japanese saws, especially dowel saws. The bending of the tooth tips causes the saw blade to "cut itself free" and not lie with its entire side surface in the joint. Otherwise, the friction would be very high and a lot of force would have to be applied when sawing. The saw cut can only be corrected if there is sufficient clearance for the tooth tips. However, if the set is too large, the cutting quality is reduced.
How is a handsaw sharpened?
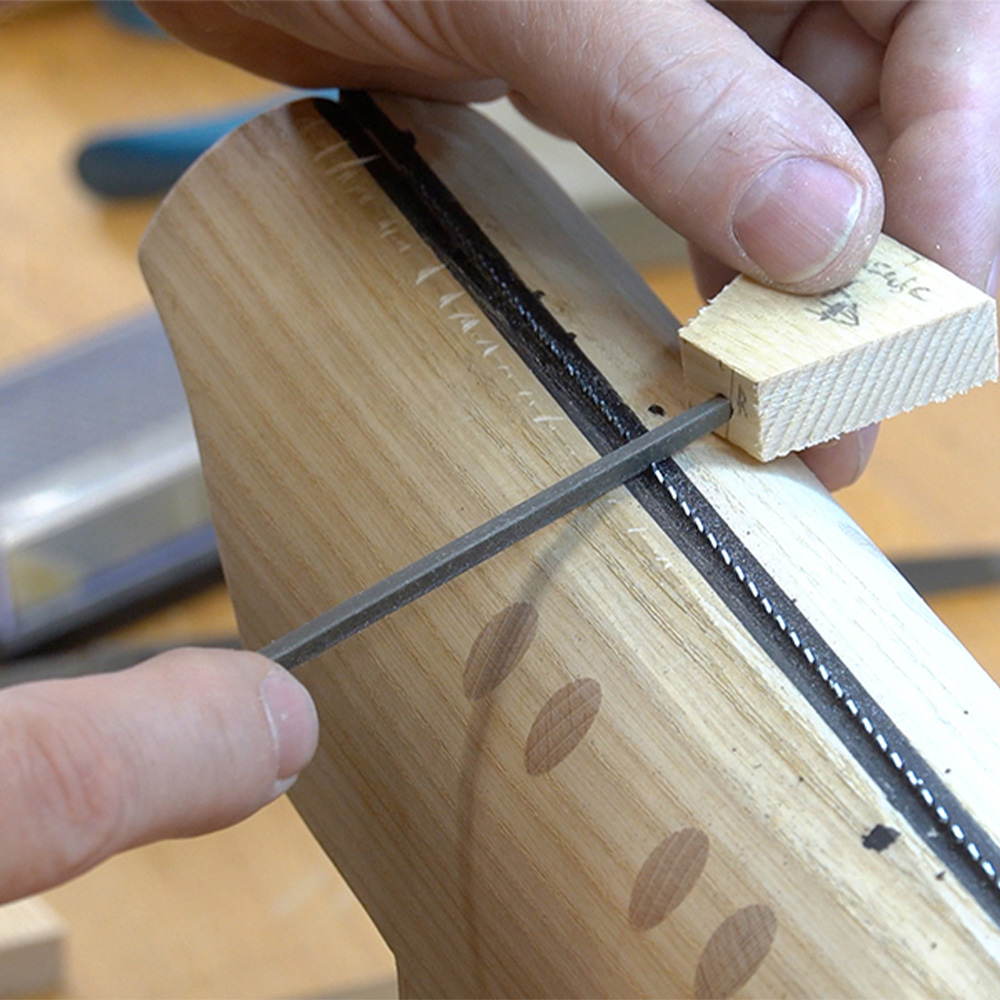
The basic steps for sharpening handsaw blades are always the same:
- Dressing: A flat file is used to bring all tooth tips to the same height.
- Shape the teeth: Irregularities in the spacing and Angle of the saw teeth are removed with saw files.
- Setting: Slightly expose the saw teeth using pliers or a setting tool.
- Light dressing: Bring all teeth back to the same height.
- Final sharpening: Sharpen all tooth tips to the point with a light file stroke.
When does a saw blade need to be set?
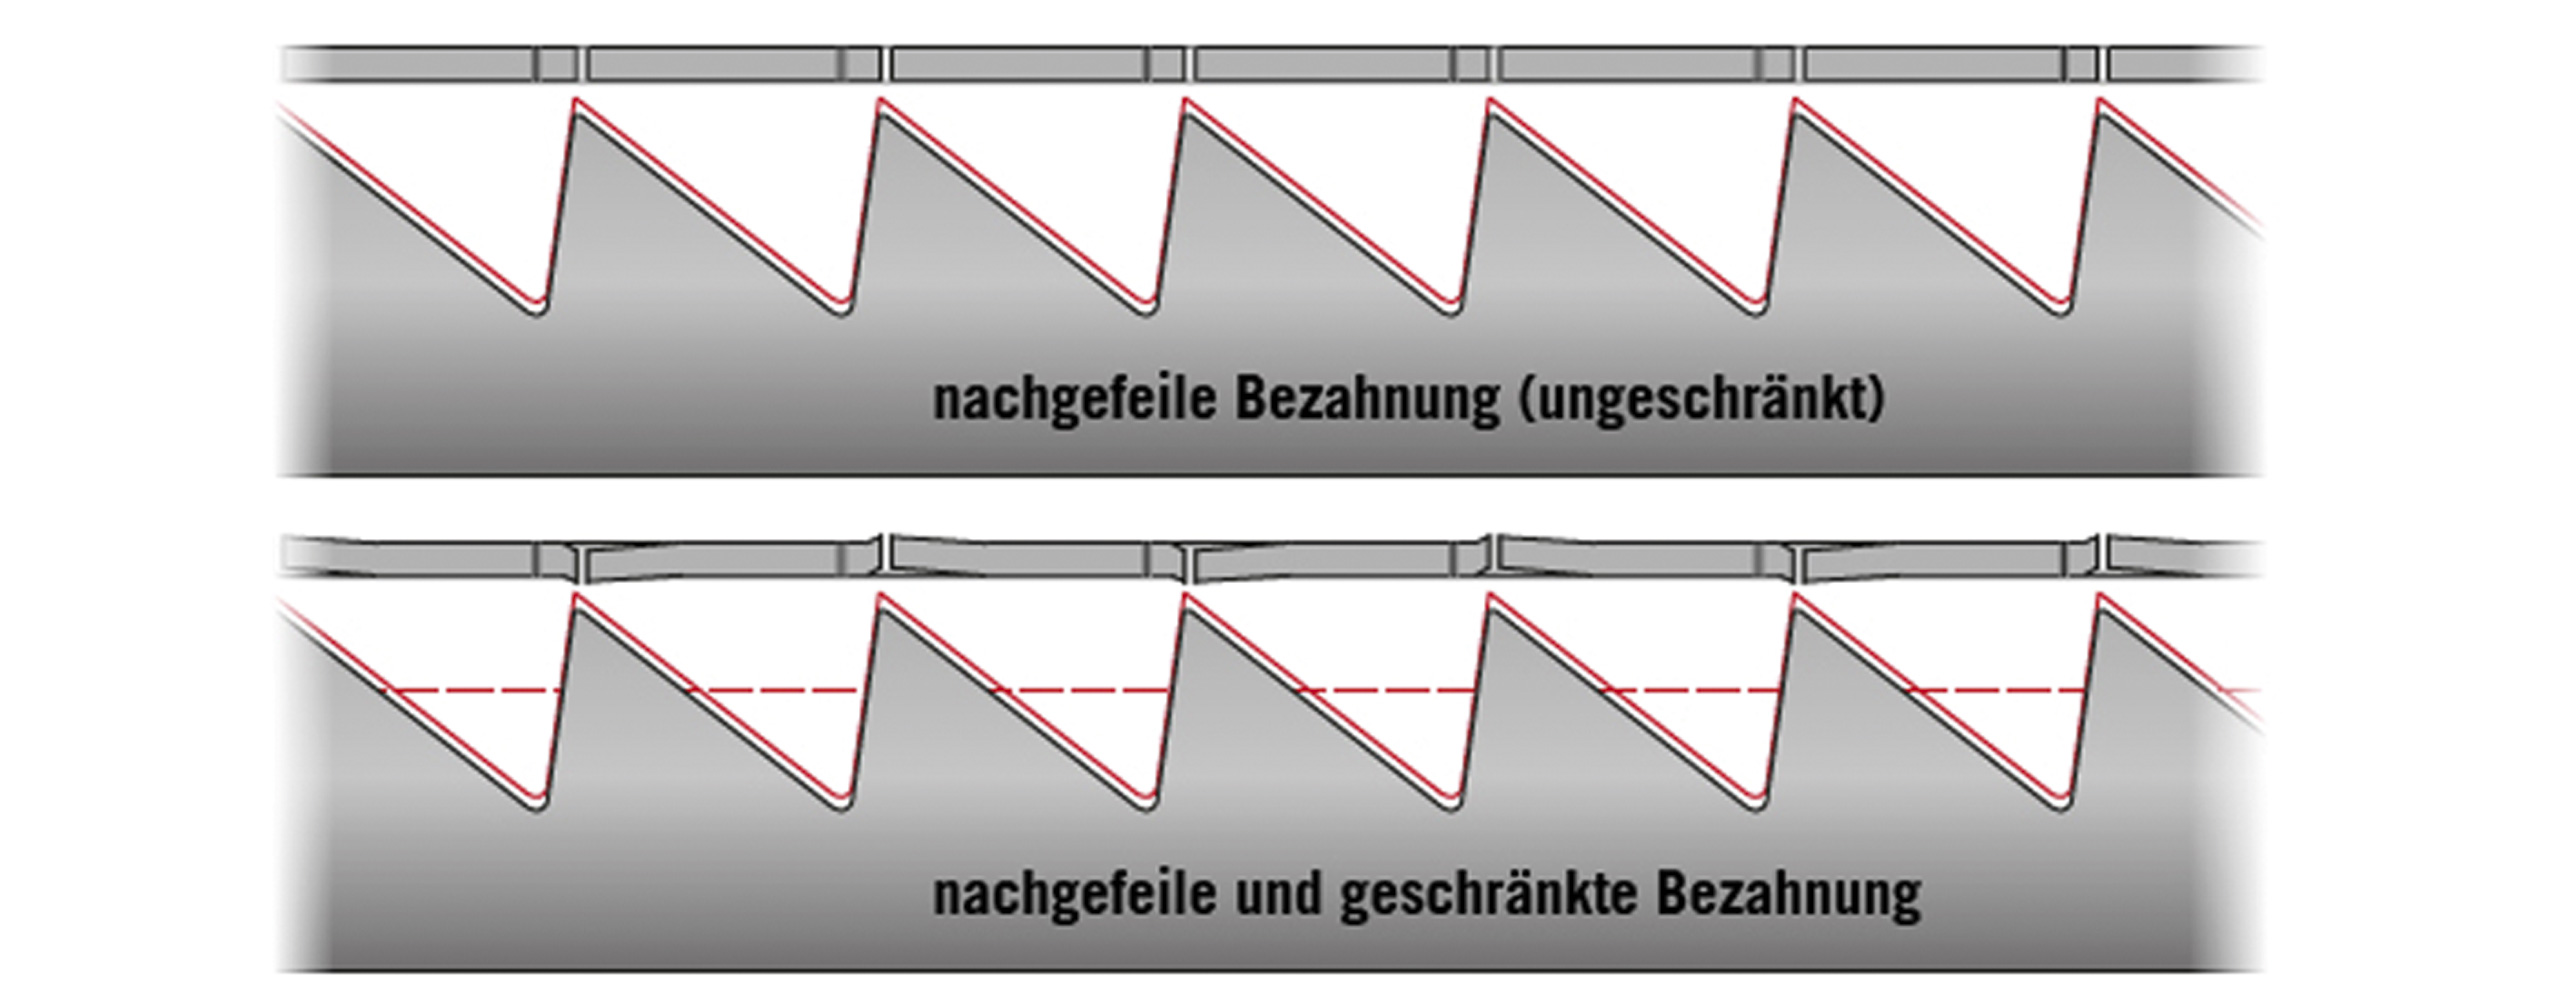
If the saw teeth still have sufficient setting dimension after dressing and filing, they do not need to be reset. After about five to ten sharpening passes, however, the teeth are filed down so far that the saws must be set again with setting pliers. This is usually done before the last filing pass, i.e. after all the teeth have been brought to the same height and the remaining flats on the tips have almost disappeared. To do this, set the setting pliers so that the saw tooth is folded over in the upper two thirds and the bending of the tooth tip is a maximum of 10 % of the saw blade thickness. Then first set every second saw tooth to one side according to the old setting, turn the saw over and set the remaining teeth in between to the other side. Straighten the saws again very slightly after setting. Finally, the resulting flats on the teeth are finally removed with a light sharpening pass.
How do I set the clamp correctly?
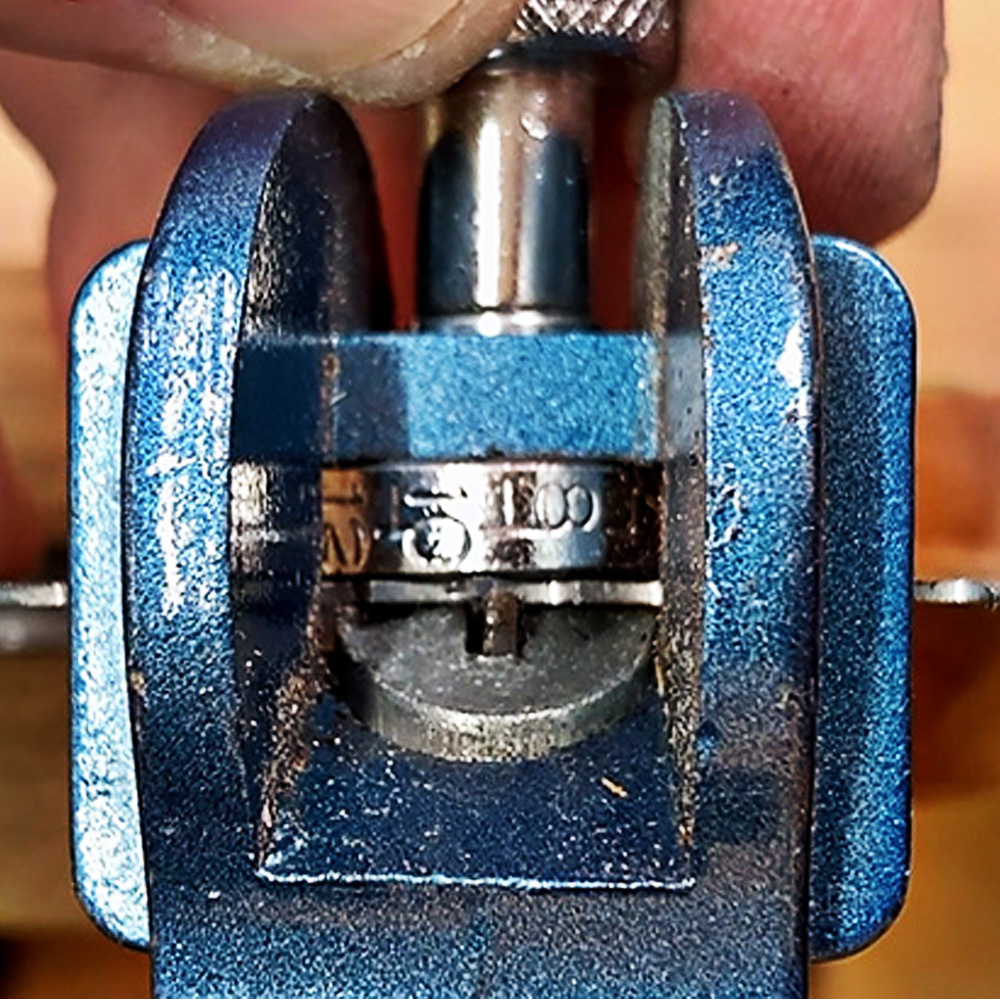
Setters or pliers are adjusted so that their anvil or the edge around which the tooth is bent is approximately halfway up the tooth. Position the pin of the setting pliers so that it can bend the entire saw tooth. When setting, make sure that you always position the pliers in the same way. The teeth must be bent as evenly as possible. Only use as much force as is necessary to bend the teeth, otherwise you run the risk of damaging them.
To test whether the settings are correct, set the first six teeth starting from the handle. The teeth at the end of the handle are rarely used, so this is the ideal test area. Use the setting pliers to set the first, third and fifth teeth from one side. Then turn the Saws over and set the teeth in between, i.e. the second, fourth and sixth. You can now measure the set. If it is too large, move the anvil towards the tip of the tooth. If the set is too small, move it further towards the base of the tooth. If everything is correct, you can set every second tooth up to the tip of the saw and then work on the teeth in between from the other side after you have turned the Saws over.
