
Coping saws & fretsaws


Coping saws & fretsaws
EXPERT KNOWLEDGE COPING SAWS & FRETSAWS
How is a coping saw constructed?
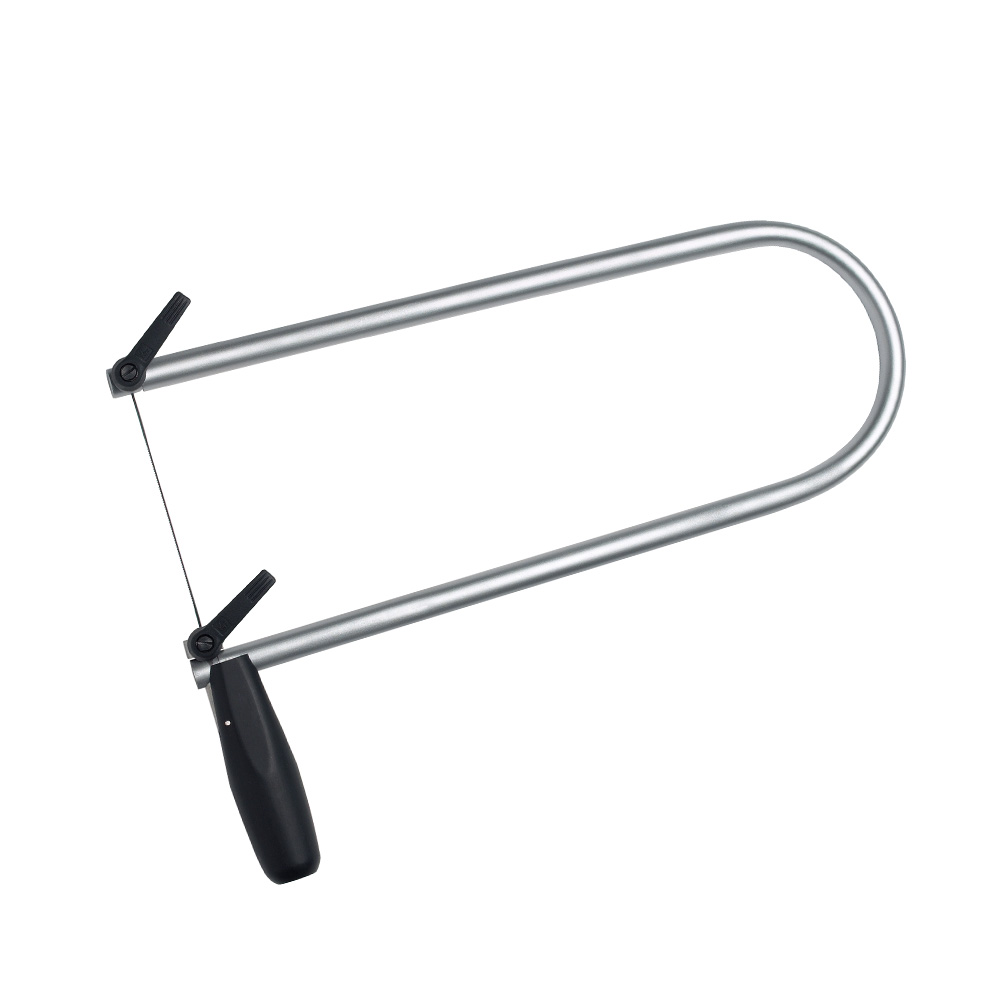
Most coping saws share the same basic design. Whether you choose a plastic or wooden handle, a chrome-plated or nickel-plated frame, or a deeper or shallower throat, the principle remains the same.
A coping saw consists of a handle attached to a U-shaped frame (also called the bow). The frame can vary in depth. The blade is tensioned between the two ends of the frame.
On simpler models, wing nuts are used for fastening. Higher-quality saws are equipped with tensioning screws or quick-release levers for faster and more convenient blade changes.
How to fit the blade correctly
Regardless of the clamping system, first secure the blade at one end of the frame, preferably on the side opposite the handle. The teeth must point downwards, towards the handle.
Then compress the frame slightly to fit the other end of the blade. This step is essential to achieve proper blade tension.
Children can use the edge of a table as support when fitting the blade. One side of the frame is braced against the edge, making it easier to compress. The clamp can then be tightened with the free hand.
On high-quality saws with rigid frames, or on scroll saws (the powered version of a fret saw), blade fitting is often even easier thanks to lever-based quick-clamping systems.
Types of coping saw blades
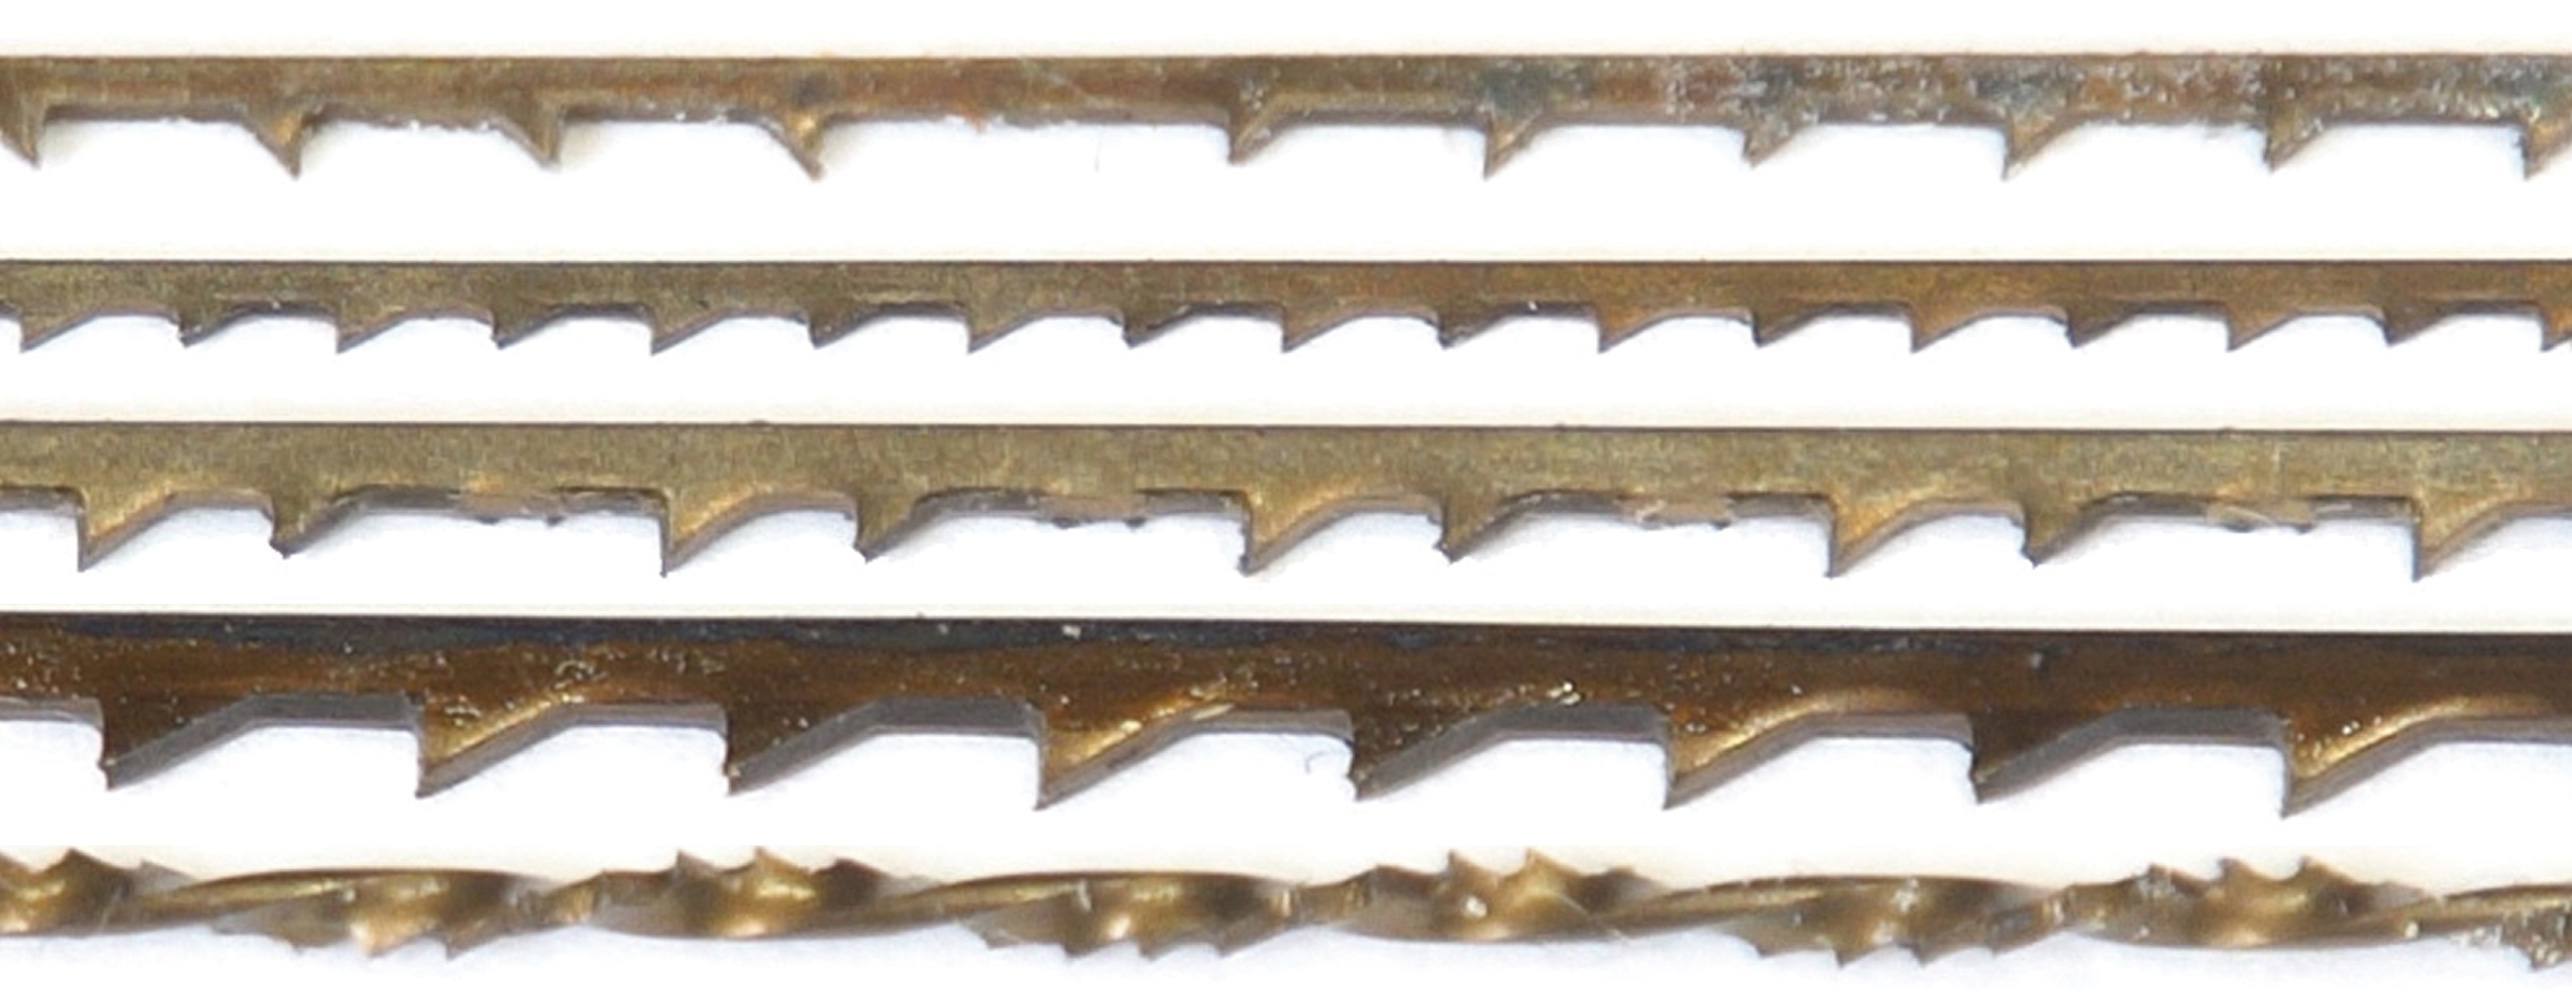
There are various blade types available, each suited to different materials and applications. Common types for woodworking include:
- standard tooth blades
- double-tooth blades
- reverse-tooth blades
- spiral blades (cut in all directions)
All of these are suitable for fine work in wood and plastic.
Blade thickness plays an important role: thicker blades are more stable and less prone to breakage, but cannot cut tight curves as easily.
Tooth size is equally important. Larger teeth mean fewer teeth per inch and faster cutting, as the increased spacing improves chip clearance.
Spiral blades are particularly useful for workpieces with complex curves and tight internal shapes. Because they cut in all directions, the workpiece does not need to be rotated. However, they tend to wander during straight cuts and produce a wider kerf.
There are also specialised blades for cutting metal and dedicated blades for scroll saws. These can be difficult to distinguish visually, so always check the product description carefully.
Transferring patterns to the workpiece
You can draw your own designs or use templates from books or online sources.
Simple designs can be drawn directly onto the surface with a pencil. Printed templates can be glued onto the wood using standard wood glue, although this requires sanding afterwards. Alternatively, carbon paper can be used for transfer.
For highly detailed patterns, tracing can be time-consuming. Another option is toner transfer: apply a small amount of orange oil to the wood surface, place a laser print face down, and rub it lightly. After removing the paper and allowing the oil to evaporate, the toner remains on the surface.
Note that the design will be mirrored during this process.
Cutting dovetail joints with a coping saw
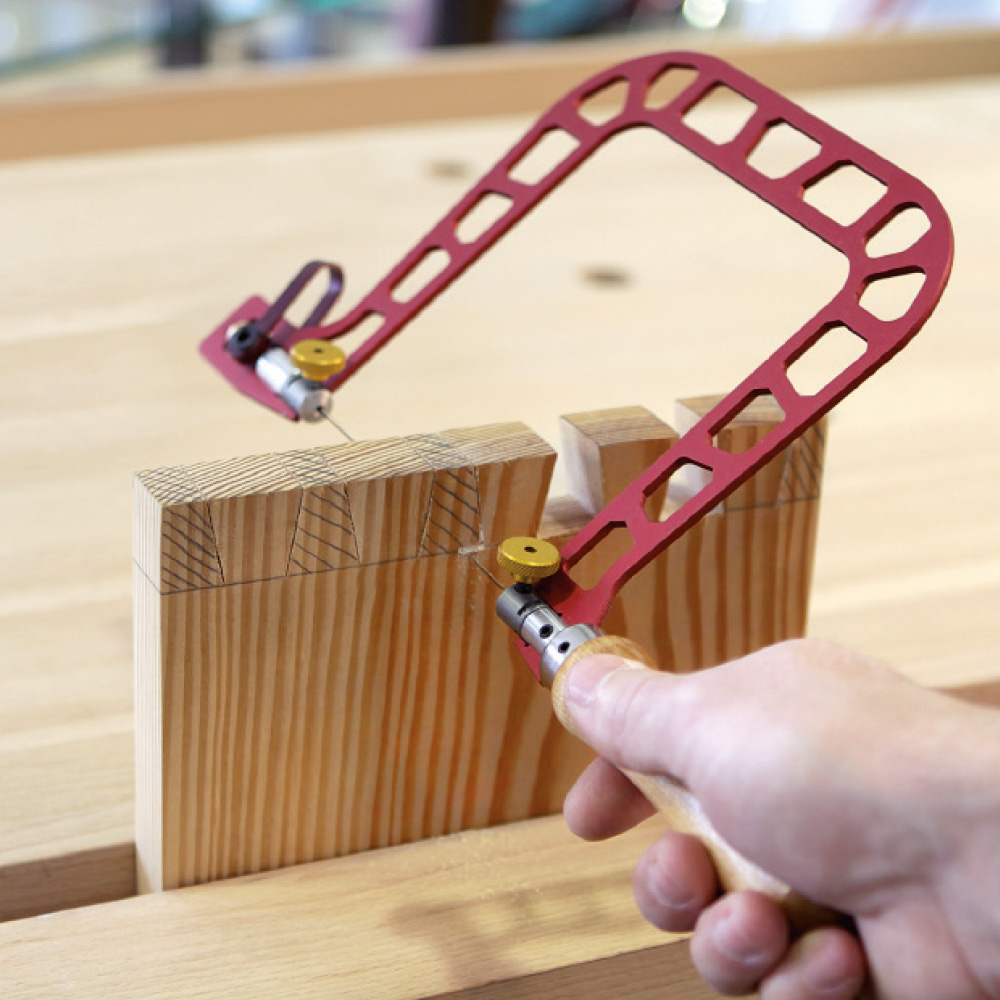
There are several ways to cut dovetail joints. The traditional method involves cutting the pins and tails vertically with a fine saw or frame saw, followed by removing waste with a chisel.
Alternatively, a coping saw can be used for both steps. The joint can be cut vertically and then cleared horizontally in one operation. This saves time, reduces tear-out and allows for very fine kerfs.
What else do you need for coping saw work?
- Plywood (e.g. poplar) up to approx. 6 mm thickness is ideal for beginners and craft work.
- The saw cuts on the pull stroke during the downward movement. The workpiece should therefore be supported close to the edge of the bench or on a V-notched sawing board.
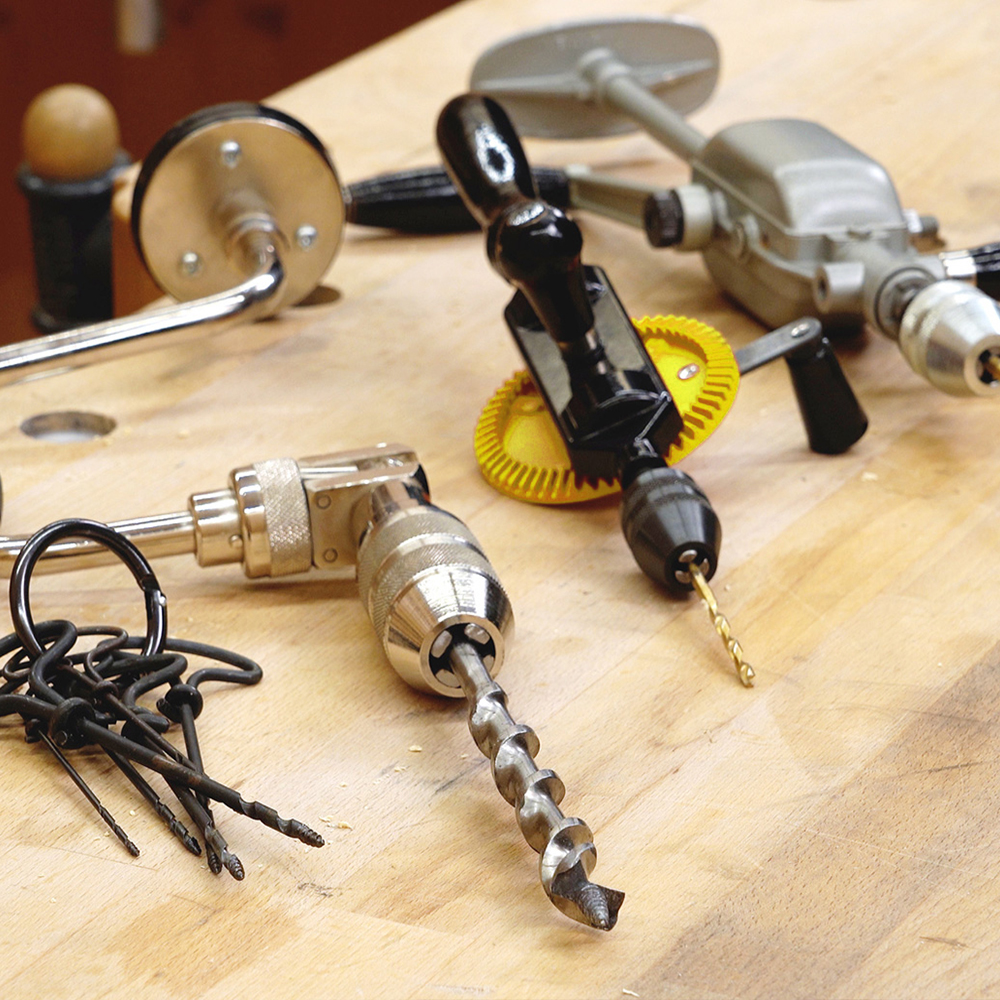
- Coping saws are ideal for internal cut-outs. A drill or hand brace is required to create a starting hole for the blade.
- Templates and guides can be found in books and online resources.
- Use non-toxic paints (e.g. linseed oil paints) or stains for finishing.
Origin and historical use
Coping and fret saws developed in Europe between the 16th and 18th centuries as specialised tools for fine, controlled cutting in woodworking. They were widely used for decorative work such as marquetry and fretwork, where intricate interior cut-outs and precise curves were required.
Their defining feature is the narrow, tensioned blade, which allows tight radii and delicate cuts that cannot be achieved with larger handsaws. Today, these saws remain essential tools for fine woodworking, model making and precision craft applications.
