


Carving gouges


Carving gouges
EXPERT KNOWLEDGE CARVING GOUGES
Definition: Carving gouges are sculpting tools or carving tools. The term Carving knives is also used colloquially or regionally, but is also used for the classic carving knife (Shape of a knife) and is therefore misleading.
Differences between the blades
With Carving gouges, a distinction is made between the cross-section along the cutting edge (flat iron, hollow iron, V-parting tools) and the shape along the blade length (straight, short bent, long bent).
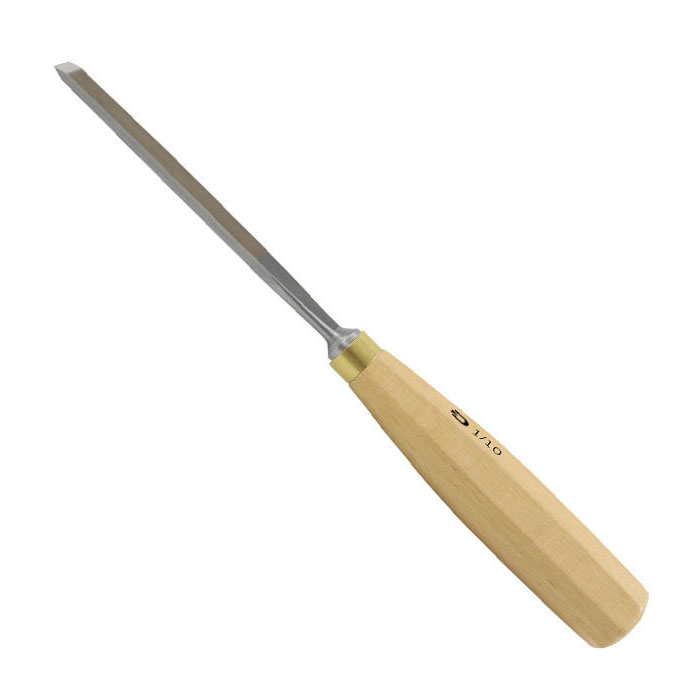
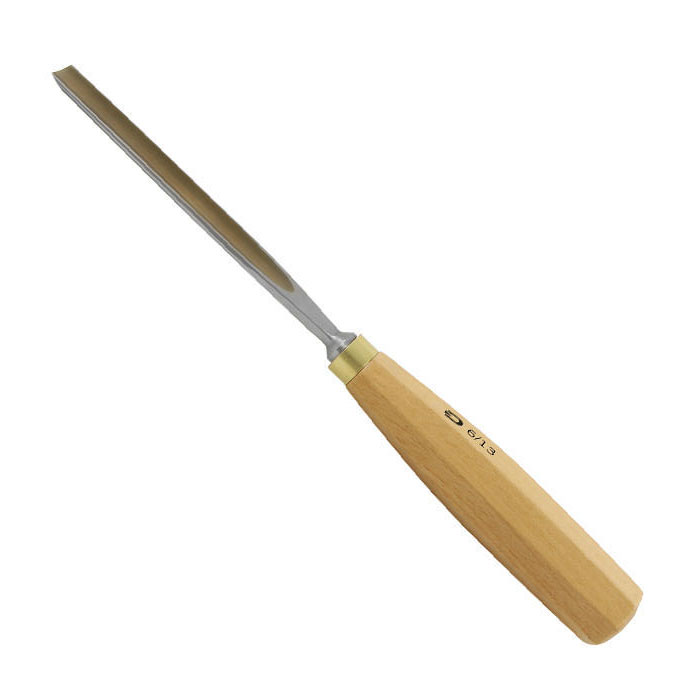
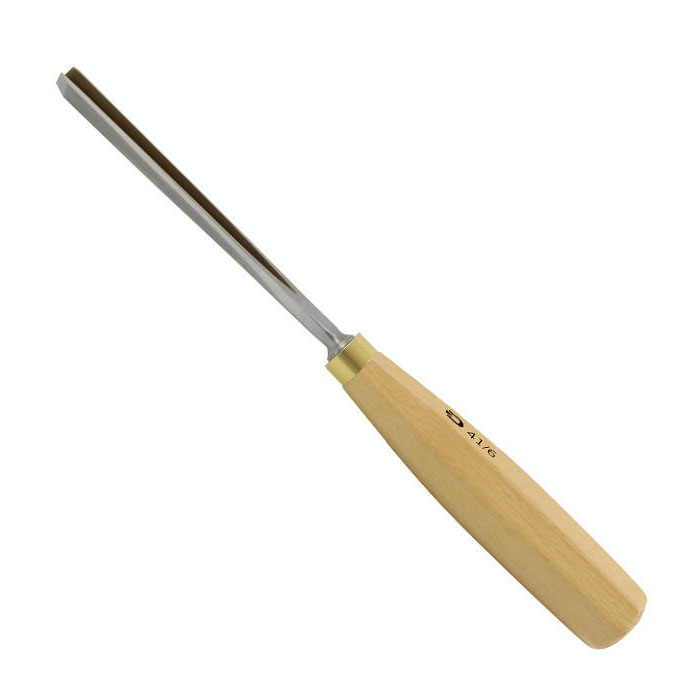
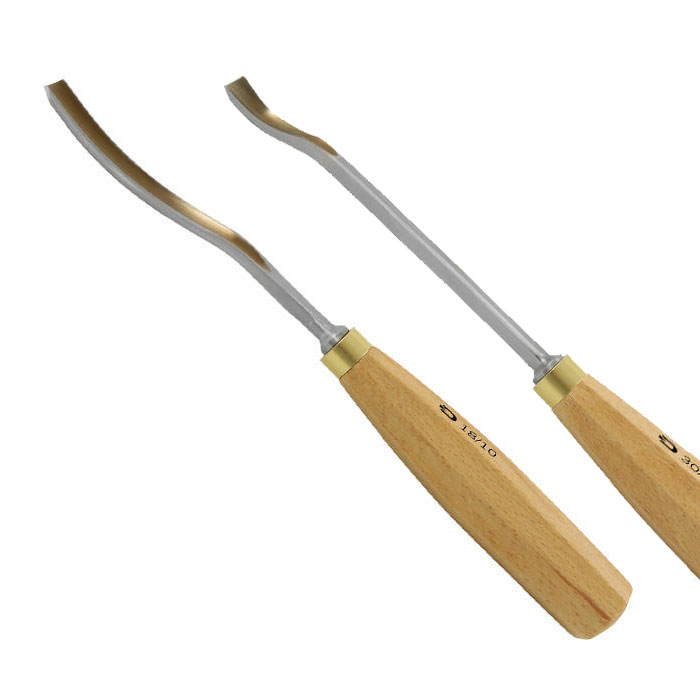
How is a hand-forged carving gouges made?
Most carving gouges manufacturers such as Pfeil or Stubai forge their carving gouges using dies, in large air or spring hammers. When forging in a die, the steel is significantly less compacted than when forging by hand under a Mandrels. The advantage of traditionally produced Carving gouges is therefore a compacted structure and therefore better durability and sharpenability for the Use.
The following is the production process of a DICTUM Carving gouges at the renowned Manufacturer Henry Taylor (Sheffield England):

The tang and the shoulder are moulded on the blanks first. It is important that the shoulder has a flat contact surface.
In the next step, the blank mould is forged. The blade is then moulded evenly and brought to its final thickness. A traditional manufacturing technique makes it possible to forge the tool as thin as possible while ensuring high stability.
Before Hardness, the blade is pre-ground to remove the edge layers decarburised during forging. This ensures continuous hardness at every point of the blade.

Moulding the inside of the Carving gouges The inside of the blade is shaped by hand using a small mandrel. Repeated remoulding produces a thin, even blade.
A controlled hardening and tempering process gives the Carving gouges a uniform hardness.

Final sanding is carried out on special sanding machines that cool the workpiece during sanding to prevent loss of hardness due to overheating.
Fishing - the big one!
The tang of a sculpting or carving gouges is at best never seen, at worst only after the purchase of an iron, namely when the handle splits when struck with the mallet. This also explains why it is worth taking a look at the tang or the shape of the shoulder on the tool before you buy it. The tang should not be too long, as this weakens the handle wood. However, it should also not be too short to ensure a good grip on the handle. Ideally, the tang axis should be aligned with the blade axis so that the tool is balanced. The shoulder should be forged wide and have a straight contact surface, otherwise the rod will be driven too deep into the handle when striking and can split it.
Japanese carving tools
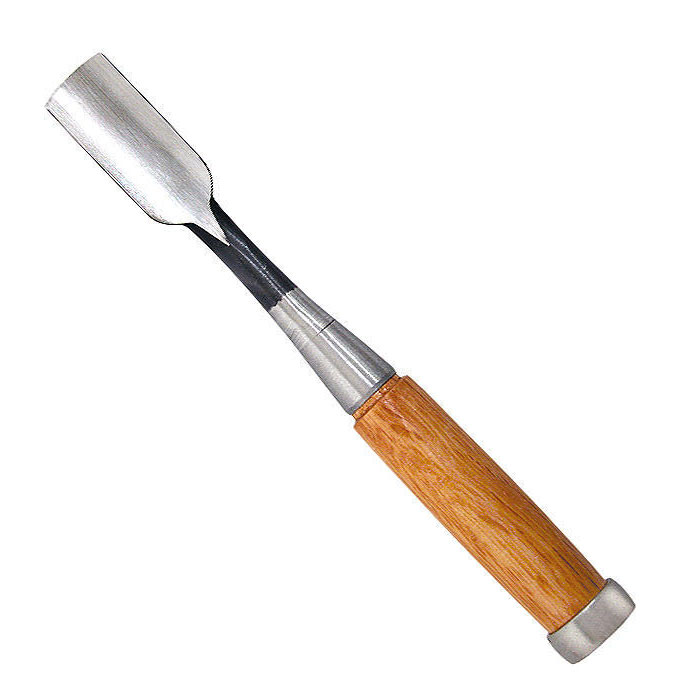
Tool selection for beginners
For beginners, we recommend starting with a carving iron set that includes different blade sizes. These sets provide a good basis for learning the various woodworking techniques.
Three criteria are decisive when selecting carving tools:
- The stitch: The cutting shape, which is defined by the stitch number.
- The width of the iron: This is always measured at right angles to the cutting edge (even with 1S).
- Shape of the blade in the longitudinal direction: This shape determines how the iron glides through the wood.
What do I do if I own an iron but am not completely satisfied with the selection?
Firstly, consider which of the three criteria do not need to be corrected. For example, if the stitch is good but the iron is not wide enough, stick with the stitch number and choose a wider iron. If the stitch and the width of the iron are OK, but the cut does not allow for a straight iron, choose the short bent version for slight indentations or the long bent version for deep indentations.
Carving gouges sharpening and maintenance
Carving tools should be handled with care. Roll-up cases, wooden boxes and special wooden strips on the wall are suitable for storage. Got to tools must not fall on the floor or hit against each other. Defective cutting edges and injuries can thus be avoided. To prevent corrosion (rust), carving gouges should be stored in a dry room. If the carving tools are not used for a longer period of time, it is advisable to protect the blades with a low-viscosity oil. Sinensis camellia oil no. 705280.
Sharpening Carving gouges requires practice and patience. A sharp blade is crucial for precise cuts and safe handling. Use high-quality grinding stones and leather strops to keep your irons sharp. Regular sharpening extends the life of the tools and ensures the best results. Our online shop offers a variety of sharpening accessories specially designed for carving gouges.

Sharpening on the Tormek or DICTUM grinders


Sharpening on waterstones
You can learn both methods from our sharpening experts in our workshops "Sharpening cutting tools (on waterstones)" and "Sharpening on the Tormek".
Expert tips for the use of Carving gouges:
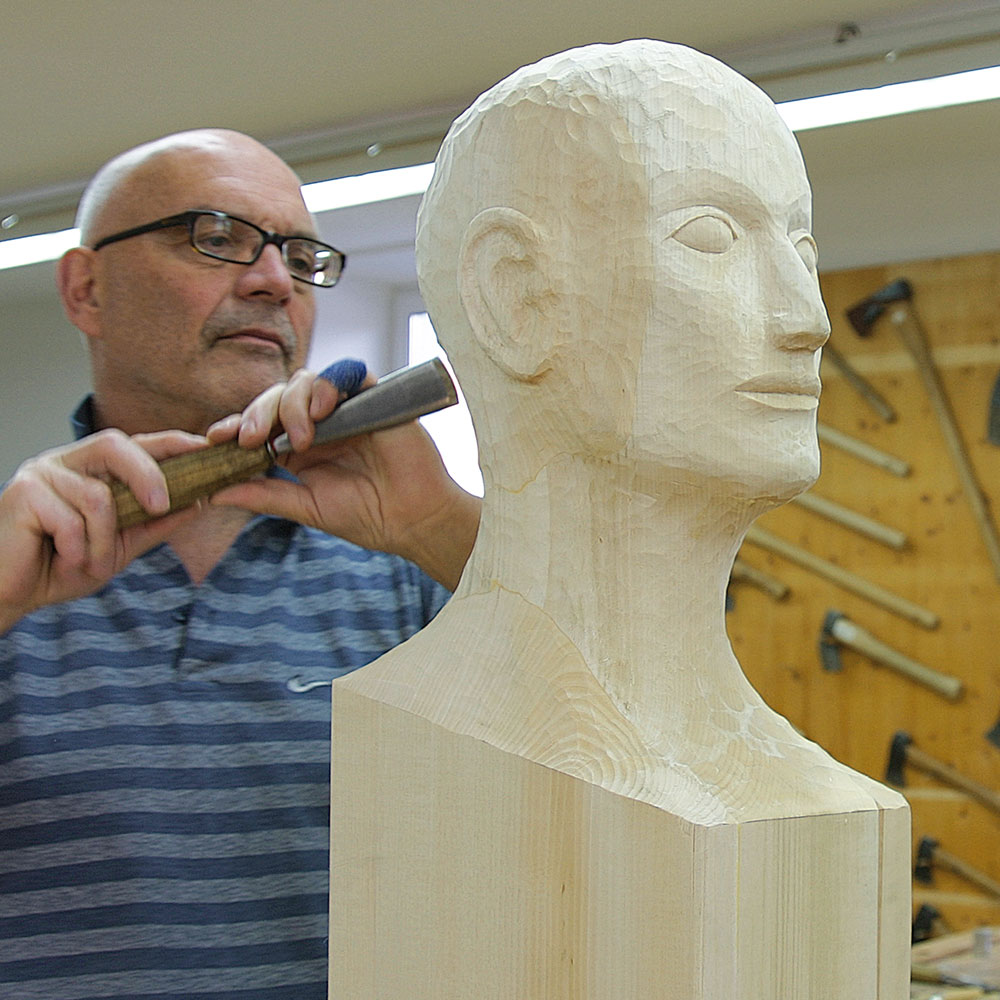
For the rough finishing of sculptural objects or reliefs, use a larger hollow moulding iron with a mallet.
To simplify things, imagine the geometric shape underneath the surface, e.g. the eye as a sphere, the neck as a cylinder, etc.
Always work from the highest point (e.g. the nose) towards the back. This has the advantage that you can easily make corrections if necessary by moving the shape slightly backwards. Define reference points (e.g. centre of the head, tip of the nose, elbow, etc.). It is best to mark and fix these with a cross.
Try to carve the figure with the same level of detail everywhere so that you always have a harmonious overall picture. Carving knives can also be used to carve fine details.
Make sure that the workpiece is always securely fastened (e.g. with the help of figure screws) to avoid injuries and disruptions to the work process.
