New putty for old discs
Linseed oil putty was used as early as the 17th century to seal window panes and was used almost unchanged until the last century. It is easy to work with, holds the glass panes in the frame and at the same time seals them against moisture and draughts. Over time, however, window putty ages, becomes brittle and needs to be replaced. Here you can find out how linseed oil putty is processed and what you need to renew window putty.
What are the advantages of linseed oil putty?
Linseed oil putty is a 100 % natural material. It consists of 75 % slurry chalk (calcium carbonate) and 25 % linseed oil or linseed oil varnish. Until 1990, asbestos fibres were added to some mastics, but such mastics are no longer available, but you should bear in mind that the old mastics may be harmful to health when carrying out renovation work and wear a dust mask when scraping them out.
Linseed oil putty is easy to use and you only need a few tools and a little manual dexterity to putty windows. More on this later. Glass panes are much easier to fit into a frame with putty than with glazing beads, for example, which are much more time-consuming to produce.
Linseedoil putty is flexible and can be used to fix almost any shape of pane in a frame - round, semi-circular, square or polygonal. Linseed oil putty adapts to any shape.
Linseed oil puttyholds firmly and insulates. You can use linseed oil putty to insert glass panes into wooden and metal frames. As long as the putty bevel is intact, it holds the pane firmly in the frame and seals against moisture and draughts.
When should window mastic be replaced?
At the latest when the putty no longer guarantees the last two properties mentioned, you should replace the putty bed completely or in places. Linseed oil putty hardens very slowly and remains elastic for a long time with good care. If the paint on windows or doors is not renewed in good time and the putty is exposed, it dries out and becomes brittle, losing its inner strength and the bond to the frame. As soon as the putty bed becomes detached from the frame, painting over it is no longer sufficient and you have to replace it in places or completely.
If the window mastic is brittle and cracked, it must be replaced

What do I need for cementing?
For the actual cementing of panes, you only need the linseed oil putty, a putty knife and possibly nails (wire nails) and a small715490 hammer ( or glazing hammer). If the old putty bed needs to be completely renewed, you will also need a putty knife or an old chisel and, if necessary, a heat source (infrared radiator or hair dryer) and fine oil/machine oil to completely remove the old putty.
How is the frame prepared for cementing?
Everything that is loose and loose must be removed! Loose putty residue and flaking layers of paint must be completely removed. To do this, scrape the glazing rebate free with an old chisel or scraper and, where possible, carefully sand down the entire frame. If the glass also needs to be replaced, the easiest solution is usually to simply knock out the panes. This usually also removes most of the old window putty. If only the window putty is to be replaced, it is sometimes difficult to remove the old putty from the frame without damaging the glass. Heat (infrared radiators) and oil soften old window putty somewhat, making it easier to scrape off.
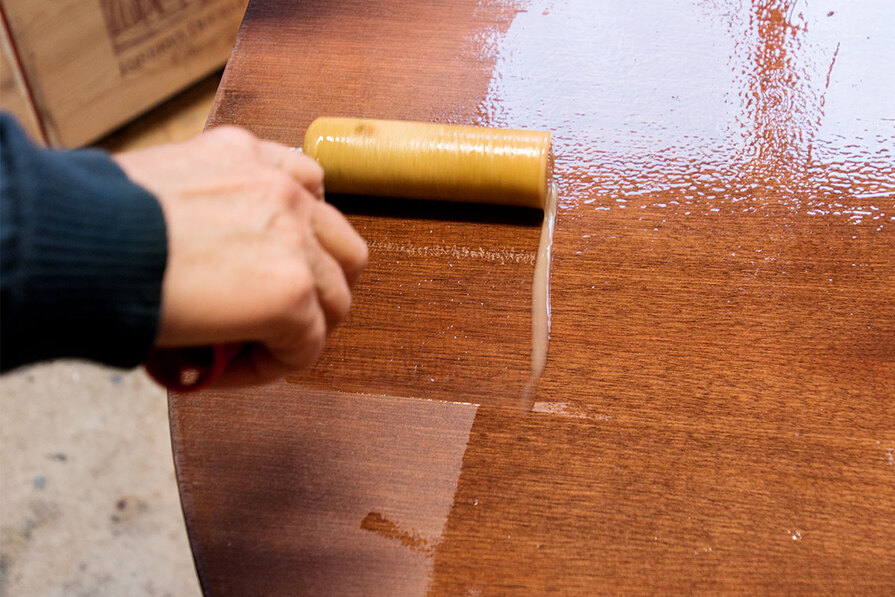
Priming with linseed oil varnish ensures a good bond

However, be careful, rapid heating can cause the glass to crack. New or sanded metal frames should be primed with a rust protection primer (e.g.linseed oil varnish with haematite iron magnesia 810103 or graphite 810099) before fitting new panes. New wooden frames should be primed with a thin coat of linseed oil varnish 810097. The primer ensures a good bond between the linseed oil putty and the frame. With old wooden frames, a coat of oil also strengthens the existing layers of colour.
How do I putty panes with linseed oil putty?
The putty should be well kneaded and lukewarm for processing. Knead the window putty thoroughly for about five minutes. Creating the putty bed and removing the putty bevel is not rocket science, but it does take some practice. In our video tutorial, we show you both work steps in detail (and also the complete glazing of old windows).
The procedure for bevelling is as follows:
- Clean the glazing rebate (see Preparations)
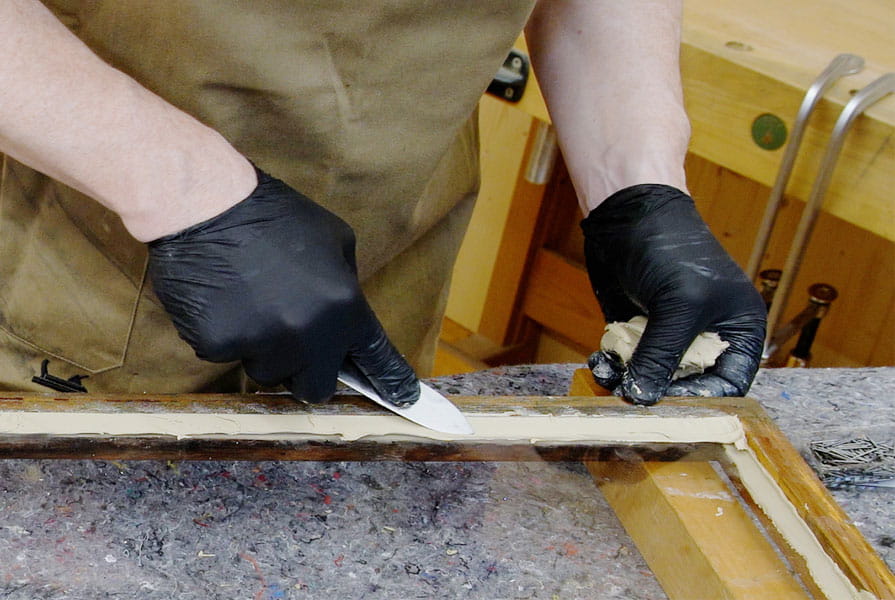
- Pull in the putty bed. If the window/door is exposed to the weather, the glass pane is placed in a putty bed so that the pane also seals to the outside. To do this, first press a thin layer of putty into the glass rebate by hand and pull it off with the putty knife. This can be done quite quickly with the short, straight side of the blunt putty knife730835. If it is an interior door or an intermediate window, the glass can also be placed directly in the frame.
- Insert and fix the glass. Carefully place the pane in the rebate and, if necessary, press it lightly into the putty bed. Use small wire pins to secure the pane against falling out. When nailing, make sure that the hammer always rests on the glass and that you do not hit the thin pane. To avoid scratching the glass, you can place a sheet of paper between the hammer and the pane. Hammer in the nails until they are completely covered by the bevelled putty.
- Press in the putty and remove the bevelled edge. Now press a slightly thicker layer of putty onto the glass or into the glass rebate by hand, enough to seal the frame well. Now use the putty knife to press the window putty firmly onto the frame, spreading it as evenly as possible. Then press the linseed oil putty firmly into the rebate in one go with the putty knife and cut off or squeeze off the excess putty at the same time. The result should be as smooth a 45° bevel as possible. The classic glazier's knife or a puttyknife with pointed blade 730836 is very suitable for removing the putty bevel. Moulding the corners is somewhat more difficult. Whether you are more successful with the pointed blade or the blunt putty knife depends on your preferences and experience.
- Remove excess from the putty bed. Now turn the frame over and cut off the excess putty bed flush with the putty knife. The pane is now fully cemented.
Windows and doors with a weatherboard or drip moulding are a special case. This is a protruding moulding on the lower sash frieze that prevents rainwater from flowing into the frame. The weatherstrip often makes the lower putty bevel difficult to reach or cannot be removed at the correct angle with standard putty knives. The blunt weatherstrip putty knife 730834 is particularly suitable for removing this putty bevel.
How do I care for windows and doors with cemented panes?
Before you thoroughly clean or paint the freshly cemented windows and doors, you should allow the linseed oil putty to set a little. Immediately after puttying, you can dust the glass panes with chalk powder or talcum powder and wipe them carefully with a soft cloth to remove traces of oil and putty residue. It is best not to paint over the frames and the linseed oil putty with linseed oil paints for three to four weeks. Only clean the windows thoroughly once the paint is dry. If the windows and doors are regularly painted with linseed oil paint in future, the linseed oil putty will also be sufficiently supplied with oil and protected against the effects of the weather, so that it remains elastic for longer and reliably seals the panes.
The powder absorbs oil stains and accelerates the drying of the putty