Veneer yourself
Want to emphasise a plain surface or enhance an inexpensive panel material? By veneering with beautiful woods, you can give your workpieces the look you want. We explain the basics of veneering.
Start veneering with smaller surfaces first. It doesn't have to be an entire door leaf or a desk top. Drawer fronts, the lid of a casket or the top of a side table are good places to practise.
Veneer selection
Veneers are available in different thicknesses and qualities. The thickest and most expensive veneers are so-called sawn veneers. These are approx. 3 to 5 millimetres thick and are used for heavy-duty surfaces such as flooring. Sliced veneers are mainly used in furniture construction. These are cut to a thickness of 1 to 3 millimetres from the log using wide knives, similar to a giant plane. This produces veneers with a beautiful grain pattern and veining. When making your selection, make sure that you get consecutive veneer sheets from the same batch. The most favourable veneers are rotary-cut veneers. They can be used as intermediate and inner veneers. During their production, the log is turned past large knives and peeled from the outside inwards. The wood fibres in rotary-cut veneers run in a linear pattern and therefore do not show any veining.

Online courses - anytime & anywhere
Joining veneers and veneer patterns
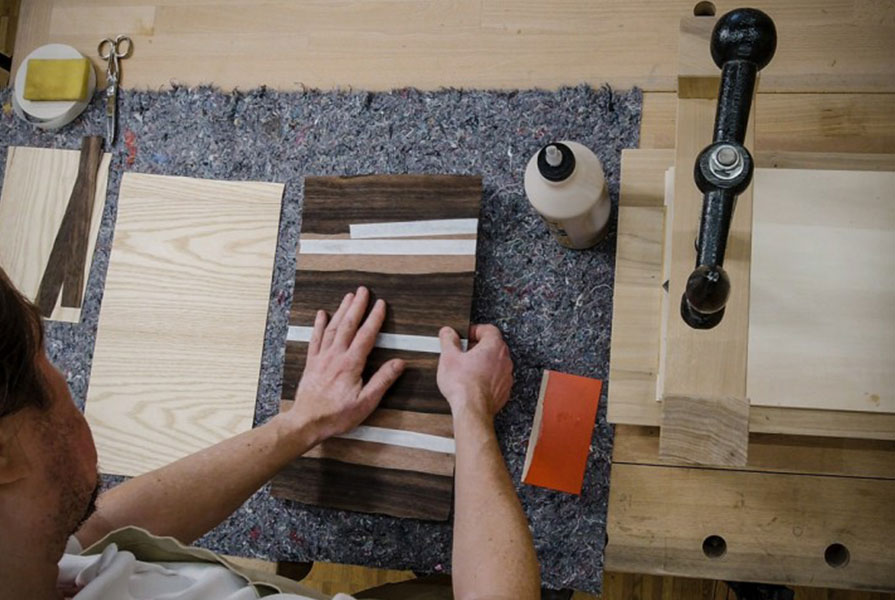
For wider surfaces and beautiful decorations, several sheets of veneer are joined and put together. Depending on the type of wood, you can use a simple cutter knife or a veneer saw for joining. A straight hardwood moulding serves as a guide. If you want to work very precisely, clamp the veneer sheets between two boards and join the edges with a planer (e.g. with a router). You have various design options when joining the sheets. You can use the veining of the wood to make the surface appear calm or more lively. To do this, the veneer sheets are either shifted, mirrored, tumbled or mirrored and tumbled.

The joined veneers are temporarily glued together at the joint using special veneer tape. Veneer adhesive tapes are made of paper and are moistened like stamps in order to stick. They are quite thin and can be easily sanded off later.
Backing material and inner veneer
Almost all wood-based materials such as blockboard, multiplex, MDF and solid wood are suitable as a substrate for veneers. The surface should always be smooth and absorbent. Rough surfaces, such as OSB boards, must be levelled and sanded. All base materials must always be veneered on both sides so that the workpiece does not warp later. If one side is on the inside of the carcass, you can use a cheaper inner veneer on this side. When cutting the workpieces to size, make sure that the veneers are glued on later with as little interlocking as possible - i.e. across the wood fibre of the support. If this is not possible for design reasons (e.g. in the case of a jointed drawer), intermediate veneers should be included in the planning.
Glue application
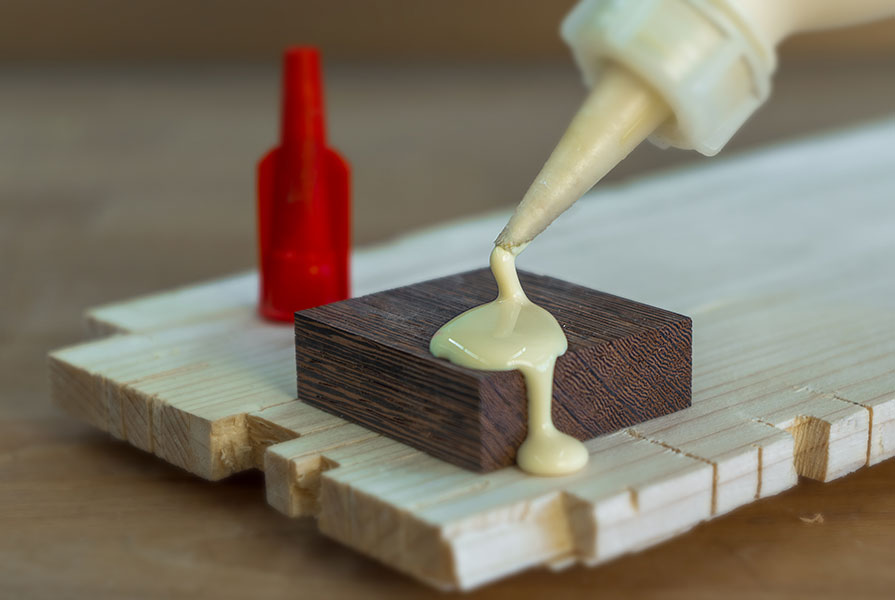
Veneers and backing should be at the same temperature and ideally stored in the same room for at least one day before veneering. Dust should be thoroughly removed from the substrate before applying the glue. For small surfaces, a normal white glue is sufficient as an adhesive. Glue can usually still be applied with a brush. For larger areas where the glue application requires more time - remember that you have to veneer both sides of the workpiece - a glue with a longer open time, e.g. veneer glue, is recommended. Toothed spatulas have proven to be an inexpensive alternative to professional glue rollers for applying glue to large areas. When applying glue with a notched trowel, first apply a limited amount of glue to the centre of the surface and then spread it from the inside outwards.

Pressing
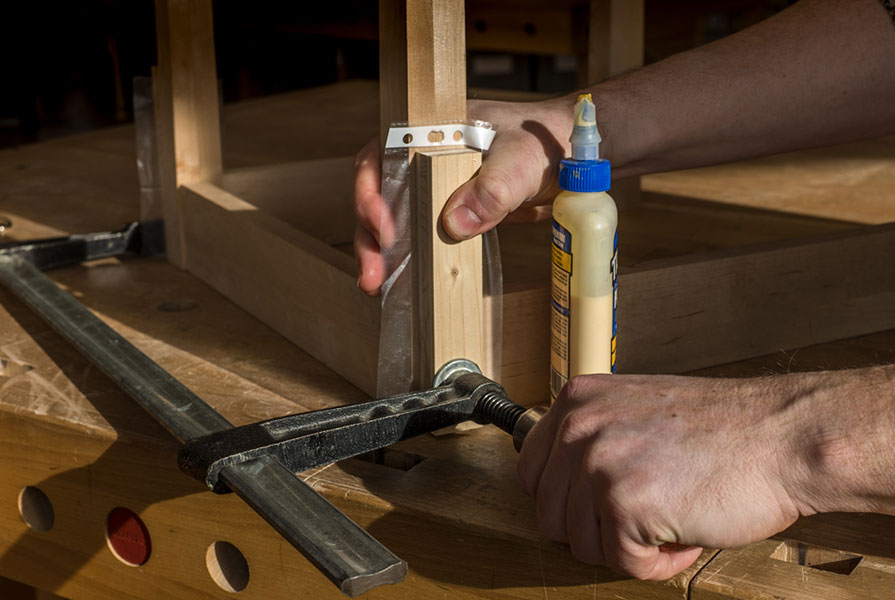
When both veneers, outer veneer and inner veneer, are correctly positioned on the support, the workpiece can be pressed. To prevent the pressure plates from sticking to the workpiece, you can wax the plates or protect them with foil. For small parts such as drawer fronts, two sufficiently large boards as pressure plates and two to three screw clamps for pressing are completely sufficient. For somewhat larger workpieces, you can easily build a simple screw press yourself. Observe the pressing times and allow the glue the necessary time to harden after pressing.

Finishing
After gluing, carefully cut off any protruding veneer edges with the veneer edge cutter, a sharp chisel or a fine saw. Always cut from the outside inwards so that the veneers do not tear or flake off. The surfaces are then sanded with fine sandpaper (at least 120 grit or finer). Sand the surface evenly and with little pressure to avoid sanding through the veneers.
Sources of defects
Loose areas in the veneer (recognisable by tapping the surface): This can be caused by uneven glue application, impurities or indentations in the backing material. You can first try to iron the veneer with an iron. Most white glues are thermoplastic and become liquid again when heat is applied. If too little glue is the cause, you can cut the veneer open in the direction of the grain and inject glue.
Glue bubbles ( visible bulges in the veneer): This is usually caused by too much glue in one place. You can cut the veneer in the direction of the grain and try to squeeze out the excess glue while it is still liquid. Here too, an iron may be able to soften the glue again.
Glue penetration ( problematic when treating surfaces with stains and lacquers): This is usually caused by open-pored veneers or very thin glue. The risk of glue bleed-through can be reduced by thickening the glue in advance (e.g. with sieved flour). On the finished veneered surface, you can try to carefully remove the glue bleed-through with a brass brush or at least open up the pores a little.
Veneer glues, veneer tape and tools for veneering by hand can be found at DICTUM. In the DICTUM course workshop, we offer you various veneering and marquetry workshops to learn these interesting techniques.
Frequently asked questions
Which glue for veneering?
In principle, almost all white glues are suitable for gluing veneer, such as Titebond Original. Special veneer glue has the advantage that it has a longer open time. However, time can still be short, especially for large surfaces - in this case, we recommend using a glue roller or a gluer. These allow you to apply glue to large areas in just a few minutes.
What types of veneer production are there?
- Sliced veneer: As a rule, the log is moved past the slicer and a sheet of veneer with a thickness of 0.4 mm and 0.7 mm is produced with each pass.
- Saw veneer: Here the veneer sheets are sawn off the log. Sawn veneers are also possible with a thickness of 10 mm - however, the loss is enormous.
- Rotary-cut veneer - After steaming the logs, the wood is soft enough to be cut into veneer strips between 0.5 mm and 1.5 mm thick from a knife bar around the rotating log.
- Staylog production - Similar to sliced veneer - the log is attached to a special metal beam and peeled eccentrically in a circular motion. This is mainly used for smaller logs.
What veneer patterns are there?
There are basically four veneer patterns: shifted, toppled, turned and toppled/turned. See above.
How long do you press veneers for?
You can remove the veneer from the press after two to three hours. Always follow the instructions for the selected glue.