Making and using wooden nails yourself

Comparison: wooden nails vs. dowels
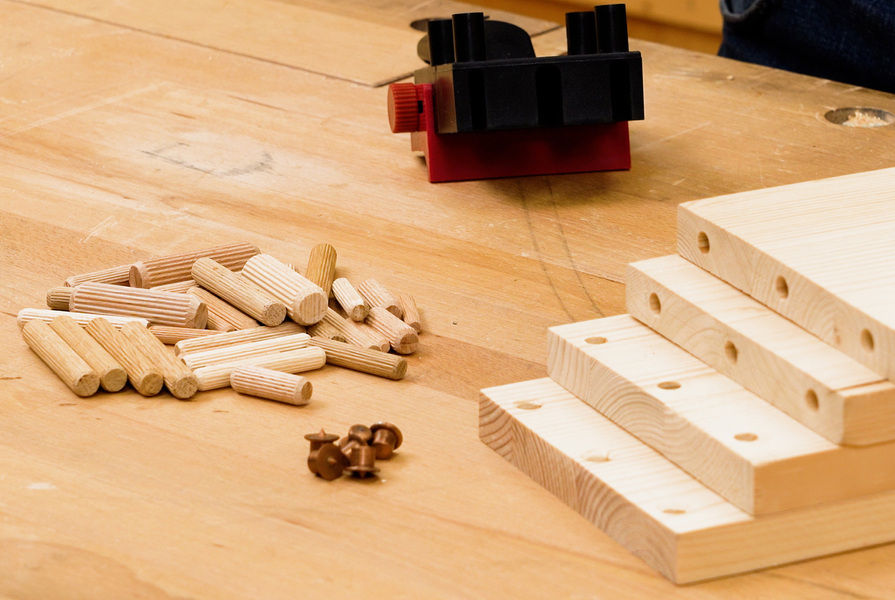
Wooden nails differ from open dowelling in that the cross-section of the nails is slightly larger than the pre-drilled hole into which they are driven. Dowels, on the other hand, are always inserted into holes with a suitable diameter. The cross-section of wooden nails is not always round, but usually quadrangular or hexagonal and often slightly tapered. This means that wooden nails hold by friction and pressure alone and give the joint sufficient strength even without glue. Dowels must always be glued. Only with sufficient glue do they swell and then provide the necessary hold with an optimised thin glue joint.
What are the advantages of wooden nails?
In earlier times, wooden nails were used to secure joints wherever moisture affected the joint or where the joint was exposed to highly variable loads, e.g. joints between the frames and back legs of chairs. Nowadays, modern glues are stable enough to make securing with wooden nails superfluous.
Tannin-rich woods such as oak and ash react with some metals. If iron nails are used, for example, the oak wood around the nail will darken in colour over time. These reactions do not occur when wooden nails are used. You can also create colourful accents with wooden nails made from contrasting types of wood.
How can I make blanks for wooden nails?
The wood used should be as dry as possible, tough and also a little elastic. Traditionally, birch, willow and lime were used in furniture making. Oak and ash are also suitable because they have long fibres and are easy to split. Blanks with straight, continuous fibres are ideal. The blank is secured at the lower end with a rubber ring so that the pieces are held together during splitting and do not fly around uncontrollably. The pieces of wood to be split are always halved in the centre, especially if the wooden nails are to be long and thin, so that both parts are equally thick and the split is not one-sided. Larger blanks or larger wooden nails are cut with a splitting knife. You can use a chisel or a sturdy pocket knife to split smaller blanks. For rough work, you can sharpen these simple "splitting pieces" slightly and then use them.

How can I produce wooden nails with a square cross-section?
With the help of a self-made drawer, the pre-split blanks are first smoothed on two sides, then planed to an even thickness in a square and then planed to a hexagonal or octagonal shape. If the drawer is prepared accordingly, you can also make the wooden nails slightly conical. Finally, the wooden nails are sharpened with a chisel. If the nails are small and thin enough, this can also be done with a pencil sharpener.

How can I make round wooden nails myself?
One way to make wooden nails with a round cross-section is to use a so-called dowel iron. Here too, the blanks are first split and then sharpened. The blanks are then hammered through the corresponding holes in the dowelling iron, first into a roughly matching hole and then into smaller and smaller holes until the desired diameter is reached. The wood fibres are slightly compressed in the process, which gives the wooden nail additional strength later in the joint. Take care when making long wooden nails. To prevent them from kinking and breaking when driving through the dowel, you need to support them slightly on the side with your hand.
Are ready-made wooden nails also available?
If the production of wooden nails is too time-consuming, you can use our Japanese conical wooden nails. These are pre-drilled using a conical wood drill.
Tip: Connection drilled on tension
To give a mortise and tenon joint additional support, you can use the wooden nails "drilled on tension". To do this, the joint (mortise and tenon as a corner or T-joint) is made as usual, fitted together and taken apart again. Now only the slotted part is drilled first. To avoid tear-outs, you can insert a dummy pin into the slot. Then the joint is put back together and the position of the holes is transferred to the pin (drill with centre point).
Now the joint is disassembled again and the hole in the tenon is drilled offset. For corner joints, the holes in the tenon are offset towards the tenon shoulder and outwards. For T-joints, it is sufficient to offset the holes towards the shoulder of the tenon. This offset means that the joint is actually pulled together when the nails are driven in. This technique often eliminates the need for clamps when gluing. Some constructions where clamps are difficult or impossible to use can still be glued securely with sufficient pressure.

Application example: Japanese "finger tines"
In Europe, wooden nails were usually hammered or drilled in in a dovetail shape. The nails are drilled in alternately at a slight angle, thus securing each other against being pulled out. In contrast to this dovetail-shaped arrangement of wooden nails in Germany, the nailed corner joints in Japan are often designed as very coarse finger joints. Here, the pull-out protection is achieved by nailing the tines to each other.