7 tips for repairing cracks and defects in wood
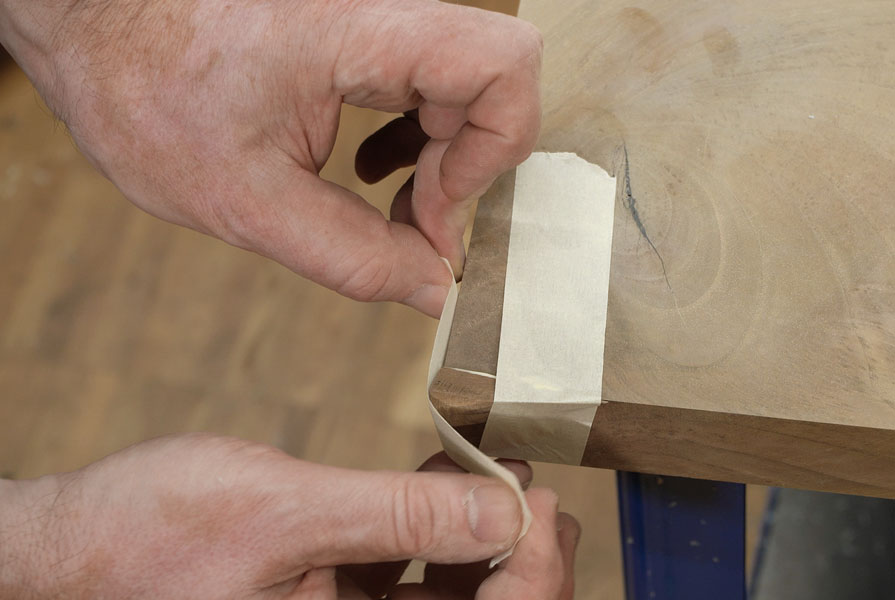
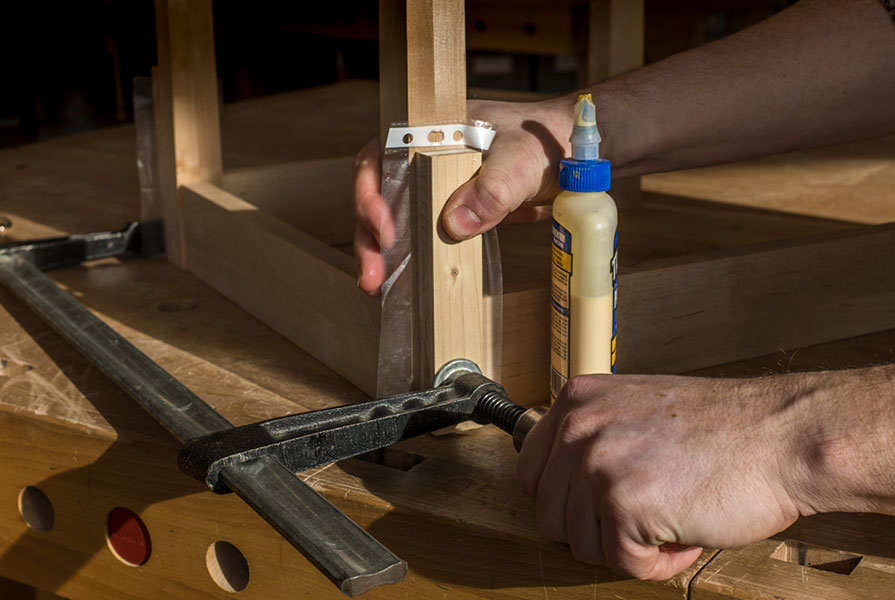
Mishaps always happen when they are not expected. Every woodworker is familiar with this: the workpiece is almost finished and just then a clamp slips and makes a dent in the wood. Or you have finished an elaborate wooden joint and realise when you are putting it together that the saw cut has slipped a little in one place. In the following 7 tips, we explain how you can repair such imperfections so that they are barely visible afterwards.
1. the powder trick
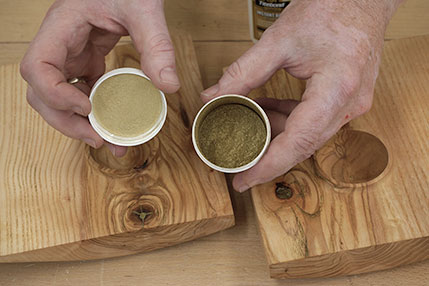
Emphasise what you can't cover up! Turn cracks and knots in the wood into real eye-catchers. Instead of laboriously retouching them, you can highlight suitable imperfections with coloured accents to emphasise the character of the workpiece. Colour powders and metallic powders are one way of doing this. You can sprinkle these into the imperfection and then solidify them with thin superglue. Depending on the powder used, you can then polish the filled imperfection to emphasise it.
2. the foil trick
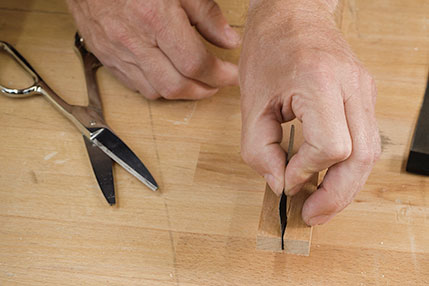
It is often difficult to get glue into small cracks and crevices. Do not use a glue brush, as its bristles could get stuck in the fine cracks. A piece of paper is often used instead of a brush. However, the paper softens due to the glue, tears off and then also gets stuck in the crack. Instead, use a piece of film, for example from a document cover or loose-leaf binder. The film is thin enough to pull the glue deep into the cracks and strong enough to prevent the glue from softening it.
3. the transverse wooden dowel trick
For this trick, you need a round hole, a hole in the wood. This can be intentional, for example because you have drilled out a loose branch as a precaution, or unintentional because you have marked a hole incorrectly or not set the drilling depth correctly for a blind hole. Look for a piece of wood with a similar grain to the hole. Mark this similar area and use a dowel cutter to drill out a cross-grain dowel. Then break the dowel out of the piece of wood and plaster it a little. Now insert the dowel into the hole, align its grain with that of the workpiece and glue it in place. Once the glue has dried, cut off the excess and plane and sand the imperfection. If the wood grain of the workpiece and dowel match well, the imperfection is repaired inconspicuously.
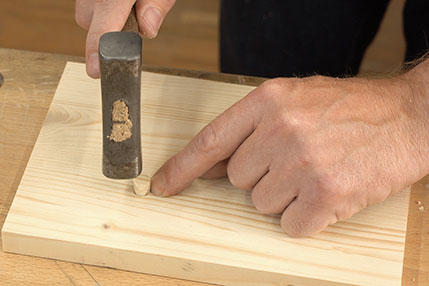
4 The corner trick
Probably everyone who has cut workpieces with a circular handsaw or sliding table saw knows the problem. A piece bursts off at one corner of the workpiece and disappears into the dust extraction system, never to be seen again. To fill in the missing corner, first plane the missing area flat with a single-handed plane to create a continuous surface. Now find a piece of wood with a similar colour and matching grain. Cut a suitable piece from this and plane the surface to which it will be glued flat. Now you can glue the piece of wood to the missing corner. Only plaster and sand the corner after the glue has completely hardened.
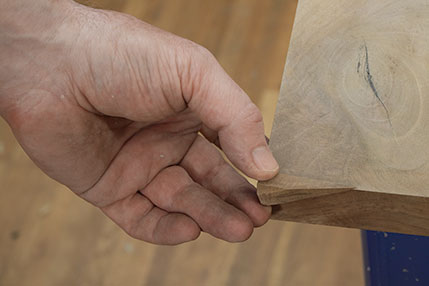
5. the chip trick
If you have failed to make a saw cut in a wooden joint and now you have a gap at one point in the otherwise matching joint, start by looking for a piece of wood that is very similar in colour and grain (sections of the same workpiece are ideal for this!). Find an area on the piece of wood that matches the gap in the joint - i.e. has the same colour and a similar grain pattern. First saw this area roughly to size and then use a sharp chisel to match it exactly to the gap in the wood joint. If the "chip" fits, glue it in and then clean up the excess.
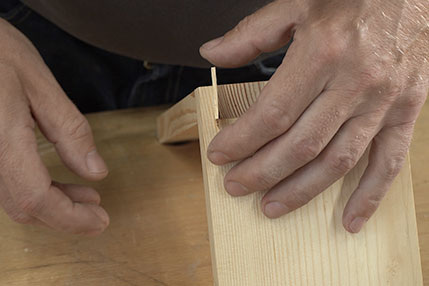
6 The scraper trick
In a finished, planed and plastered surface, the wood fibre runs against the grain at one point and unsightly tears have appeared at precisely this point. This happens quite frequently with glued board surfaces, for example. If you sand down the surface at this point with sandpaper, an unsightly "dent" will appear in the wood. Such imperfections can be corrected better, because they are finer, with a sharp scraper. Scraper blades have the great advantage that they can also be used to work across and against the grain. Firstly, gradually work the surface around the tears. Only work on the actual damaged area towards the end. This creates a gentle indentation that is barely noticeable.
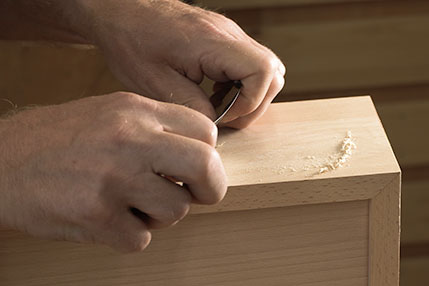
7 The ironing out trick
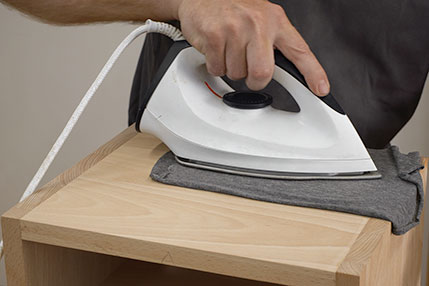
You can literally "iron out" pressure marks and dents caused by screw clamps or incorrect hammer blows, for example. It is best to start the correction immediately after the dent has occurred. Moisten the damaged area with water. This will cause the fibres in the area to swell up again. To support the swelling, you can place a damp cloth on the dent and iron over it with an iron. The heat and steam will cause the wood fibres to swell quickly and the damaged area will be "dented" again in a few minutes. If the surface is then sanded slightly to remove the fibres caused by the moisture, the workpiece will look as beautiful as before.
You can also watch our video to find out in detail how to professionally repair defects and imperfections in wood.
8th bonus trick: The oil-on-oil trick
Now a bonus for you as a reader of our tool knowledge blog. Scratches in an oiled surface are far less tragic than many people assume. Oiled surfaces can simply be re-oiled at any time. Firstly, test whether the scratch disappears by simply "re-oiling". If not, sand the surface with a fine sanding fleece and then oil the entire surface. Allow the oil to dry for around 10 to 15 minutes before removing the excess oil from the surface. For very deep scratches, you can try the "ironing out trick" first.