10 tips for working with chisels
10 tips for working with chisels
- Chisels must be sharp
- Clamp the workpiece securely
- Ergonomic hand and body posture
- The travelling method
- Marking with a knife (or chisel)
- First cut crosswise, then chisel lengthwise
- Carefully chisel the first few millimetres
- Do not lever
- The waste must not bounce
- Start narrow mortises from the centre
Chisels must be sharp
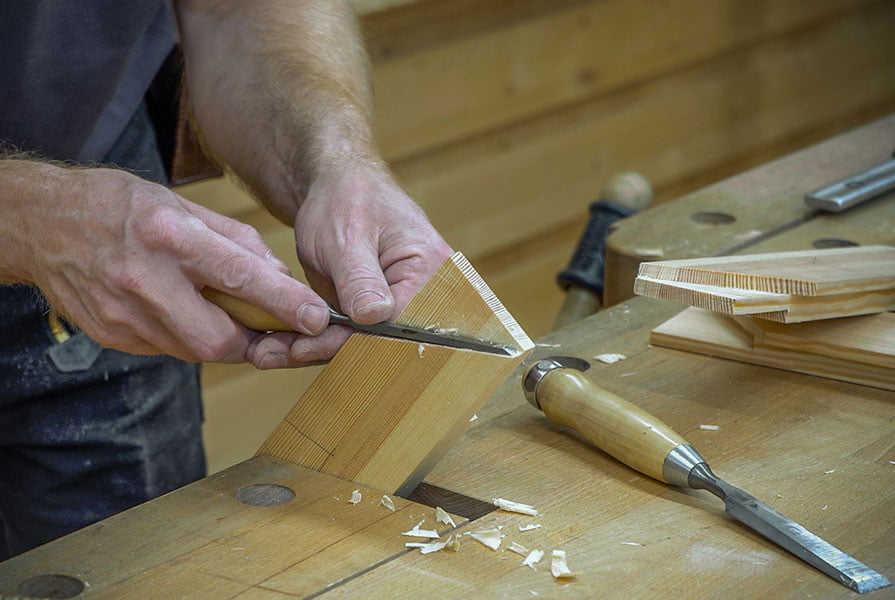
Like any cutting tool, chisels should also be sharpened before use. We recommend a cutting edge angle of 30° to 35°, whether with or without a micro bevel is up to you. The mirror side of the chisels should be flat. It serves as a reference surface when cleaning joints. If the mirror side is rounded, you will not be able to lay the chisels flat and guide them cleanly. The narrow sides of the chisels should be sharp-edged and thin or ground to zero. On the one hand, sharp narrow sides cut the flanks cleanly when mortising mortises. Secondly, you can chisel out mortises better with thinly ground edges. You can find tips on sharpening chisels in our DICTUM® sharpening guide.
Clamp the workpiece securely
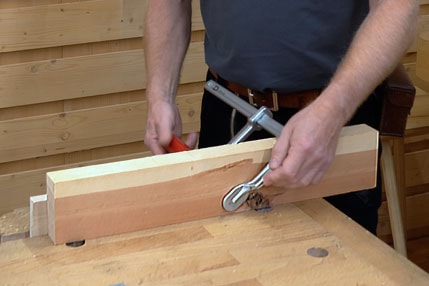
Clamp workpieces firmly to the solid area of your workbench using a screw clamp orhold-down clamp . The clamp should be positioned so that the workpiece does not spring. Do not clamp workpieces on or in the front or rear clamps, as the mechanisms of the clamps would suffer under the stresses of chiselling.
To clamp tall workpieces securely, clamp a piece of board in the front clamp. You can then clamp the workpiece to it using a screw clamp. The workpiece rests securely on the solid part of the workbench and the screw clamp is easily accessible for reclamping.
Ergonomic hand and body posture
Right-handers clamp the workpieces so that the joint to be worked on points to the right, left-handers so that it points to the left. This means that you always have enough space to be able to perform stronger strokes safely and do not have to change your grip.
When chiselling, it is particularly important to be able to see the angle at which the chisel is applied. Always stand in such a way that you can easily recognise this angle.
The chisel is only gripped by the handle, not the iron. For your own safety: If the chisel is used with two hands, for example when re-piercing wooden joints, always keep both hands behind the cutting edge!
The travelling method
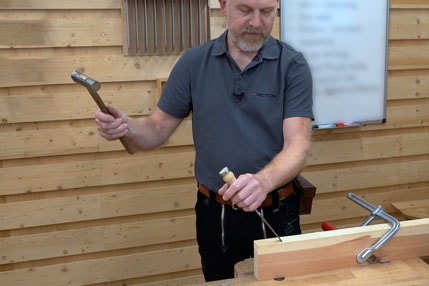
It is difficult to position the chisel precisely by hand using only the handle. With the so-called "travelling method", you first simply position the chisel close by and then move it over its corners in small steps exactly to the desired position. You can see the travelling method in more detail in our video 10 tips for working with chisels - chiselling faster and more precisely!
Marking with a knife (or chisel)
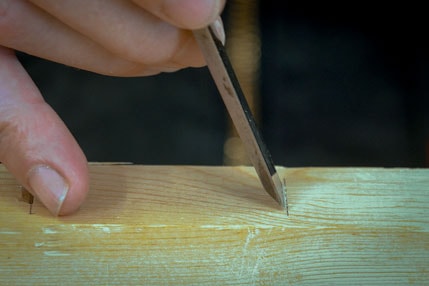
If the joints are marked with a marking knife , the wood fibres on the cut edges are already cut through. The edges are cleaner. Secondly, you can position the chisel exactly in this cut, the chisel literally locks into the notch.
If the joint has been scribed with a pencil, you can mark the cracks with the chisel using gentle taps before chiselling and then benefit from the same advantages as when scribing with a knife.
First cut crosswise, then chisel lengthwise
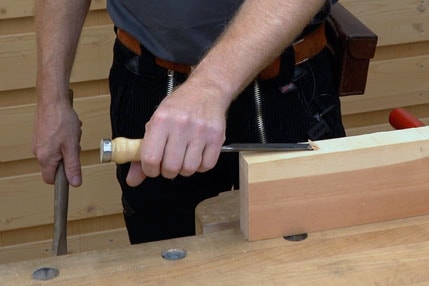
When chiseling along the grain, the fibres are pressed apart by the wedge effect of the cutting edge and tear beyond the width of the chisel. Therefore, always chisel across the grain first and cut through the wood fibres. You can then chisel in the direction of the grain without tearing the wood fibres any further.
Carefully chisel the first few millimetres
Do not hammer the chisel directly into the wood with full force! Work carefully for the first few millimetres with carefully measured strokes. Once the first three to five millimetres have been chiselled cleanly and the edge of the joint is defined, you can tilt the chisel slightly outwards to undercut the joint and also increase the impact energy to make faster progress.
Do not lever
A common mistake: to get the waste out of the slot more quickly, some people lever the chisel over the back. This puts unfavourable strain on the cutting edge, causing it to dull more quickly and, in extreme cases, can lead to chipping if, for example, a hard branch is sitting in the same place. In addition, the usually somewhat narrower back can push the edge of the workpiece. So do not pry, but loosen the wood fibres properly with a few extra strokes.
The waste must not bounce
To avoid unintentional break-out, when chiseling out slots or prongs on the first side, first chisel in to the centre in a wedge shape, leaving a small area at the outer end. If you then turn the workpiece over to chisel the other side, the waste cannot spring and break out unintentionally. On the second side, you can chisel away the waste directly - this is quicker than chiseling it out again in a wedge shape.
Start narrow mortises from the centre
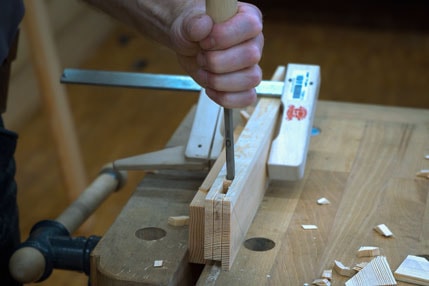
According to traditional teaching methods, mortises are first chiselled out cleanly vertically at the edges and then the waste in the centre is chiselled away. For narrow mortises, it is advisable to start in the centre and work your way outwards. The mirror side of the chisel should initially face the centre. When hammering, the chisel works its way outwards step by step - the hole becomes deeper more quickly than it becomes wide. Shortly before the crack is reached, turn the mirror side outwards and widen the hole until you reach the crack and strike the final strokes at an exact right angle. For deep mortises, repeat this process until you have reached the desired depth.
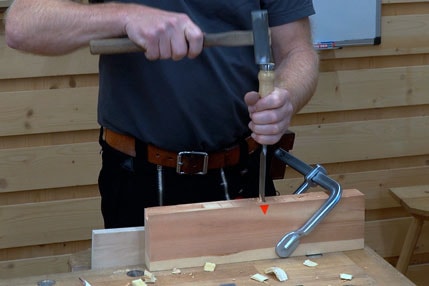
Some work steps are difficult to describe. That's why you can take a closer look at these tips in our video 10 tips for working with chisels - chiselling faster and more precisely!


