
The chamfer - classic profiles (3)
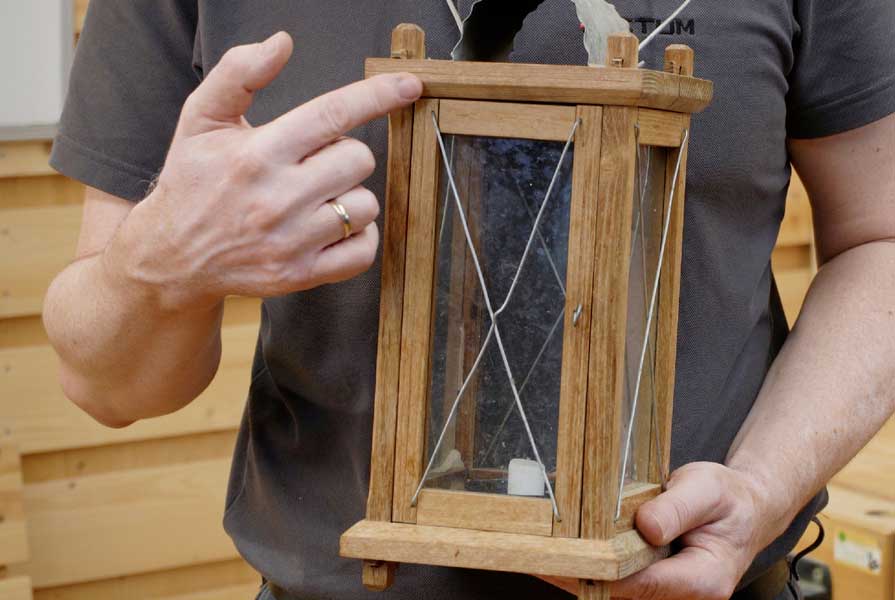
The bevelled edge is probably the simplest profile we know, and it is also the most widely used. Chamfers are simple in appearance and easy to produce. Nevertheless, bevelled edges can be found almost everywhere.
Advantages of chamfers
- Chamfers make the edge slim
The visual volume of an edge is reduced by bevelling. Solid boards appear lighter, stable struts and pillars look delicate. As relatively little material has to be removed only at the edge for bevelling, the stability of the workpiece is virtually retained. - Harmonise chamfers
The joint or transition between two surfaces is harmonised by chamfers, small inaccuracies fade into the background. A V-joint is created when the edges meet closely. Between the edges, such a V-joint creates a visually appealing transition. This is utilised, for example, with solid wood panels in outdoor areas. Exposed to the weather, the wood shrinks and swells considerably. If the edges are bevelled, different distances between the panels or an offset in height are less noticeable. - Stabilise chamfers
If there is a risk of the wood splintering, cracking or warping at the edges, bevelling can reduce the risk of damage. Chair legs, for example, are always chamfered well at the base so that they glide more easily over the floor and no wood fibres splinter.
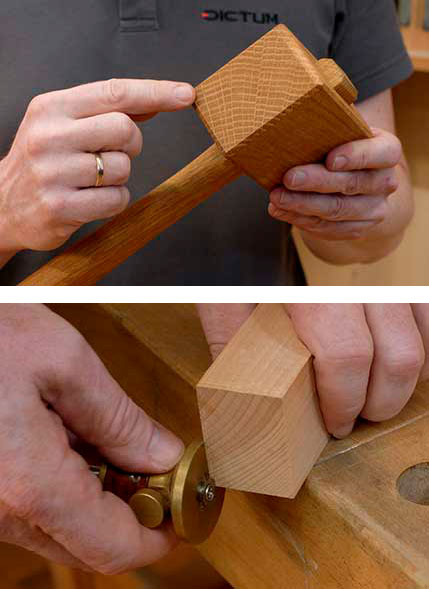
The chamfers make the hammer's striking surfaces more robust.
The chamfers are then planed out by hand using the moulding rule.
Even chamfers by hand
To produce chamfers by hand, proceed as follows:
- Do not grind, but plane. When sanding, the bevel quickly becomes round.
- Mark the parallel edges of the bevel precisely using a moulding knife with a cutting wheel. The cutting wheel cuts through the wood fibres, which then do not tear out any further when planing across the grain.
- First plane all bevels across the wood grain, then the bevels that run parallel to the wood grain. In this way, you simply remove any splintered wood fibres from planing across the grain.
- When planing, always hold the plane at the desired bevel angle and check the progress of the bevel from time to time. If the bevel is too narrow in some places, you can partially plane them.
- Plane until the markings on the moulding gauge have been reached evenly everywhere. The scribe lines are then removed with a final planing stroke.
Special bevelling planes
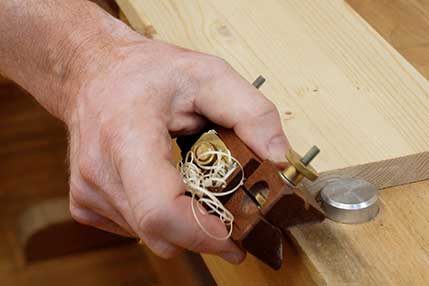
Bevelling planes enable even bevels even on very long edges. There are simple bevelling planes whose stop specifies the bevel angle, for example 45°, 30° and 60°. With Japanese-style bevelling planes, you can set the bevel width precisely. This means that all bevels are exactly the same size. However, the bevel angle on these planes is usually fixed at 45°.
A Japanese-style bevel plane.
Chamfering with machines
You can produce chamfers with many machines and power tools. Circular saws, band saws, belt or disc sanders, surface planers, etc. can be used for chamfering. If the machine leaves clear saw or planer marks, you should clean the bevelled surface with a hand plane. Chamfering is very easy with a router and a chamfer cutter with a thrust bearing.
Different chamfer widths can be cut with the same router cutter by using different routing depths.
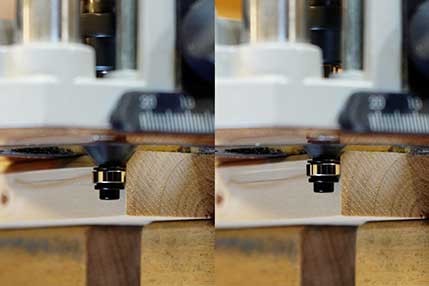
You only need a single chamfer cutter for chamfers of different sizes. The width of the bevel is regulated via the routing depth. So-called edge routers (e.g. Festool OFK 500 Q-Plus) specialise in edge processing. They are used for flush routing veneers and coatings and for quickly rounding and chamfering edges. The size of the bevel can also be adjusted via the routing depth. However, a rounding cutter with a corresponding radius must be used for routing differently rounded edges.
The transitions of the bevelled edges are clearly defined by shallow chamfers.
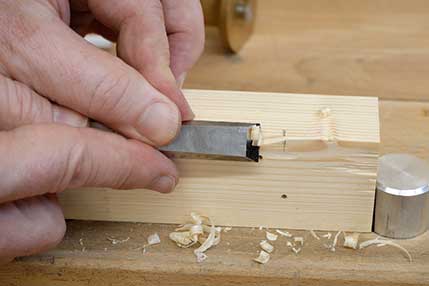
Pierced bevel
Chamfers that do not run completely along the entire edge length, i.e. that start at one point and end at another, are referred to as "pierced chamfers". This is useful, for example, when timber joints must not be weakened, but the construction should appear somewhat lighter. A bevelled joint with a clearly recognisable corner between the chamfer and the joint is correct. To achieve this, the bevel is planed as far as possible and the mortise is then cut with a chisel at an angle of approx. 20° to 45°. If the workpiece is larger, for example a beam, you can also finish the bevel and the mortise with a drawknife.
Swiss bevel
A special form of bevel is the so-called "Swiss edge". This is a wide bevel with a flat angle (e.g. 30°). The elongated bevel greatly reduces the volume of the workpiece. Solid parts, such as a stable table top or a solid shelf, appear much lighter thanks to the Swiss bevel. The bevel often merges seamlessly into a curve, making the edge appear very light and soft overall.
You need a little experience to achieve a good result when routing moulds. Our router basic course offers you a good basis for this.


