
Wood planes - maintenance and care
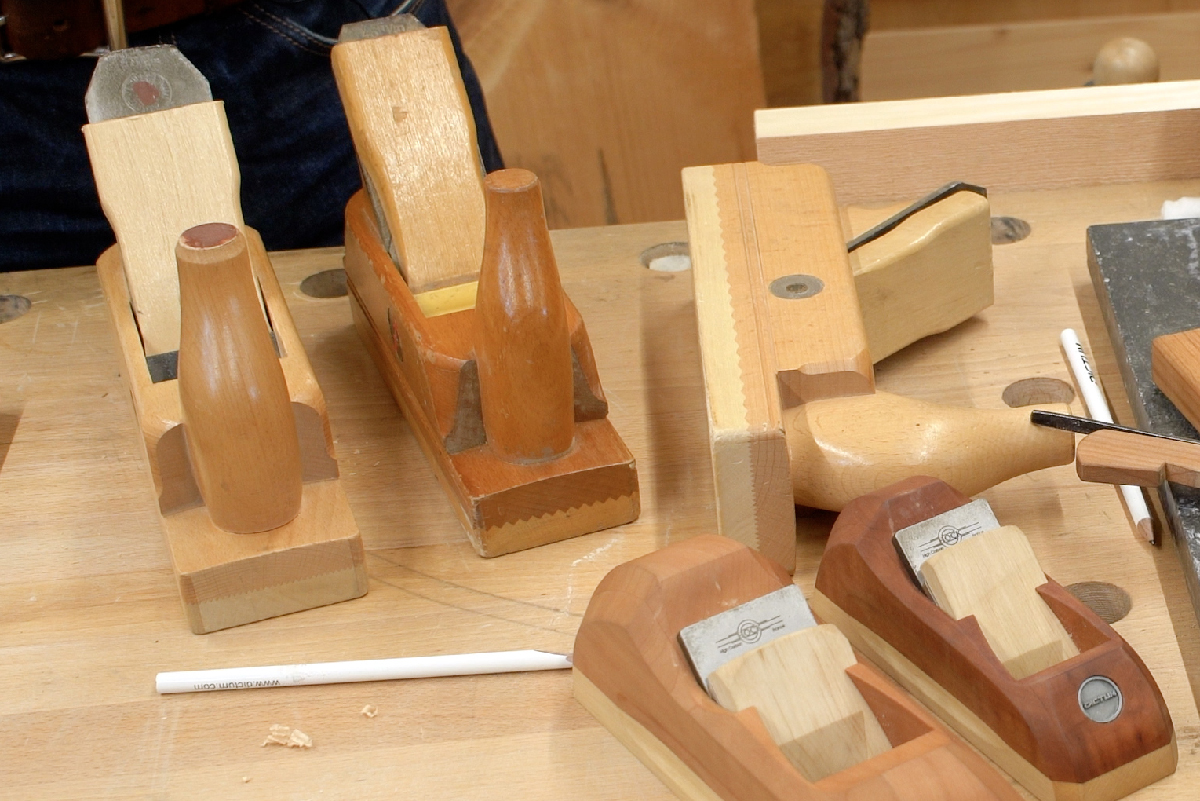
Wooden planes, as the name suggests, are made of wood. Wood wears and wood works. That's why a few things need to be checked regularly and corrected if necessary. This applies to all wood planes! Have you got an old planer from a friend or bought one at a flea market? We'll show you how to get your "old treasure" up and running or planing again.
Visual inspection
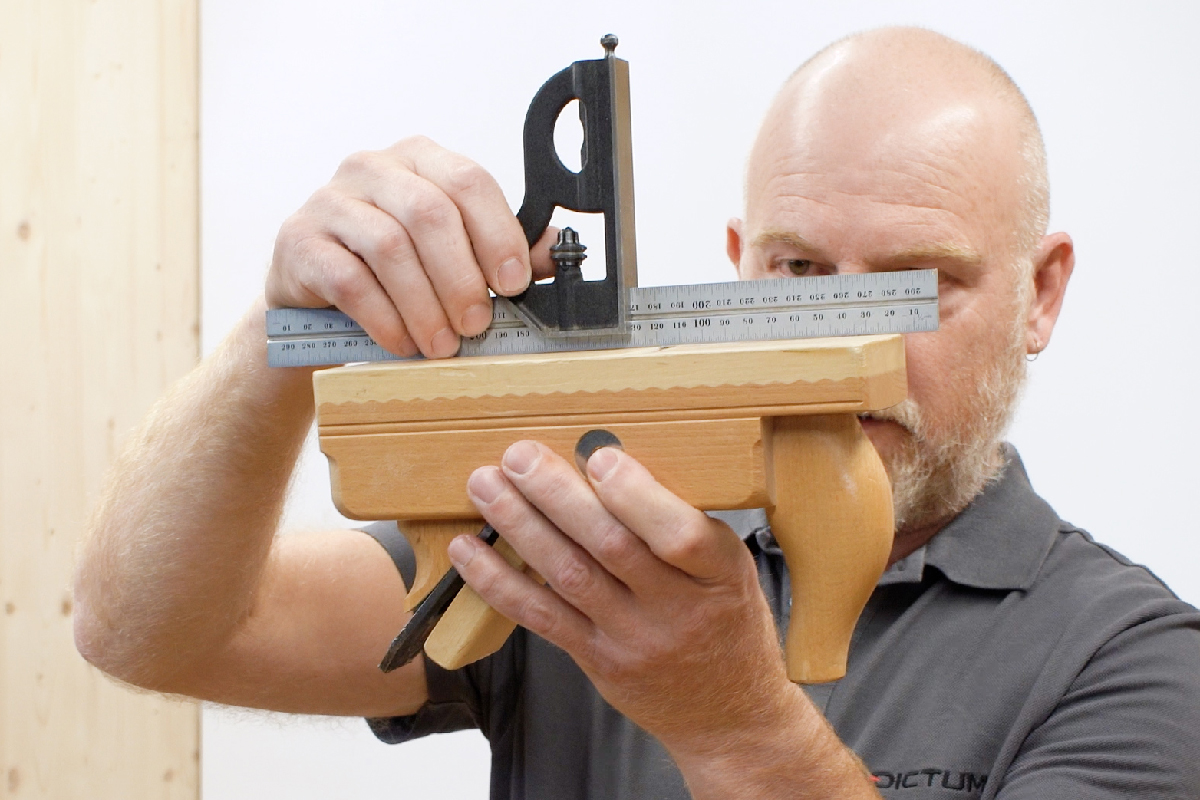
If you have purchased an old planer or have not used your planer for a long time, you should focus your attention on a few areas. Look at the planer from all sides. How is the sole of the plane, are there any signs of wear? Hold a test ruler lengthwise and crosswise over the sole to see how even it is. What does the edge of the iron look like? Is it rusted? Is something stuck in the mouth of the plane? Is the wooden wedge intact or does it have chipped edges? All of this allows conclusions to be drawn about how the tool has been cared for and whether there are any problems that need to be rectified.
The planer sole is checked for evenness with a test ruler
In our video, for example, we had a planer whose mouth was clogged with shavings. There can be various reasons for this. There may be something wrong with the flap. It may not be resting properly on the plane iron or is incorrectly adjusted. It is also possible that the wooden wedge is simply too long and chips are getting caught underneath and clogging the planer. With a used planer, it is rather rare that the chip passage is too narrow. But this could also be a reason. In any case, it is important to check these possible reasons individually and eliminate them if necessary.
Dismantling the planer
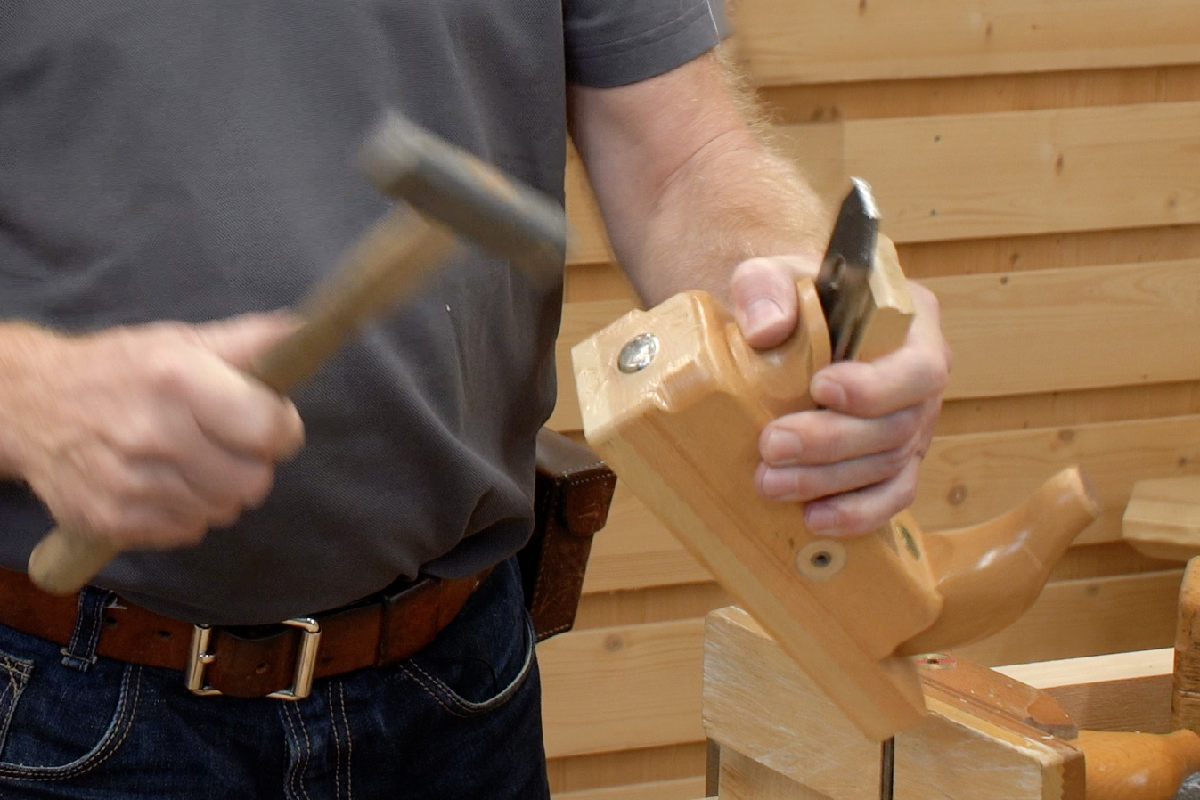
Firstly, you need to dismantle the planer. To do this, remove the plane iron and the chip breaker (also known as the flap). Grip the planer firmly around the hand guard, plane iron and wooden wedge and then hit the rear end hard with a hammer. Many planes have an extra impact button here to protect the planer box from damage. If the iron does not come loose, it is possible that the iron has rusted and is literally caked onto its wooden bed. It can then be loosened by light taps, alternating between the left and right sides. Occasionally it also helps to strike the iron as if you wanted to set a thicker chip.
The wedge is loosened with strong blows and the plane iron is removed.
If it is a plane with a chip breaker (double plane), this must be unscrewed from the iron. A special chip breaker screwdriver with a blade of the right thickness and width for the very large screw head is practical. With a normal screwdriver of the right size, it is easy to slip off due to the long shaft. To unscrew the flap with such a screwdriver, either place the iron in the drawer of the workbench or clamp it in the front clamp. This allows you to safely loosen the screw with both hands on the screwdriver and with the necessary force. If there are now chips under the flap, this must be reworked in any case.
Repairing the plane iron
Firstly, you should check the flatness of the mirror side of the plane iron and rework it if necessary. A flat mirror side is not only a prerequisite for quick and effective resharpening of the iron, but also enables a precise fit for the chip breaker. A diamond sharpening plate is best suited for dressing. With just a few movements on the plate, you can quickly see if and where there are any unevennesses. You can then use the diamond plate to grind the mirror side flat. Depending on the condition of the mirror side, this may take some time. If the iron is made of good steel, it is worth the effort!
A flat mirror side is a prerequisite for sharpness and a tightly closing flap
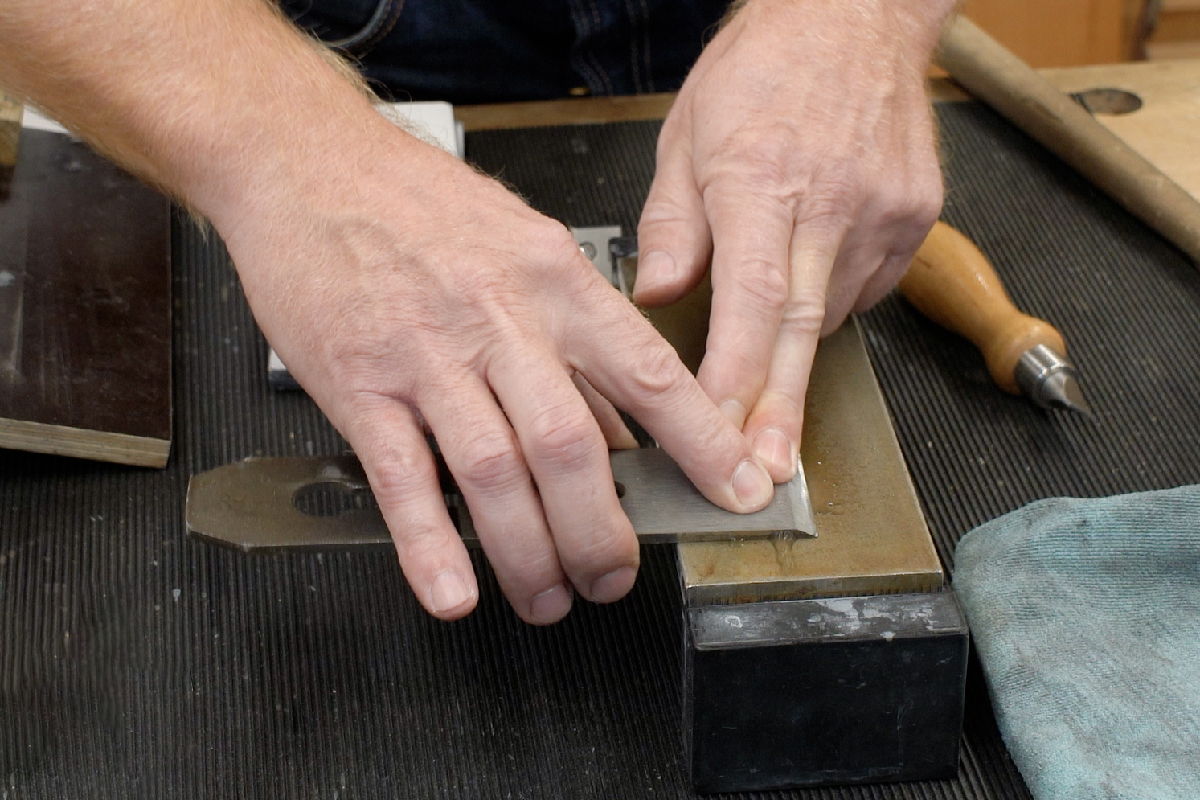
Next, sharpen the iron using your preferred method. We have provided detailed sharpening instructions for plane irons at www.richtig-schärfen.de.
Checking and aligning the chip breaker
To subsequently check the support of the chip breaker, place the flap in the position on the mirror side in which it will later be installed. Hold the iron flap package against the light so that you can see into the gap between the flap and the iron. If a light gap can be seen between the iron and the chip breaker edge, the flap is not lying flat and must be reworked. If the chip breakers are not properly seated, chips will be pushed between the iron and the flap during planing. It can also happen that the front edge of the flap is deformed. In this case, the flap must also be reworked.
Even if the mounting screw exerts pressure on it, the front edge of the flap must rest tightly on the transom side. The contact surface of the flap must therefore be ground slightly. To do this, the flap must be moved over a whetstone or, better still, a diamond dressing block so that the rear end of the flap is slightly lower than the cutting edge. Grind until the front edge of the flap is level again.
The front edge of the chip breaker is relief ground. To break the front edge, the chip breaker is tilted slightly.
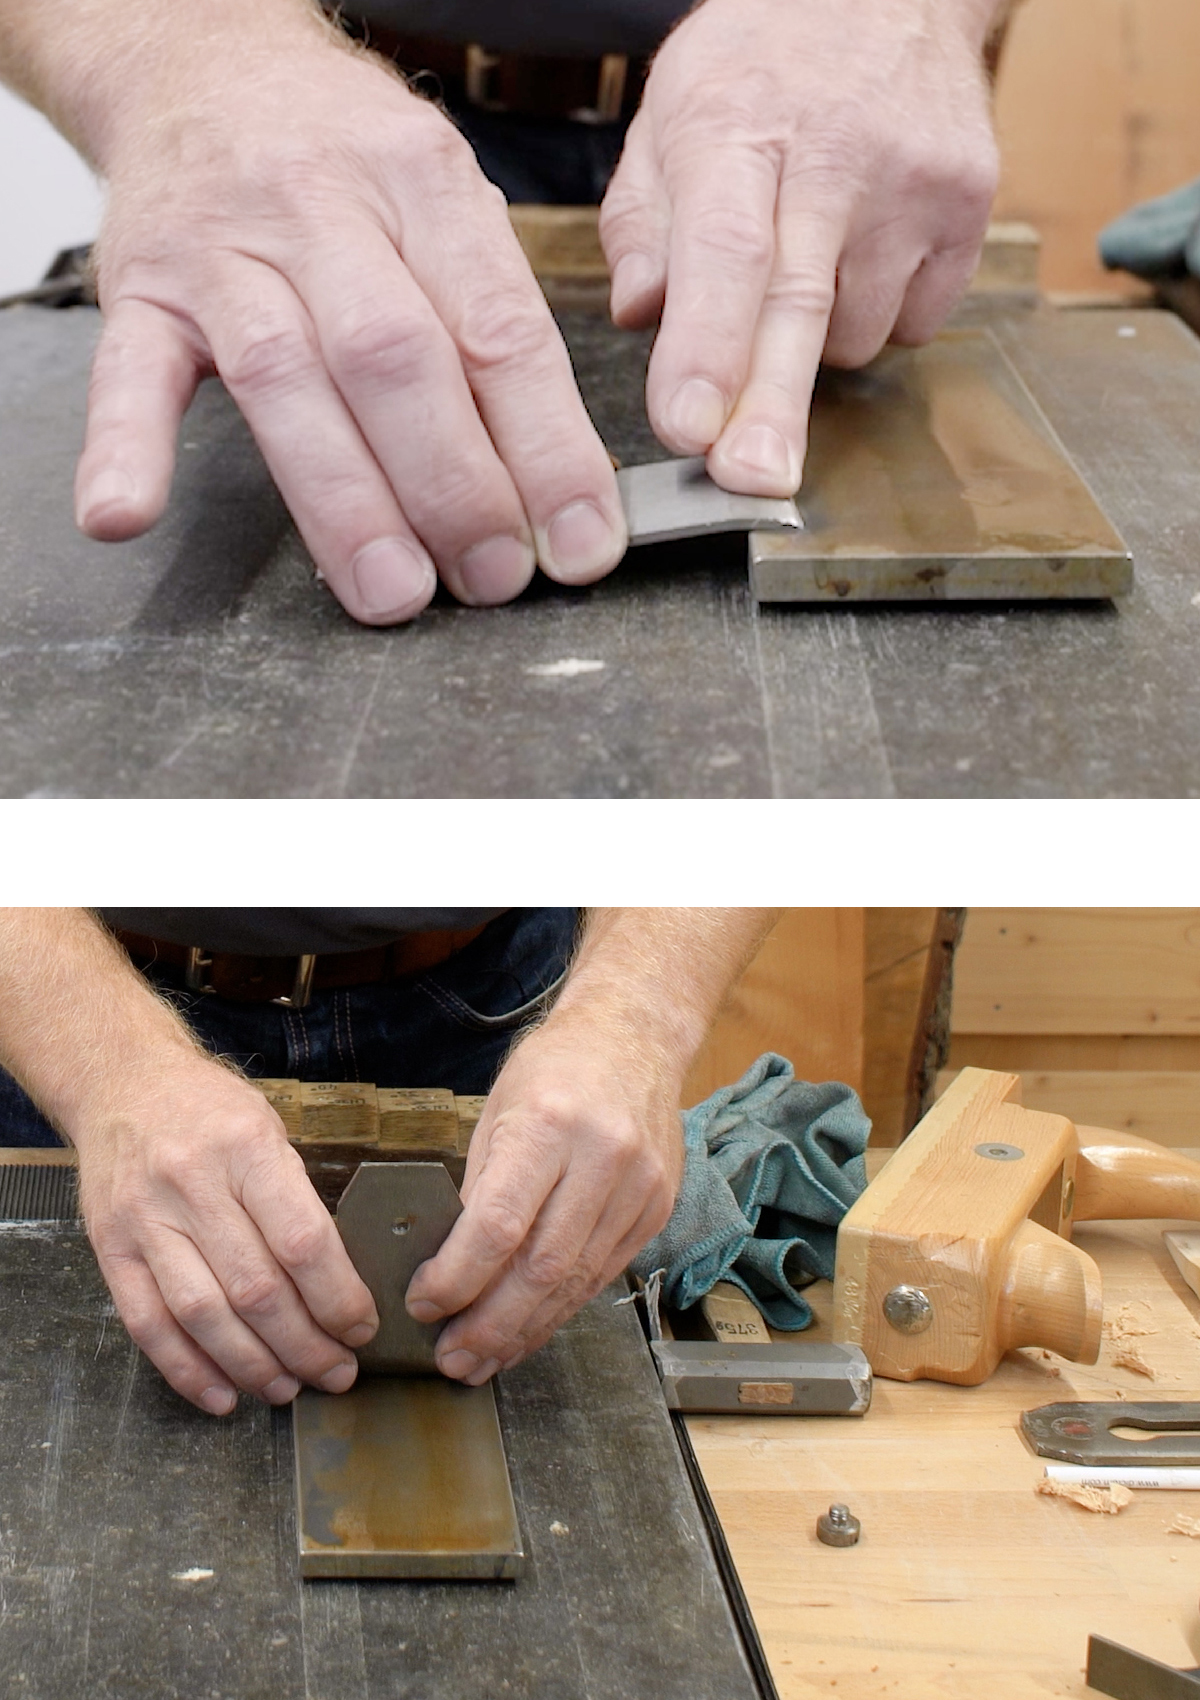
The "cutting edge" of the chip breaker is ground at an angle of approx. 30-40°. This bevelled surface is often not straight, but is rounded into the surface. Some polish this surface so that the chip can glide over it easily. The front edge of the flap should not be sharp. Instead, a very fine bevel of approx. 80° is ground. To do this, place the flap vertically on your honing stone and tilt it very slightly towards the bevel. Now pull the chip breaker over the stone four or five times. This surface should only be very narrow so that it breaks the chip cleanly, but it does not stick to this surface.
Once the iron is sharp again and the flap is ready, you can screw the two together again. The chip breaker edge should be as close as possible to the cutting edge, one and a half to two times the chip thickness is ideal. In any case, no further than 0.5 mm away from the cutting edge.
Checking and dressing the soleplate
You can now reinsert the iron into the planer. To fit the iron, hold the planer box so that the surface on which the iron rests is horizontal. This allows you to easily insert the iron and the wedge into the planer without the iron slipping through the mouth of the planer and possibly cutting yourself. To check and further process the sole of the plane, the iron should be positioned so that the cutting edge is approx. 0.5 to 1 mm behind the sole of the plane. Tighten the iron by tapping the wedge a few times. You can now use a ruler to check the flatness of the sole in the longitudinal and transverse directions.
Graphic representation of typical wear marks on the sole of older planes.
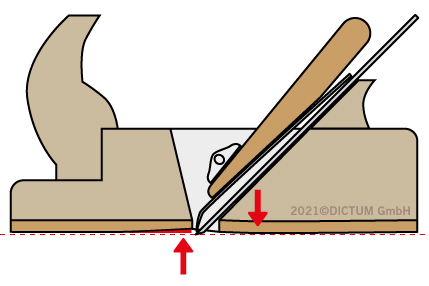
The reason for unevenness is often that the planer box has warped due to the effects of moisture. More frequently, wear and fatigue of the wood is also responsible. To hold the iron in place, the wedge presses against the planer body in the direction of the sole. This very often results in a slight bulge on the sole, in the area behind the cutting edge. At the same time, there is a slight indentation in the sole of the plane, usually directly in front of the cutting edge. This indentation is caused by wear, for example when breaking edges. With a plough plane, for example, it is very important to be able to remove thin shavings. To do this, the front edge of the plane must never be allowed to spring back behind the sole of the plane. You should therefore check the sole of the plane regularly and dress it if necessary.
The iron must be mounted and clamped when dressing. The cutting edge must spring back behind the soleplate. Hatch the sole of the plane with pencil lines so that you can easily recognise which areas of the sole have been dressed. The area directly in front of the cutting edge is particularly important. The hatching should be particularly clearly visible here. Stick or stretch 80 to 120 grit sandpaper on a flat surface. A stone or glass plate or the machine table of a surface planer are suitable. You can now plane the sole with "planing" movements. Sand until all traces of pencil have been removed and a clean edge is once again present on the planer mouth. You can then slightly break the longitudinal edges of the sole. However, the front and rear edges of the soleplate should remain sharp-edged so that no shavings get under the soleplate when planing.
A flat surface is required for dressing, e.g. a machine table or a granite slab.
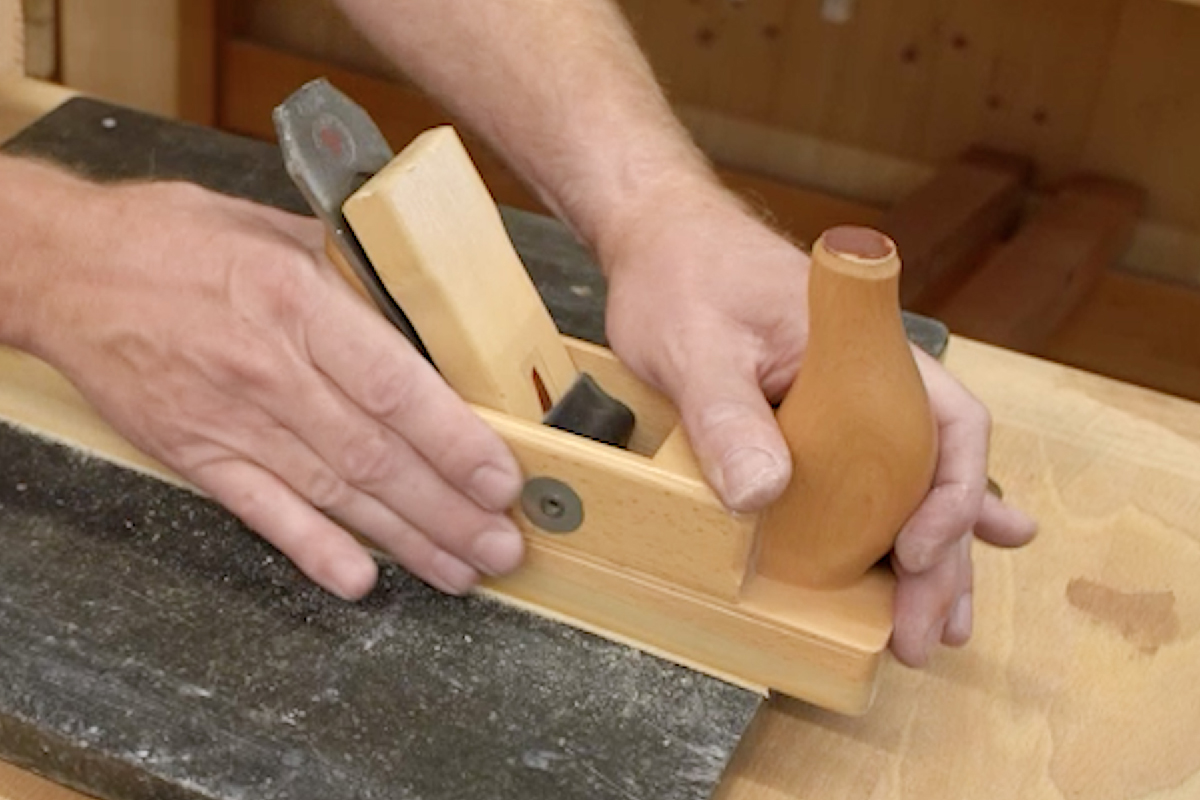
Finally, it is advisable to wax the sole with planing wax or candle wax (paraffin) and polish it with a few shavings. The plane is now ready to remove the finest shavings.
Summary
Wooden planes can warp and the soleplate wears out over time. This is why, in addition to resharpening, the sole of the plane must be regularly checked and, if necessary, dressed. It is important that the iron and wedge are fitted and that the plane is under tension. This applies not only to finishing and plastering planes, but to all planes made of wood. This also applies to moulding and profile planes, ridge planes, the roughing bench, etc. If the plane clogs, check whether the flap is correctly fitted and adjusted and whether the chip breaker rests cleanly on the mirror side of the iron. If everything is correct here, it is also possible that the wooden wedge is too long and needs to be shortened.
Incidentally, although the soleplate of new wood planes is very well dressed, this is usually done in a relaxed state. With the dressing method described here, you can also optimise a brand new wood plane to be able to plane even finer shavings.
Matching products


Folgende Beiträge könnten Sie interessieren

Abrichichten und Polieren der Spiegelseite
Zum YouTube-Video
Stahltypen bei DICTUM® Hobeleisen
Zum Blog
