
7 tips on drilling
Accurate drill holes are the basis for many tasks in the woodworking trade. Whether for dowelling, attaching hinges or as preparation for wood joints, a precisely drilled hole makes further work easier. The following 7 tips will help you drill holes in wood and wood-based materials more easily and accurately.
Suitable drill bits
First of all, you should always choose a suitable drill bit, i.e. one that is suitable for the wood material. You can recognise typical twist drills for wood by the fact that they have a centre point and side cutting edges. Thanks to the slightly protruding centre point, wood drill bits can be positioned precisely even with annual rings of varying hardness. Without this tip, they would otherwise quickly slip into the softer fibres. Their side cutting edges cut cleanly through the wood fibres so that the drill holes tear out less. The helix angle (pitch of the spiral) is designed to quickly remove the comparatively short wood chips from the drill hole.

Metal drill bits have a different cutting edge geometry and usually a flatter helix angle, as drilling metal is slower and produces much longer chips. Depending on the design, some twist drills for metal also deliver good results in wood and especially in panel materials. However, the lack of a centre point makes it more difficult to drill with pinpoint accuracy than with wood drills.
Masonry drill bits are completely unsuitable for precise drilling in wood. Their soldered carbide tips are designed for removing brittle stone, usually in combination with an intermittent, chiselling drilling motion (drill with hammer blow). The wood fibres are pressed and broken more than cut. Stone drills therefore leave inaccurate and frayed holes in the wood. In addition to the standard drill bits mentioned, there are numerous special drill bits for special tasks. For example, if different materials such as wood and stone are to be drilled together (e.g. for assembly work), so-called multi-range twist drills are well suited.
Always adjust the speed of the drill to the diameter of the drill bit and the material to be drilled. If the speed is too high, the drill bit may overheat and become unusable. As a rule of thumb, use smaller drills at higher speeds and larger drills at lower speeds. Many manufacturers indicate the correct speed range on the packaging.
Mark the centre
When drilling in metal, holes are always scribed and then centre-punched so that the drill bit grips directly on the smooth metal surface and does not drift out. Even if wood drill bits have a centre point, for precise work you are well advised to mark the hole in advance, e.g. with a centre punch or nail. You can then position the centre point of the wood drill bit exactly at this mark.
Drill from both sides
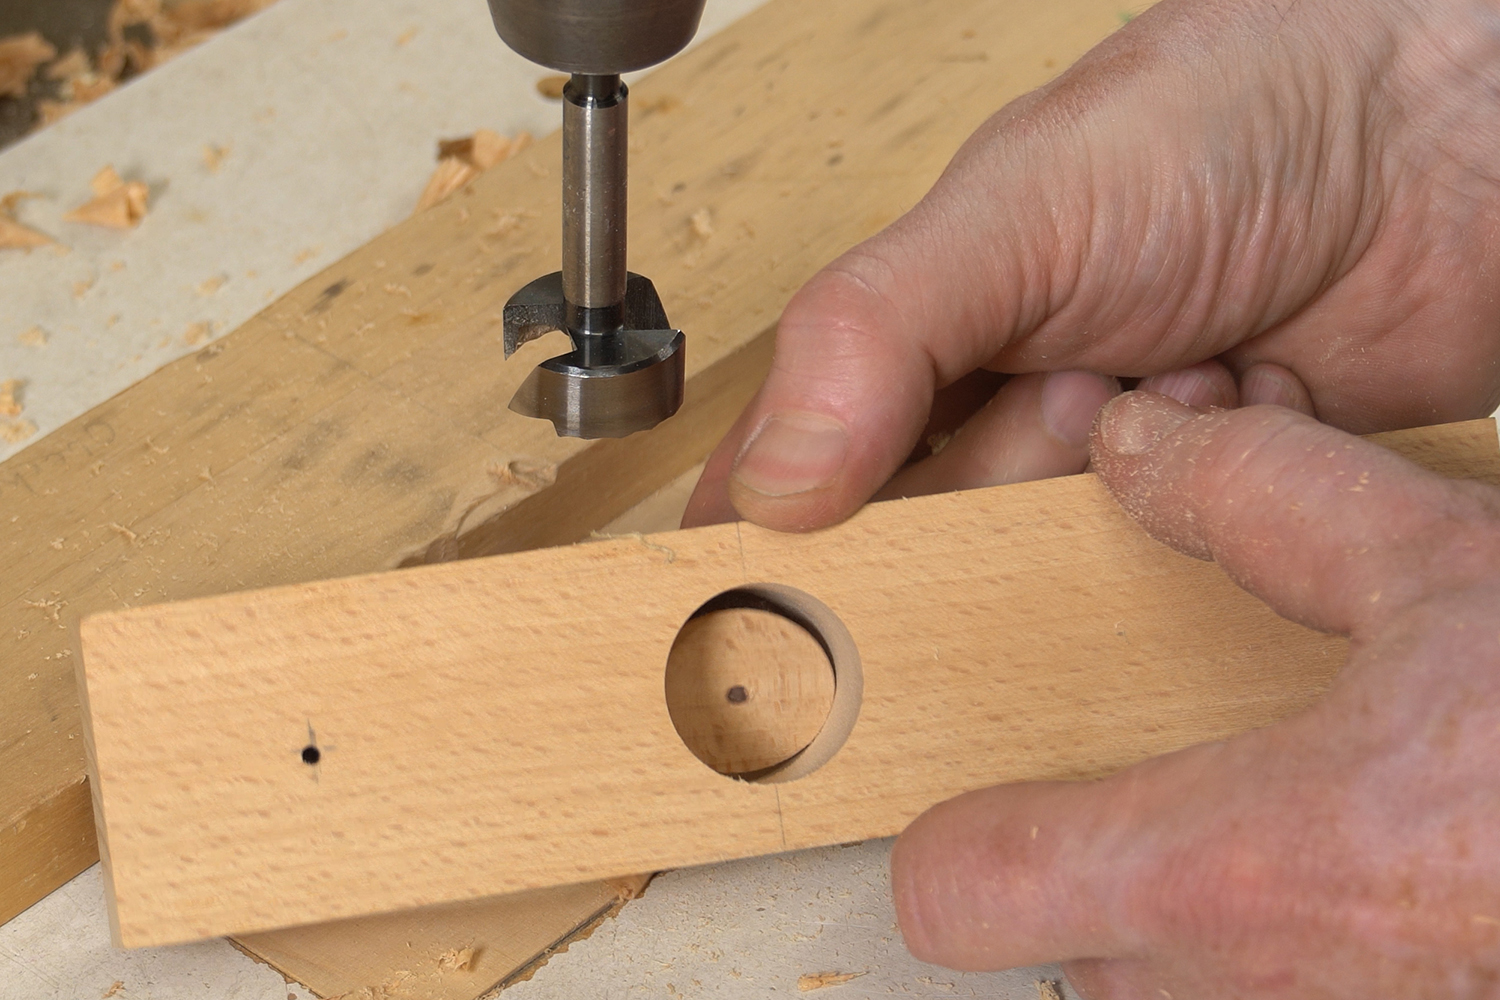
Due to their fibres, wood and wood-based materials tend to tear out on the exit side of the drill bit when drilling through. With evenly planed workpieces and panel materials, you can easily prevent this by using a pillar drill with a depth stop or a depth stop ring to drill just deep enough for the centre point on the exit side to penetrate. Now turn the workpiece over and reinsert the centre point at the exit point. On larger drill bits with a centre point and side cutting edges (e.g. Forstner bits), this produces a thin blade that you can push out of the hole - a good sign of a very precise hole.
Drilling straight with an old CD
Drill a hole in an old CD-ROM that is at least as big as the hole you want to drill. Place the CD over the wood drill (reflective, unprinted side up) and position the drill bit in the desired location. Slide the CD onto the workpiece and hold it firmly. You can now align the drill using the reflection on the CD. If the drill bit and its reflection visually form a continuous straight line, the drill bit is perpendicular to the workpiece or to the mirror surface of the CD. When drilling deeper holes with wood twist drills, pull the drill bit out of the drill hole from time to time to remove chips from the spiral flute. This reduces friction in the drill hole, the drill bit does not heat up so quickly and drilling is easier.

Tracing aids for straight holes
Place a carpenter's square or a 3D mitre square on the workpiece as a bearing aid. Look at the drill from the side and align it using the angle. Compared to a normal carpenter's square, the 3D mitre square has the advantage that it does not fall over so easily.

Countersink in reverse order
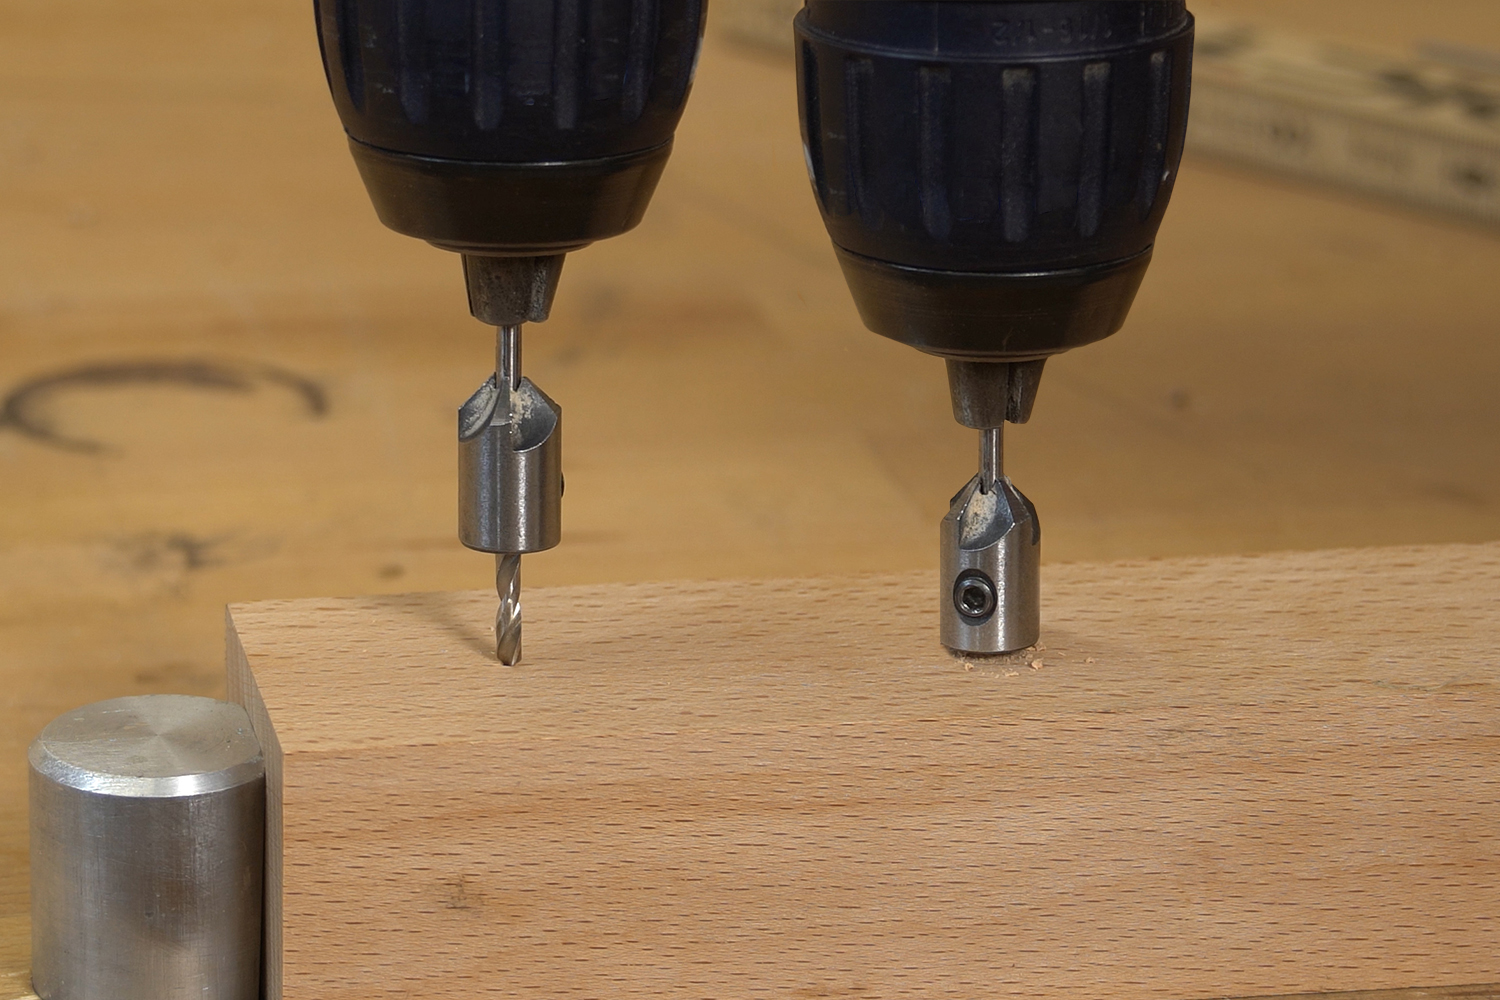
Usually, the hole is drilled first and then countersunk with a countersink for countersunk head screws. With cheap countersinks with only a few cutting edges, the countersinks often become somewhat "out of round". The countersink quickly becomes too large for small screw heads. You can counteract both errors by countersinking first and then drilling. If the countersink has a blunt tip or does not cut at the front tip, you can pre-cut the position a little deeper or pre-drill a little with a smaller drill bit in order to be able to position the countersink cleanly. Always reduce the speed when countersinking, as this always has a much larger diameter than the drill bit used. In contrast to many taper countersinks, most cross countersinks have an accurate point that ensures precise concentricity in the existing hole.
Additional function of countersinks
With a countersink, drilling and countersinking are carried out in a single operation. This has the advantage that the countersink is guided cleanly by the drill. If the countersink has a flat side, you can also use it as a depth stop. The countersink is simply placed upside down and fixed to the drill bit at the desired depth using the grub screw. When drilling, make sure that there are no chips between the smooth side of the countersink and the workpiece surface, as these can scratch the surface and reduce the drilling depth.
Two practical drilling jigs
There are numerous drilling jigs for different drilling tasks that make it easier to drill accurately. You can build such drilling jigs once and then use them again and again for future projects. We therefore recommend setting up a permanent storage place for them near the drill. Here we would like to present two drilling jigs that you can easily build yourself.
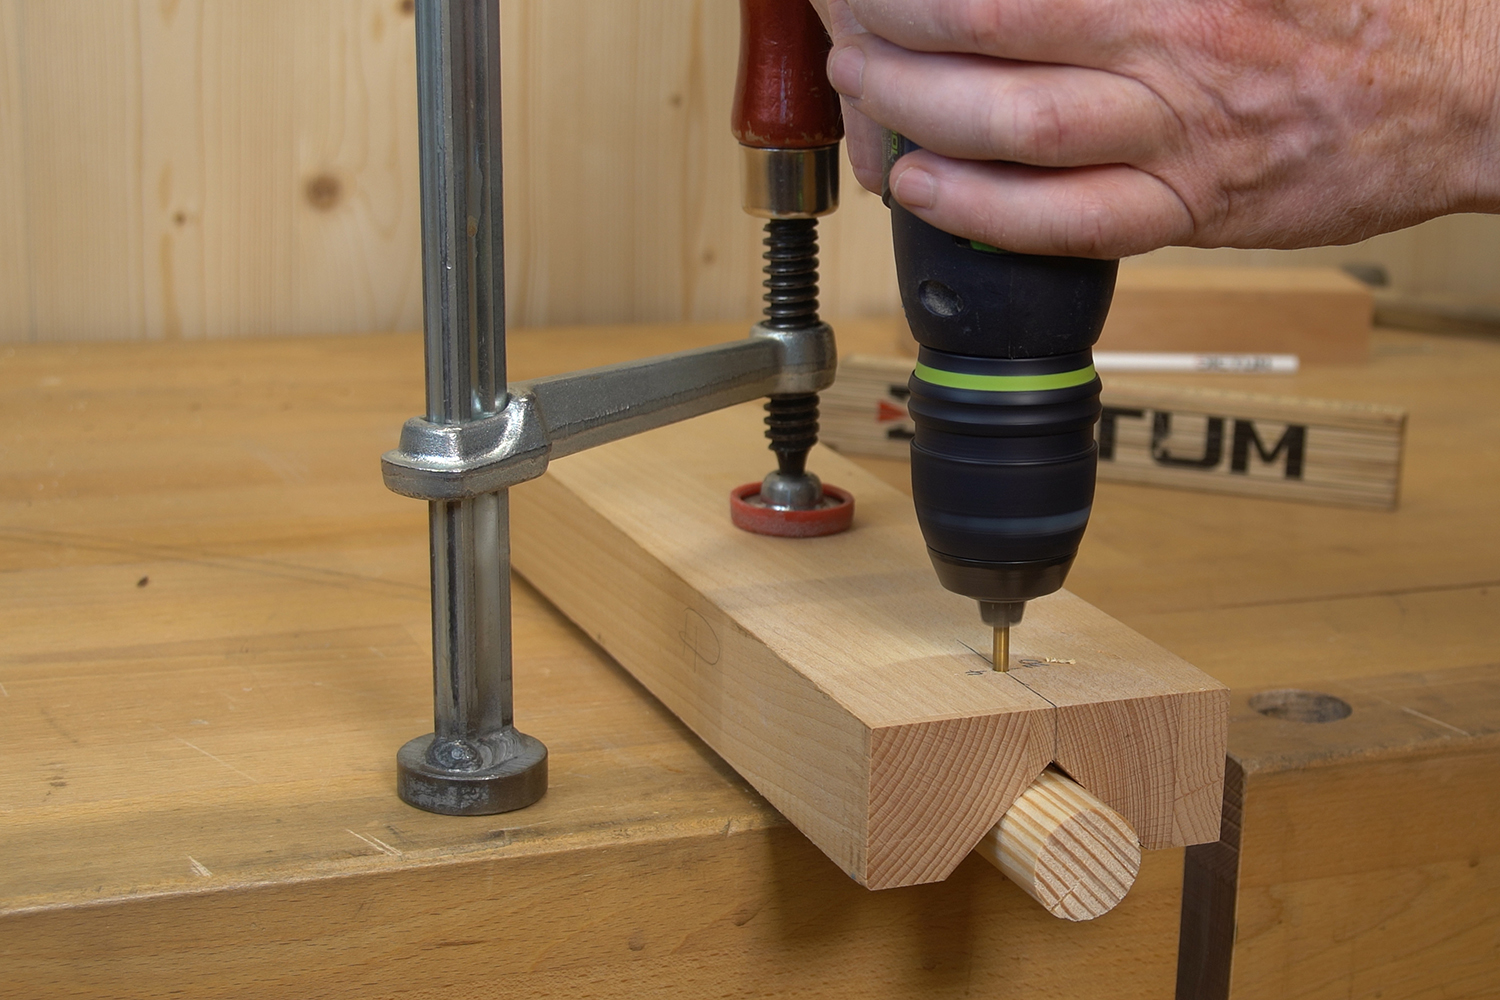
The "drilling jig for round rods" allows you to drill precisely centred holes in round rods and pipes, where the drill bit often slips or the workpiece twists quickly. To make the jig, first cut a V-groove in a thicker piece of wood using a circular saw. Transfer the centre line of the V-groove to the opposite side. You can now drill holes with different diameters along this line so that you can use the jig for several drill bits. If you also drill the holes at a defined distance from the end face, it will be easier to align the jig precisely in position on the workpiece later.

The second drilling jig enables angled holes to be drilled in boards and panels. Drill bits with a larger diameter (artificial or Forstner bits) in particular can almost only be positioned at a right angle to the wood surface. When attempting to position them at an angle, the side cutting edges only grip the wood at one point, while the drill has no guide. The result is that the drill bit immediately moves across the workpiece in an uncontrolled manner.
For the "drilling jig for angled holes", you will need a slightly thicker block of wood (depending on the diameter of the drill bit). Drill a vertical hole in the block with the drill bit that you want to use later for the angled hole. Now transfer the size of the hole to the side of the block and, starting from one of these markings, mark the desired angle of the hole. It is important that the drilling jig surrounds the drill bit all the way round and guides it. You can now cut the block along the angle marking on the circular saw or band saw. The "waste piece" is glued and screwed to the part with the hole as a support or to clamp the drawer. To increase friction, you can glue a strip of sandpaper to the underside of the drilling jig. Now clamp the drilling jig onto the workpiece from above. Place a piece of "sacrificial wood" under the workpiece so that nothing tears out and you do not accidentally drill into the workbench. When drilling, bear in mind that the drilling distance will be considerably longer than a vertical hole due to the bevel.
You can find out exactly how to build the two drilling templates in our video on YouTube "7 tips for drilling in wood".


