6 tips for adjusting hand planes
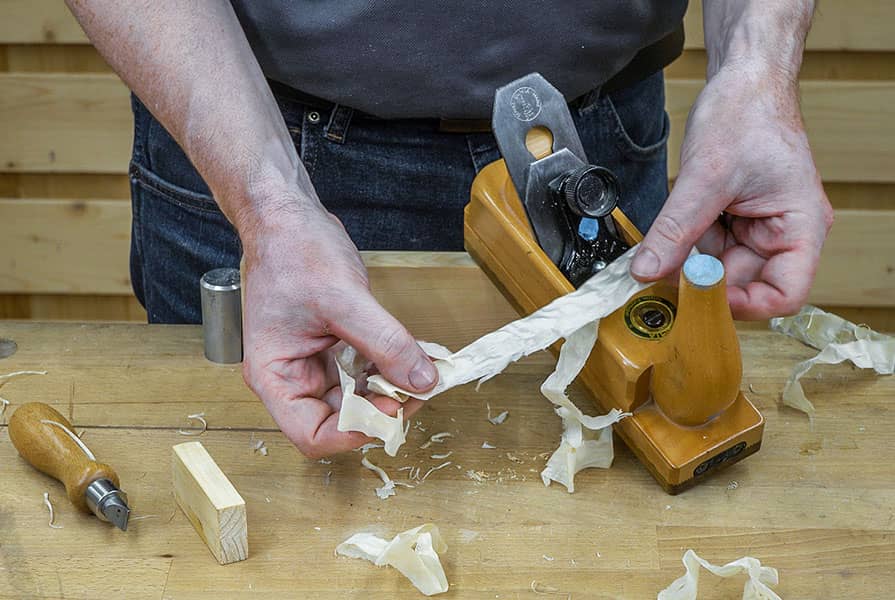
Using the plaster plane as an example, we will show you how to adjust a plane so that it performs its work smoothly and produces an optimum surface.
Different design
Cutting angle: On plaster plane usually has a cutting angle of 50°. In Germany, the traditional plaster plane is a so-called double plane with a wooden planing box. In the Anglo-American world, metal planes are common. Here a plane no. 4which has an iron beam of 50° corresponds to a plough plane.
Iron and chip breaker: The two types of planes have a similar size and an iron width of approx. 45 to 50 mm. Both have a chip breaker and are well suited for cleaning surfaces even in somewhat more difficult situations, for example with uneven-grained wood. Both planes basically fulfil the same purpose.
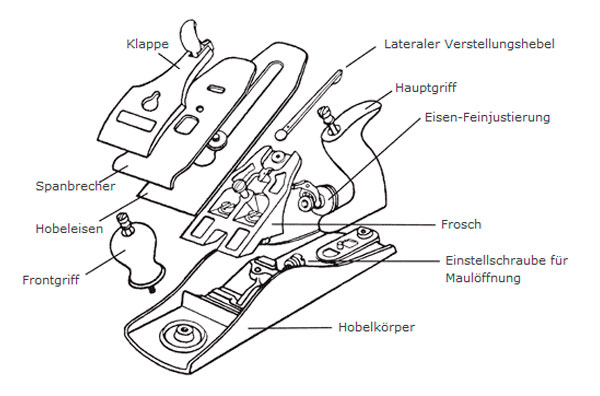
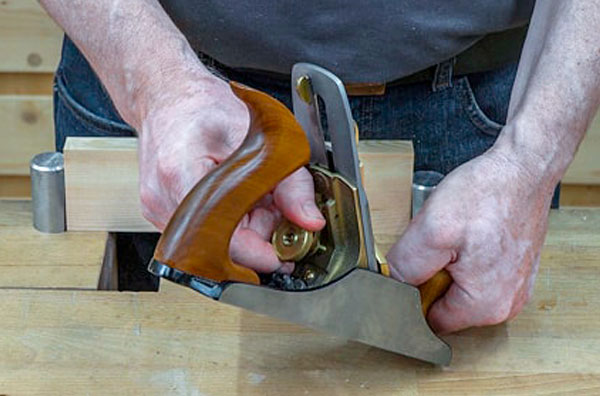
Planer box: The main difference lies in the construction of the planer box and, associated with this, the adjustment options for the plane iron. While all adjustments are made by more or less gentle hammer blows on a traditional plough plane made of wood, a plough plane no. 4 offers several mechanical options for fine adjustment of the iron. The iron feed, and therefore the chip thickness, is set via the fine iron adjustment on the back of the iron carrier. The lateral inclination, the so-called lateral position, can be adjusted using a lever directly behind the plane iron.
Planer mouth: To obtain fine shavings, planers should have the narrowest possible planer mouth opening. However, both planes do not have an adjustable plane mouth. An exception to the traditional wood planes is the so-called reform plaster planewhich has an adjustable plane mouth and, usually in addition to the chip breaker, a metal flap. On No. 4, the iron support (also known as the frog) can be moved. However, as this is quite complicated and causes the entire iron layer to shift diagonally, the position of the iron carrier is rarely changed.
Weight: Due to the solid cast metal planer box, a No. 4 plough plane is much heavier than a traditional wooden plane. Many woodworkers appreciate this extra weight, as it means that the plane rests "snugly" on the surface and retains its momentum once it has been accelerated.
Sharpness is a prerequisite
The basic prerequisite for good results is a perfectly sharpened plane. Only a plane with a sharp plane iron can produce a clean surface, leaving only a few, barely visible plane marks without tears. You can find tips on sharpening plane irons here.
The following tips are useful for both types of plane. Where there are deviations, these are explicitly mentioned.
1. position of the chip breaker
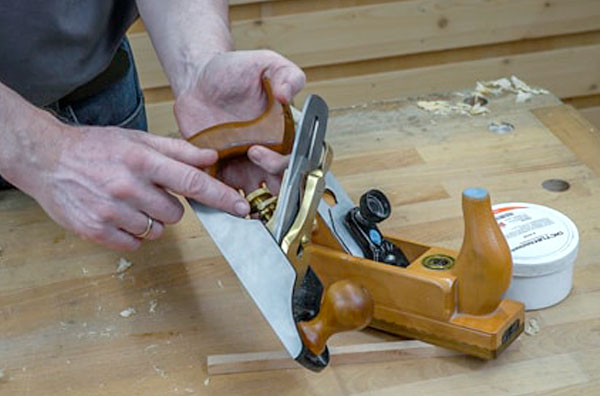
The chip breaker (also known as the flap on wood planes) sits on top of the plane iron and is usually fastened with just one screw. First check that the front of the chip breaker is resting tightly on the mirror side of the plane iron. Chips can get caught in a gap between the chip breaker and the iron and clog up the plane during work. To ensure that the chip breaker can do its job, it should sit parallel behind the cutting edge by a maximum of 0.5 to 1 mm (or closer if the chip removal is thinner). Always place the chip breaker slightly further back on the plane bar and carefully push it forwards so that it does not touch or damage the sharp cutting edge. Tighten the fastening screw again after alignment.
2. setting block
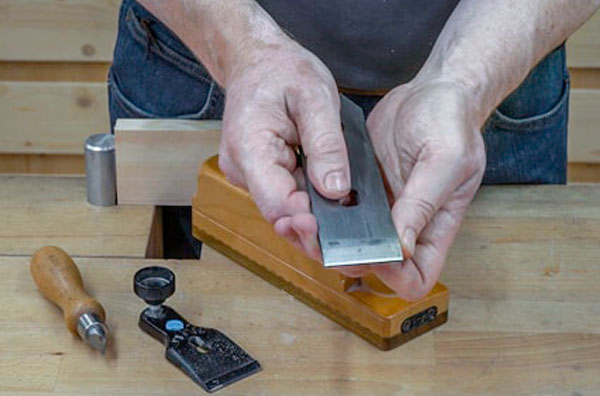
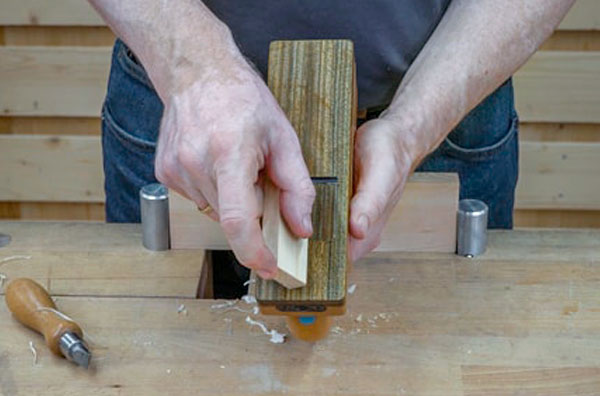
Many woodworkers set the chip thickness directly on the workpiece. They place the plane on the workpiece, make a few planing strokes and continue to advance the iron until a "proper" chip is removed. The aim of planing is to straighten an uneven surface. A continuous chip cannot be produced on an uneven surface unless it is very thick. However, thick chips result in unsightly, rough surfaces. Instead, use a relatively short and narrow piece of wood to adjust the chip thickness. First guide the wooden block over the centre of the plane iron and adjust the iron so that a thin chip is created.
3. check the lateral position
Now guide the block right and left along the outer edges of the cutting edge and check whether the plane iron protrudes evenly over the entire width of the plane sole. If necessary, correct the lateral position - in the case of No. 4 using the lever provided for this purpose, in the case of the wood plough plane by gently tapping the iron from the side.
4. last adjustment forwards
It is important that the last adjustment made before planing is carried out with forward pressure. With No. 4, this is done by turning the iron fine adjustment screw to the right, with the wood plane by a gentle tap on the wedge. Otherwise, the plane iron will be pushed back again unintentionally during one of the next planing strokes and the chip removal or lateral position will be adjusted.
5 Thin instead of thick
Apart from roughing with the roughing bench, thinner chips always deliver a better planing result, even if thicker chips remove a lot of material more quickly. With thick chips, there is always a risk of deep tears, which can only be removed afterwards with considerable labour and additional material removal. It is therefore better to remove many thin chips than one that is too thick. The plane iron also stays sharp longer with thin chips and needs to be resharpened less often, which also saves time.
6. wax makes the plane glide
Sometimes a plane does not glide smoothly over the wood despite a finely adjusted chip removal. This may be due to a dirty soleplate. However, resins and oils in the wood usually cause greater resistance. This can be remedied with paraffin or planing wax (beeswax is unsuitable!). Coat the sole of the plane with a little wax from time to time and your plane will "float" over the wood surface as if by itself. You can also use these 6 steps to precisely adjust other types of planes. All metal planes with the so-called "Bedrock system" have a similar structure. Some wood planes also have similar mechanical adjustment options, for example the Primus Reform plaster plane from E.C.E.
The structure of a No. 4 plane is complex, but offers numerous adjustment options