- Advantages of the Pyrography Art Pen
- What do you need in addition to the König Pyrography Art Pen?
- Which materials can I decorate with the Pyrography Art Pen?
- Prepare workpieces
- Prepare the Pyrography Art Pen
- Painting and writing with the Art Pen
- Heating with hot air
- Possible errors, causes and corrections
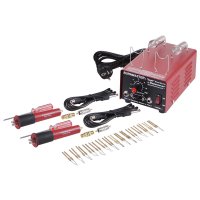
- Pyrography Art Pen vs. wood-burning tools
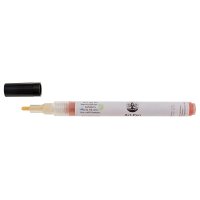
Pyrography is a beautiful way to permanently decorate workpieces. Conventional wood-burning tools, however, require some skill to achieve even lines and lettering on wood. The König Holz & Harz Pyrography Art Pen helps you to safely and easily personalise your projects to achieve results similar to laser engraving. Here you can find out how the Art Pen works and what else you need.
Advantages of the Pyrography Art Pen
Easy to use: The Art Pen is used like a normal felt-tip pen.
Safe: Unlike with a wood-burning tool, the tip is not hot all the time you’re working. The reaction is triggered by using a heat gun.
Environmentally friendly: The gel consists of natural ingredients and can also be used on objects that come into contact with food (e.g. chopping boards).
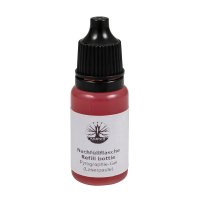
Sustainable: You can refill the Pyrography Art Pen several times with the Refill Bottle.
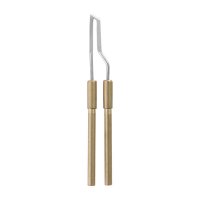
What do you need in addition to the König Pyrography Art Pen?
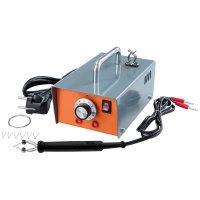
In addition to the Pyrography Art Pen, you will need a few sheets of sandpaper up to approx. 220 grit and a heat gun that reaches a temperature of at least 350 °C (a hair dryer is not sufficient).
Which materials can I decorate with the Pyrography Art Pen?
The König Pyrography Art Pen is designed for scribing and decorating untreated wood. We tested it on different wood species (spruce, beech, oak and cherry). It showed a good reaction with a clear tint on all the wood types tested. The pen is supposed to also work on paper and cardboard (caution: fire hazard!).
Prepare workpieces
The wood surface must be untreated and pre-sanded to at least 220 grit and then carefully dusted.
Prepare the Pyrography Art Pen
Before using the Pyrography Art Pen, shake it slightly and press the lead tip gently on a surface to guide the gel to the tip (as with a paint pen).
Painting and writing with the Art Pen
Use the Pyrography Art Pen like an ordinary felt-tip pen to draw patterns or text on your workpiece. Make sure that the gel is applied as thinly as possible. This works best if you draw a few lines on paper with the pen beforehand so that there is not too much gel in the tip, and then write or paint on the wood with even movements. A thick application does not result in a darker shade, instead the gel tends to run and spread along the wood fibres.

Use the Art Pen like a normal felt pen
Heating with hot air
Let the gel dry for approx. two minutes. Then go over the surface in circular motions with a hot air gun at a distance of approx. 3 to 5 cm until the desired degree of blackness is achieved. The natural ingredients react to the heat and the wood turns dark brown to black.

The dark colouring is created by heating with a heat gun
Possible errors, causes and corrections
Should the result not meet your expectations, you can correct it quite easily. If some areas have not darkened enough, you can go over the surface again with the hot air gun. If the gel application was not even or if areas were left out, you can re-apply gel to the light areas and heat it up without any colour differences being visible afterwards.
If there is no reaction or the wood colour does not change, it’s usually because the temperature of the hot air gun is not high enough. The heat gun must reach at least 350 °C (if the device states it reaches 400 to 500 °C, this should be enough).
There are usually two possible causes for blurred contours. If the gel lines are too thick, the excess gel seeps into the wood fibres causing the edges to appear frayed. Has the surface been sanded sufficiently and dusted carefully? If not, this could cause the gel to be absorbed by the wood fibres or sanding dust. In both cases you can sand the surface again (to at least 220 grit) and then use the Art Pen again.
If the overall result is not to your liking, for example because you have made a mistake, you can sand down the surface and paint or write on it again (unlike with a conventional wood-burning tool, the dark colouring caused by the Art Pen is only superficial).
Pyrography Art Pen vs. wood-burning tools
A wood-burning tool leaves much deeper marks in the wood than the Art Pen. These have a special character, which you can use for texture, for example. However, working with a wood-burning tool requires some skill and experience. For example, the power of the device or the temperature of the burning tip must be adjusted to the type of wood in order to get even lines and not burn the surface too much. Using the Pyrography Art Pen, on the other hand, is very simple: sand, write or paint and then heat. The results are so even that they resemble laser engraving.