When making cuts in or cutting through large cross-sections with a Japanese saw, starting a cut and guiding the saw in the right direction is often not that easy. Special skills are required to produce what are referred to as mitre cuts, i.e. angled cuts made through the wood in two directions. However, you can learn a few sawing techniques that make this work much easier.
Which Japanese Saws are Suitable for Mitre Cuts?
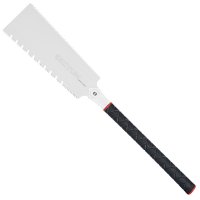
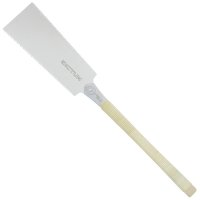
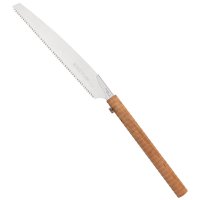
In Japanese carpentry, Ryoba saws with a coarser saw blade, such as the DICTUM® Ryoba Arashi 270, are usually used for making large wooden joints and crosscuts. Ryoba saws have a saw blade with two different tooth patterns, for cuts along and across the grain. The DICTUM® Kataba Kariwaku Daiku 330 with a mixed tooth pattern is also suitable for cuts diagonal to the grain. Japanese saws with a universal tooth pattern, such as the DICTUM® Dozuki Universal 240, are suitable for smaller mitre cuts in carpentry or model making.
How to Secure Your Workpiece When Cutting at an Angle?
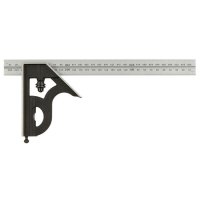
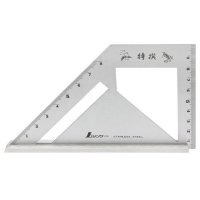
Always clamp the workpiece so that you can saw downwards as vertically as possible. If necessary, use a square to draw the marking lines perpendicularly.
How to Get Positioned when Sawing?
Look with both eyes at the two visible markings, the one straight across the top of the workpiece and the one on the side facing you. Position yourself in such a way that the two markings form a straight line. Your field of view is now aligned with the cutting level.

The angled markings visually create a straight line
How is the Japanese Saw Aligned?
Now the saw must be held so that it also points in the cutting direction. Hold the saw in front of you so that your right eye is looking at the right surface of the saw blade and your left eye is looking at the left surface. If you now run the saw along its longitudinal axis, one surface appears larger and the other smaller. If both surfaces are the same size, the saw is aligned with the cutting level.

Both sides of the Japanese saws appear to be the same size
How to Create a Mitre Cut with the Ryoba?
Now you can start the cut with the saw. To do so, guide the saw using the thumb tip of your left hand (if you are a right-handed user). To start cutting and guiding the saw, create a small notch with short saw movements with the part of the saw blade that is close to the handle. Then use the whole length of the saw blade to make the rest of the saw cut. Hold the saw with your right hand just behind the centre of the handle (if you are a right-handed user). Use your left hand to hold the handle in front of the right hand and help guide the saw. Check your position or head position again (the markings run straight through) and the direction of the saw (both side faces are the same size). Now you can saw the workpiece along the two visible markings.
Then reclamp the workpiece so that you can saw along the opposite marking. The workpiece must be clamped one more time so that you can saw vertically downwards again. Position your head and the saw as described above, saw downwards along the visible marking and complete your mitre cut.

The existing saw cut provides the Ryoba with enough of a guide.